
Beef jerky and me go way back. Surprising, I know, that a salt obsessed portly carnivore has had a lifelong affinity for jerky. As a kid, I spent my summers hanging around Ravine Lake and throwing in a buck or two every day for snacks like giant Jolly Ranchers, blow pops, and Munchos. Weren’t Munchos the best? In the rotation was the occasional day where we picked through the questionable jerky selection at the Copper Kettle and every kid sat around snacking on dried meats. I was basically the same then as I am now; acting like an expert and aficionado of my Jacks Links kippered beefsteaks while the cretins around me consumed their Slim Jims. Mine was the real beef jerky, the authentic one, and I made sure I let everyone know about it. I was probably 8 so, again, nothing has changed.
In college, housemate Davey’s father came to visit and brought with him a large bag of elk jerky he made after a recent hunting trip. It was delicious and he pretty much blew my mind when he explained to me that he had made it in his oven using a little liquid smoke. Whatever that meant. Even if I didn’t understand that liquid smoke was a real thing that didn’t just exist in Mr. Johnston’s pantry and the Flaming Homer on the Simpsons, I was very intrigued with making it myself. And a brief 11 years later, I decided to do just that.
I got started with the cheapest thick cut steak I could find at the grocery store. Making jerky is right up my alley since it takes something inexpensive and turns it into something tasty.
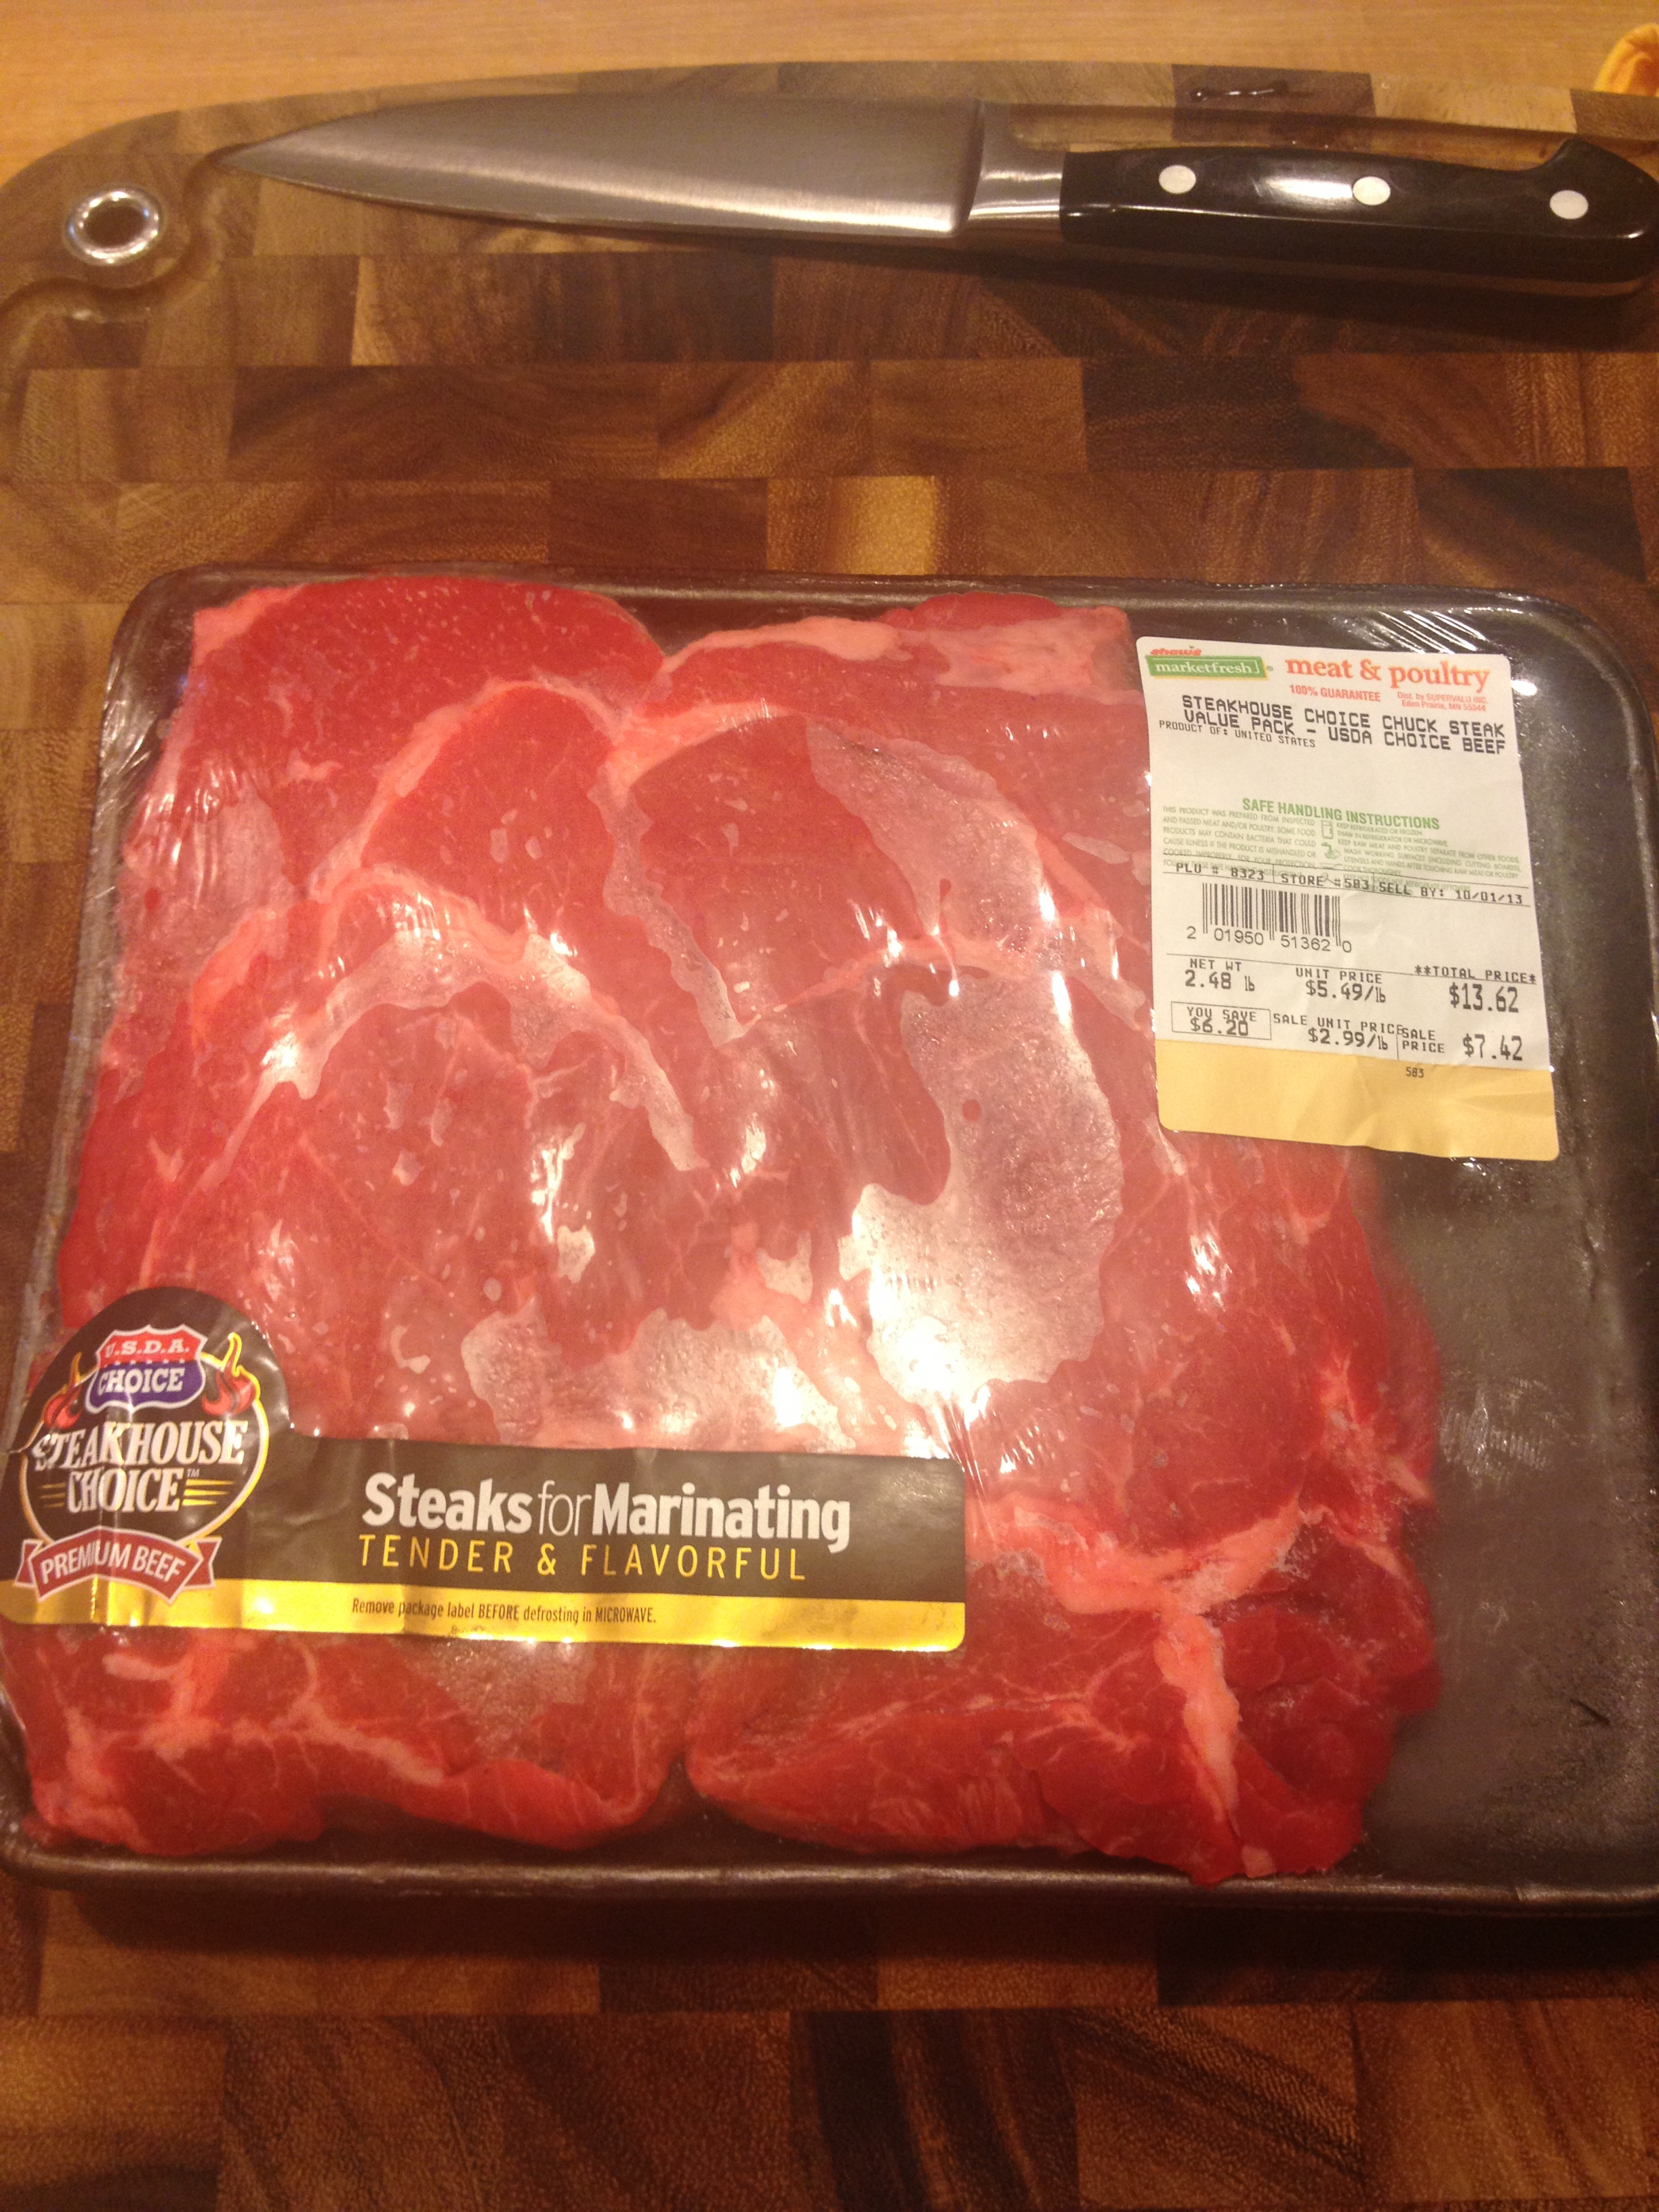
I’m not sure whose family these family-sized packs are for but I sure hope they like gristle! The steaks looked much nicer in the grocery store, but slid to one end and got mushed around when I re-purposed my backpack as a reusable grocery bag for the commute home
I went with chuck steaks since they were on sale. Since then I have also used round steaks (since they were on sale that time) and you could probably slice whatever cheap roast is available. Since the end product is supposed to be chewy, no need to be picky. You do want to avoid an cut where you can’t easily trim off the fat since fat doesn’t dry and makes the end product not last as long.
The meat sat in the freezer for a little under an hour to make it firm and easy to slice. With chuck in particular the fat makes the meat less dense and difficult to slice thinly with a knife. The freezer time helps it stay together a bit better, though I still struggled to cut slices 1/8th of an inch thick.
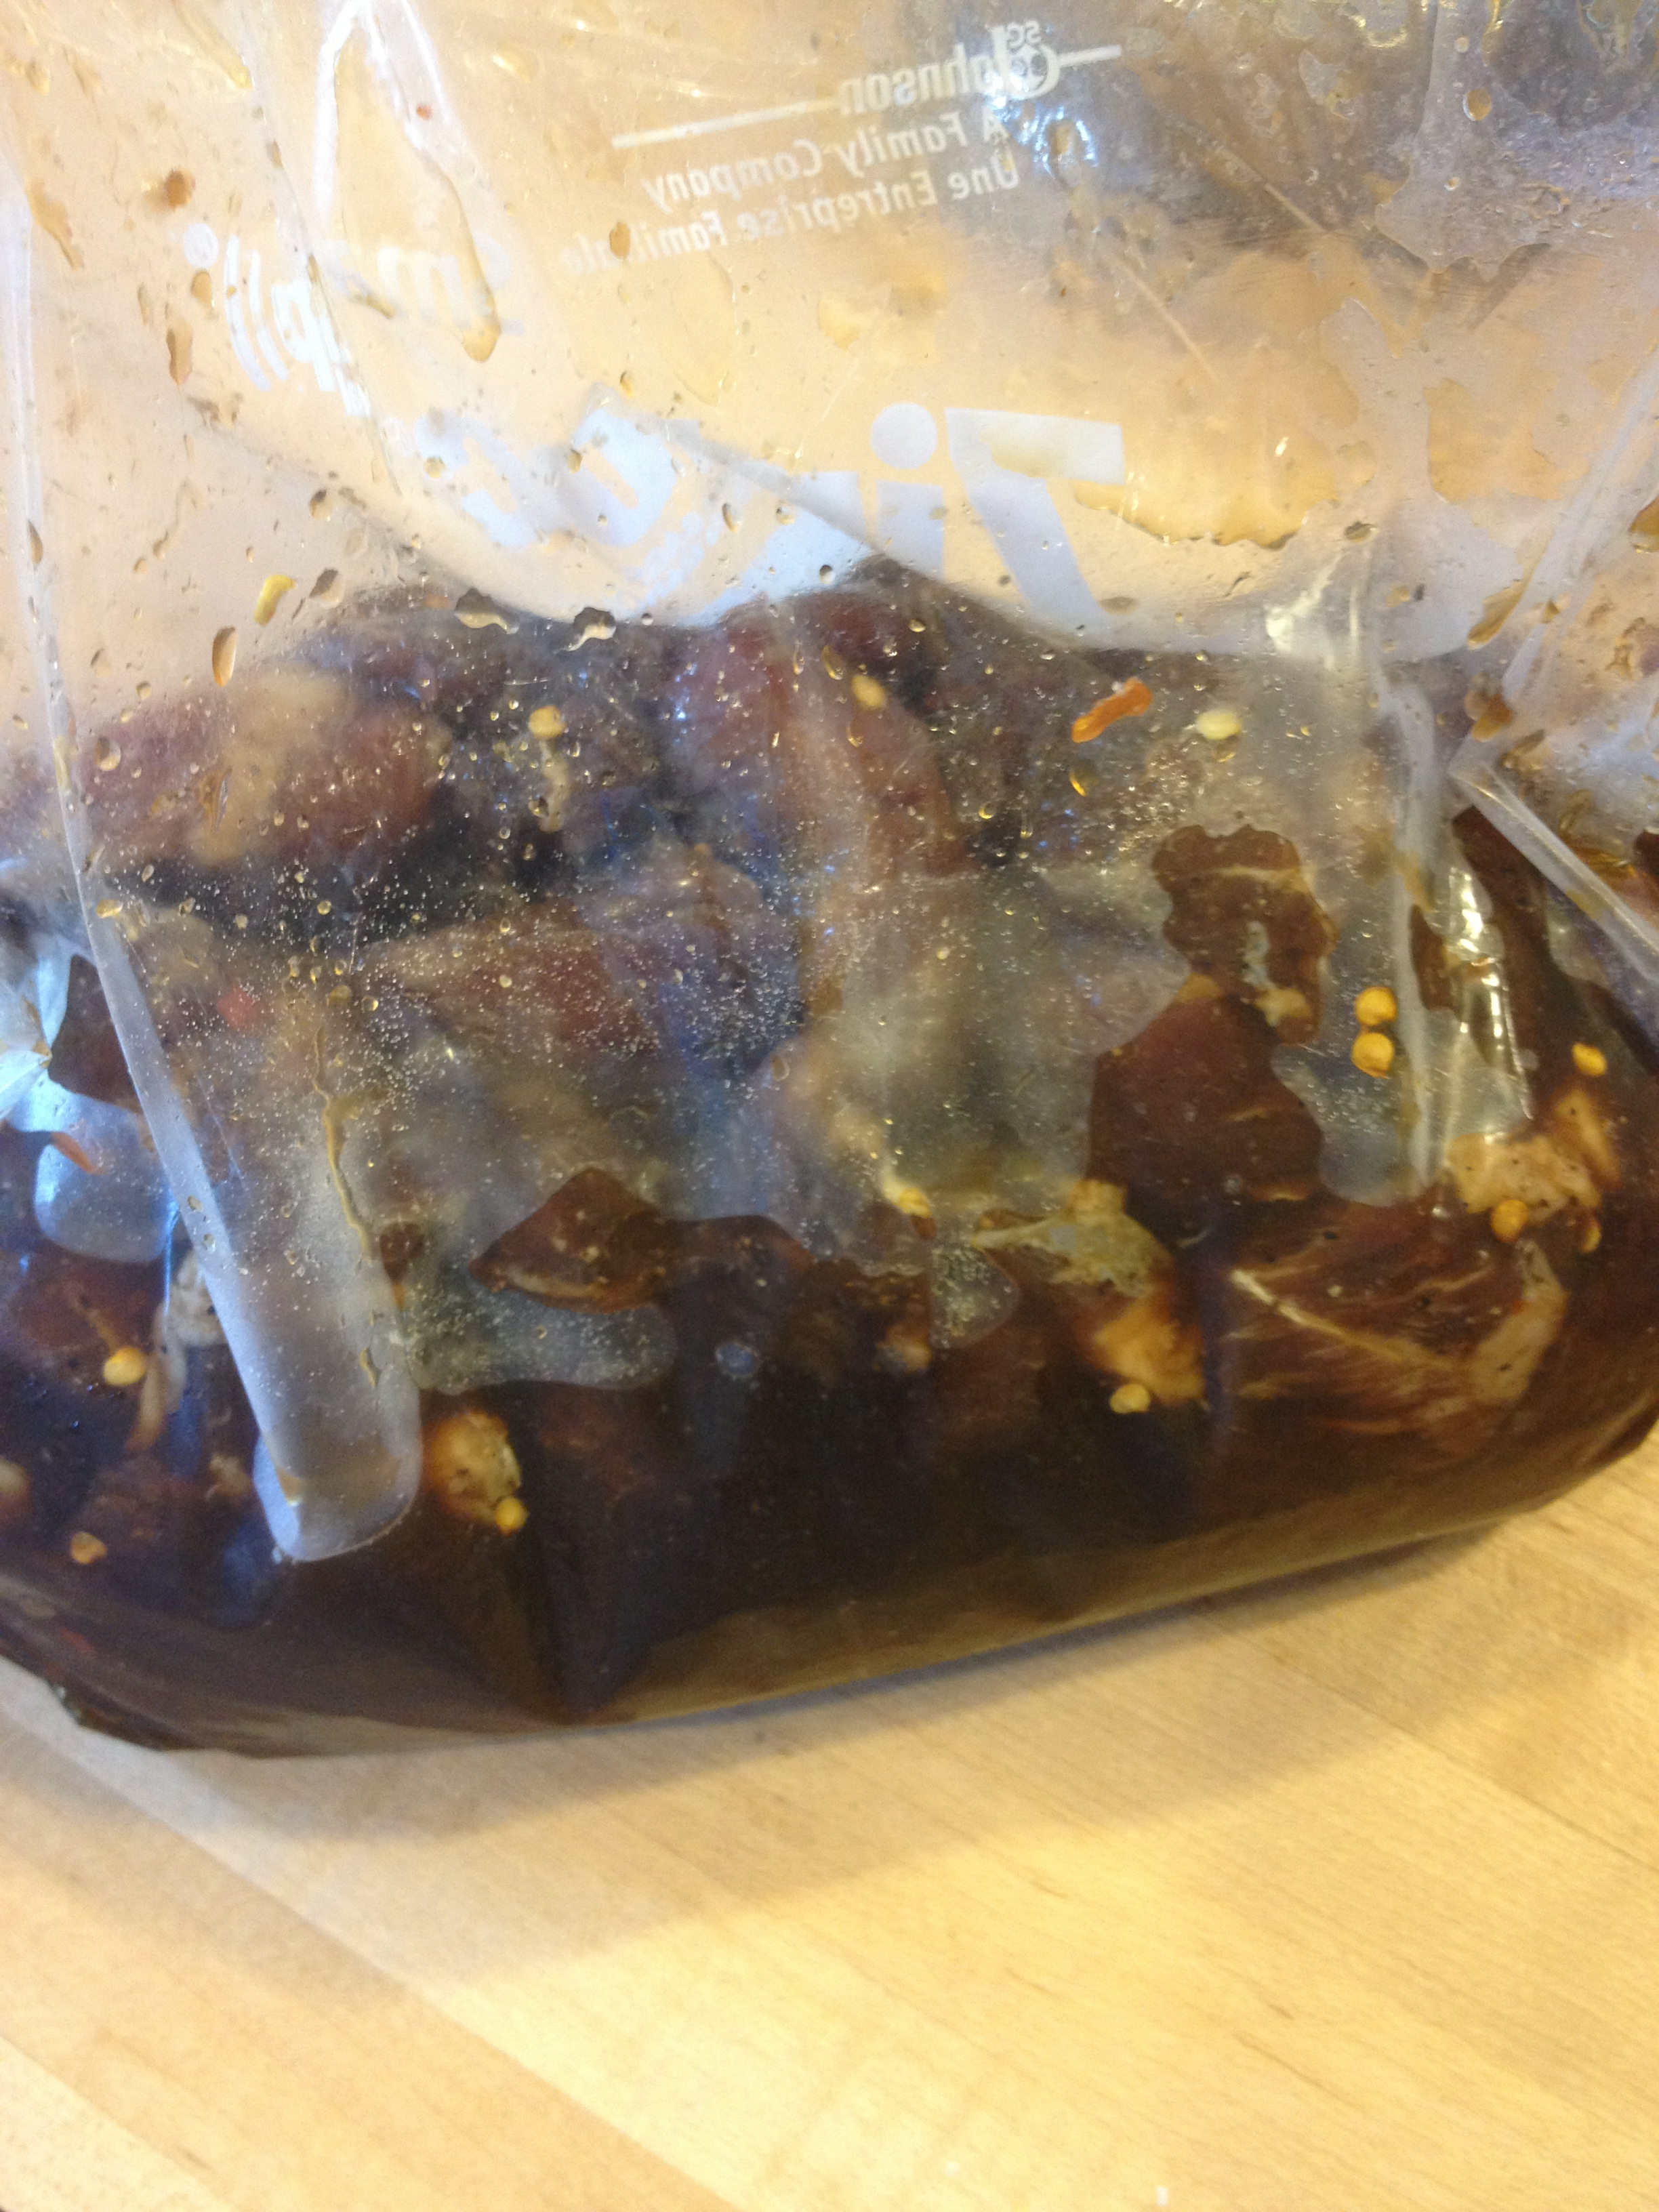
The slices went into a freezer bag with a marinade of soy sauce, brown sugar, worcestershire, liquid smoke, onion powder, garlic powder, cayenne, nutmeg, and crushed red pepper. All excess air in the bag was pressed out before sealing.
“Pressed out” is BS. In college I watched a friend pack toiletries in freezer bags and then suck the air out of the bag with her mouth to save space in her suitcase. She explained it by saying, “I used to date a drug dealer”. OK then. Valuable lesson for me in how to remove air from a marinating bag, though
The meat sat in the marinade for 12 hours to hopefully soak up as much of the flavor as possible. Over the course of that twelve hours I took time to open the fridge, awkwardly massage the marinade around, stare at the meat for a few minutes, then eventually put the bag back in the fridge.
After 12 hours, the slices came out of the marinade and I laid them out on a few separate plates lines with paper towels to drain off the excess liquid. Since jerky is just dehydrated/dried beef, any extra liquid left on the meat just makes the dehydration process take longer. So, it’s good to give some paper towel time.
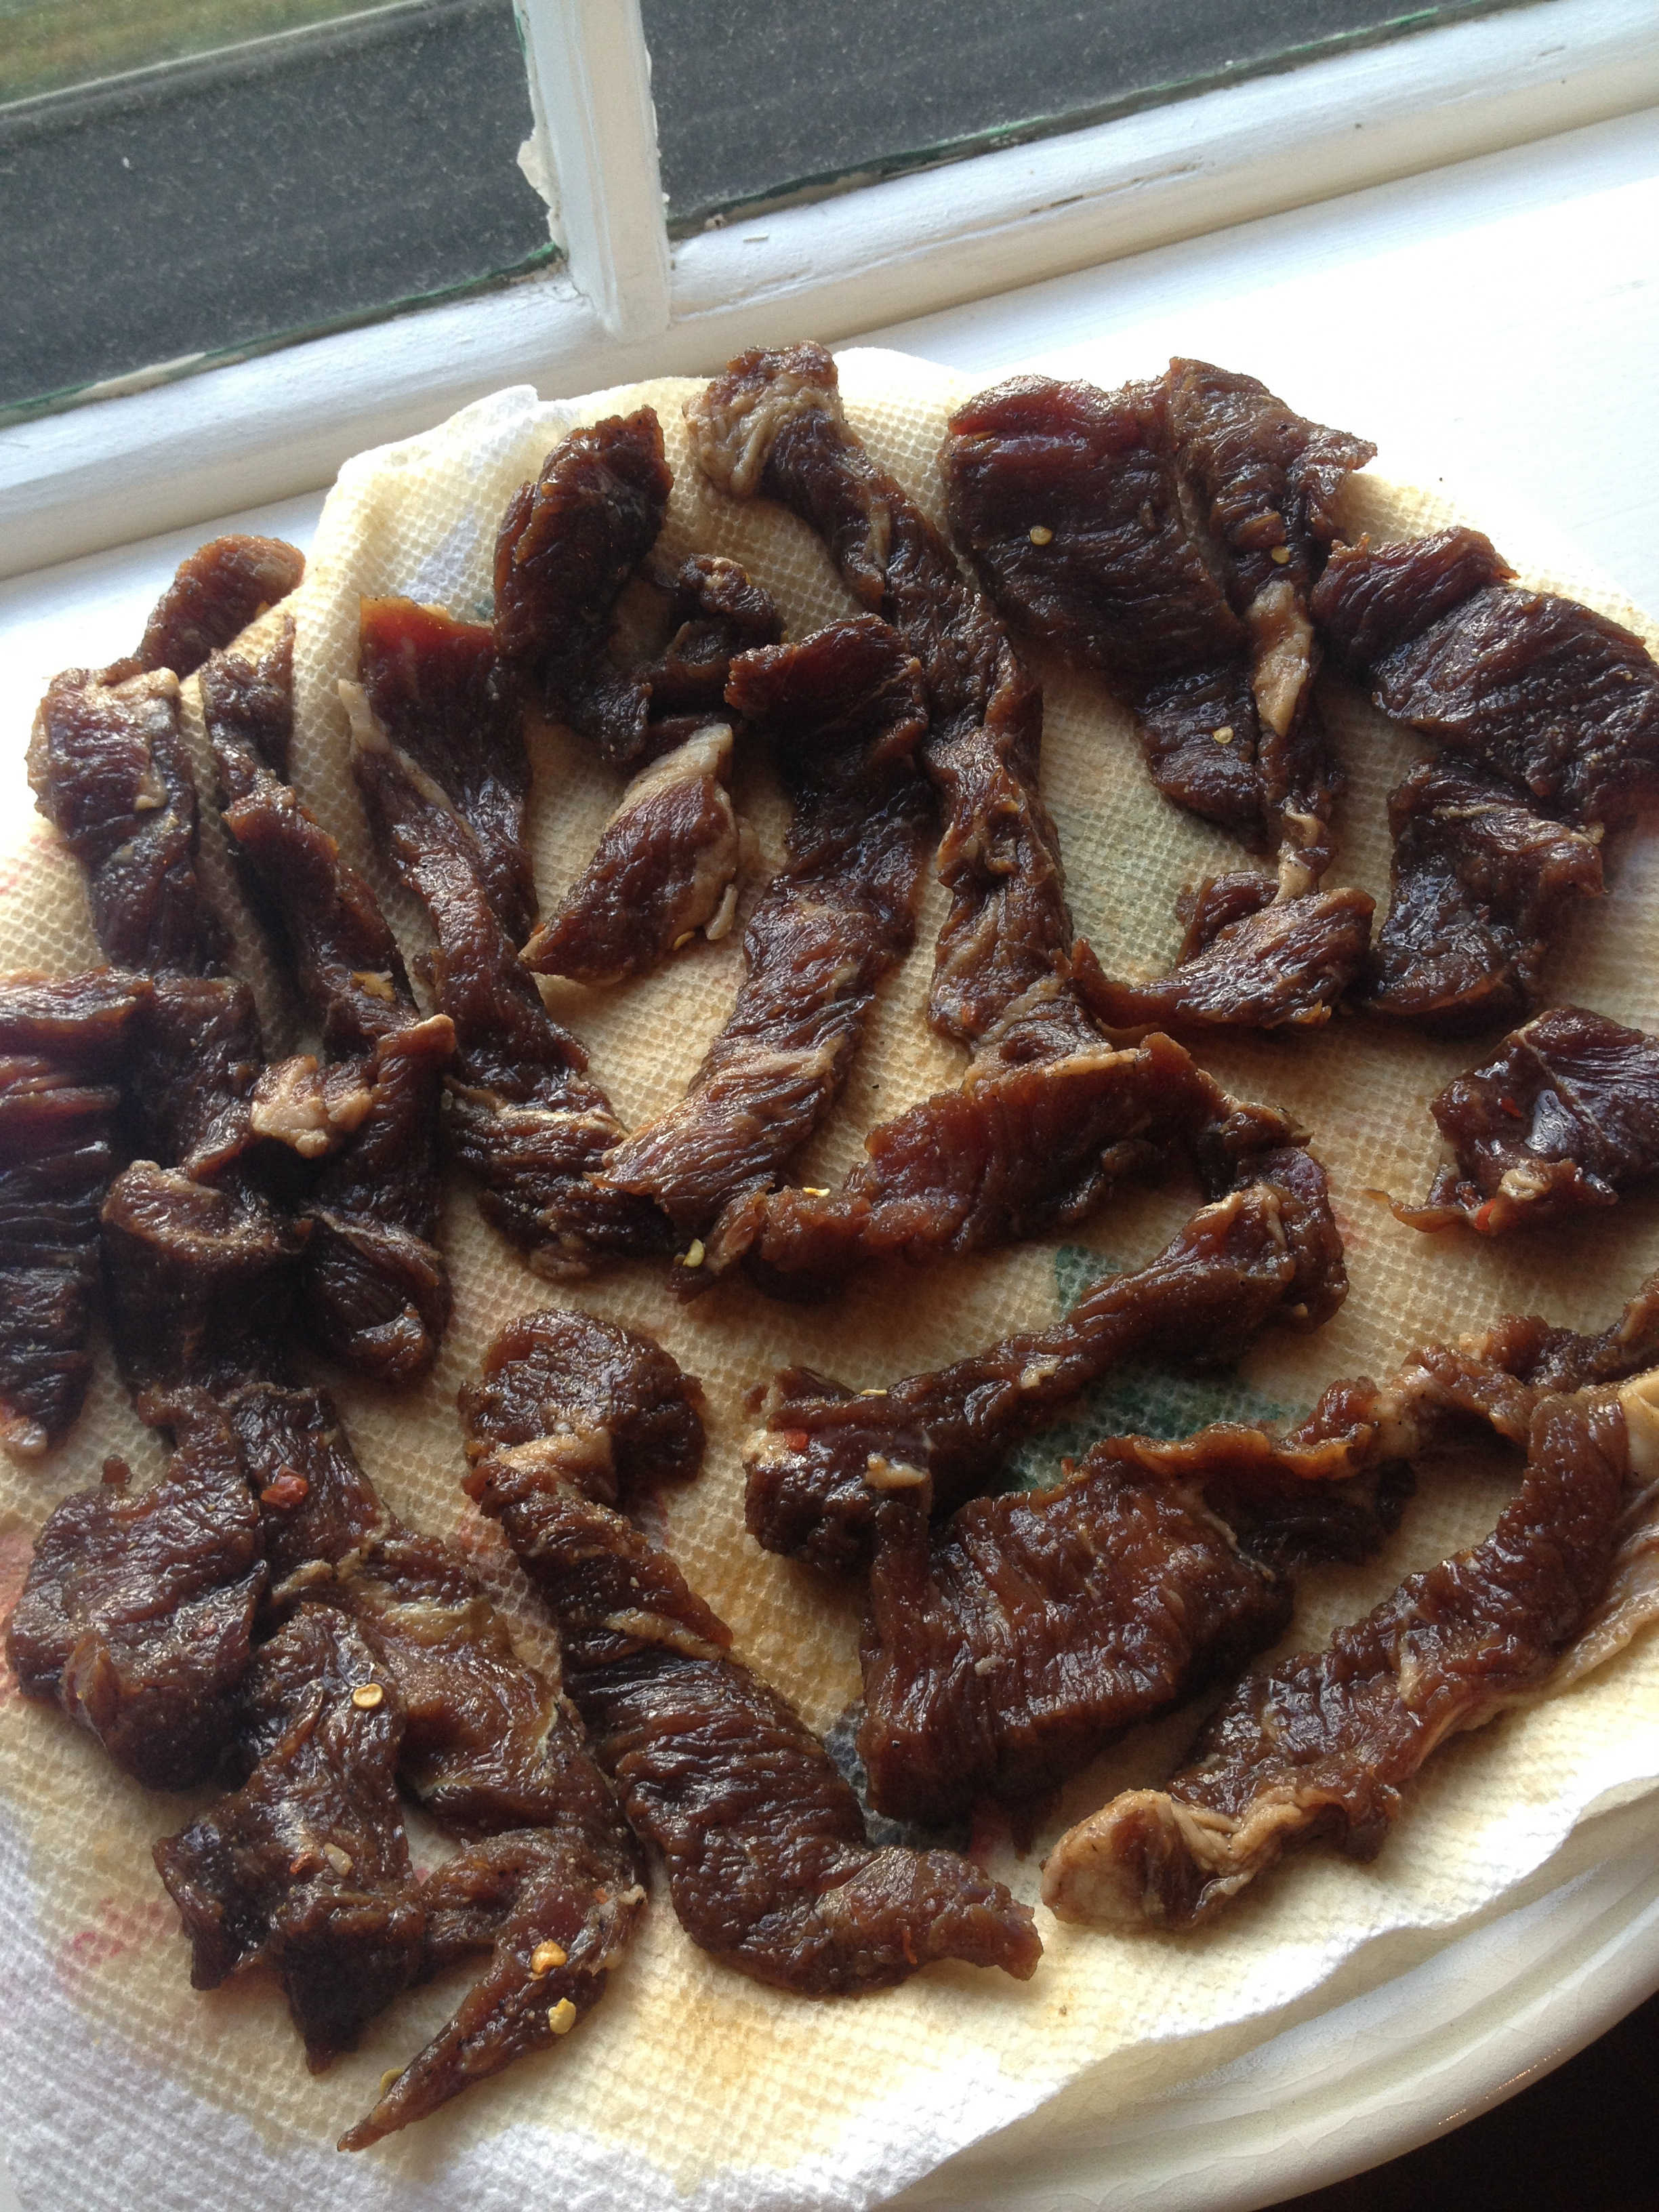
Window shots! I always thought jerky darkens to the near black color you expect through the smoking/drying process, but I learned it’s mostly the marinade
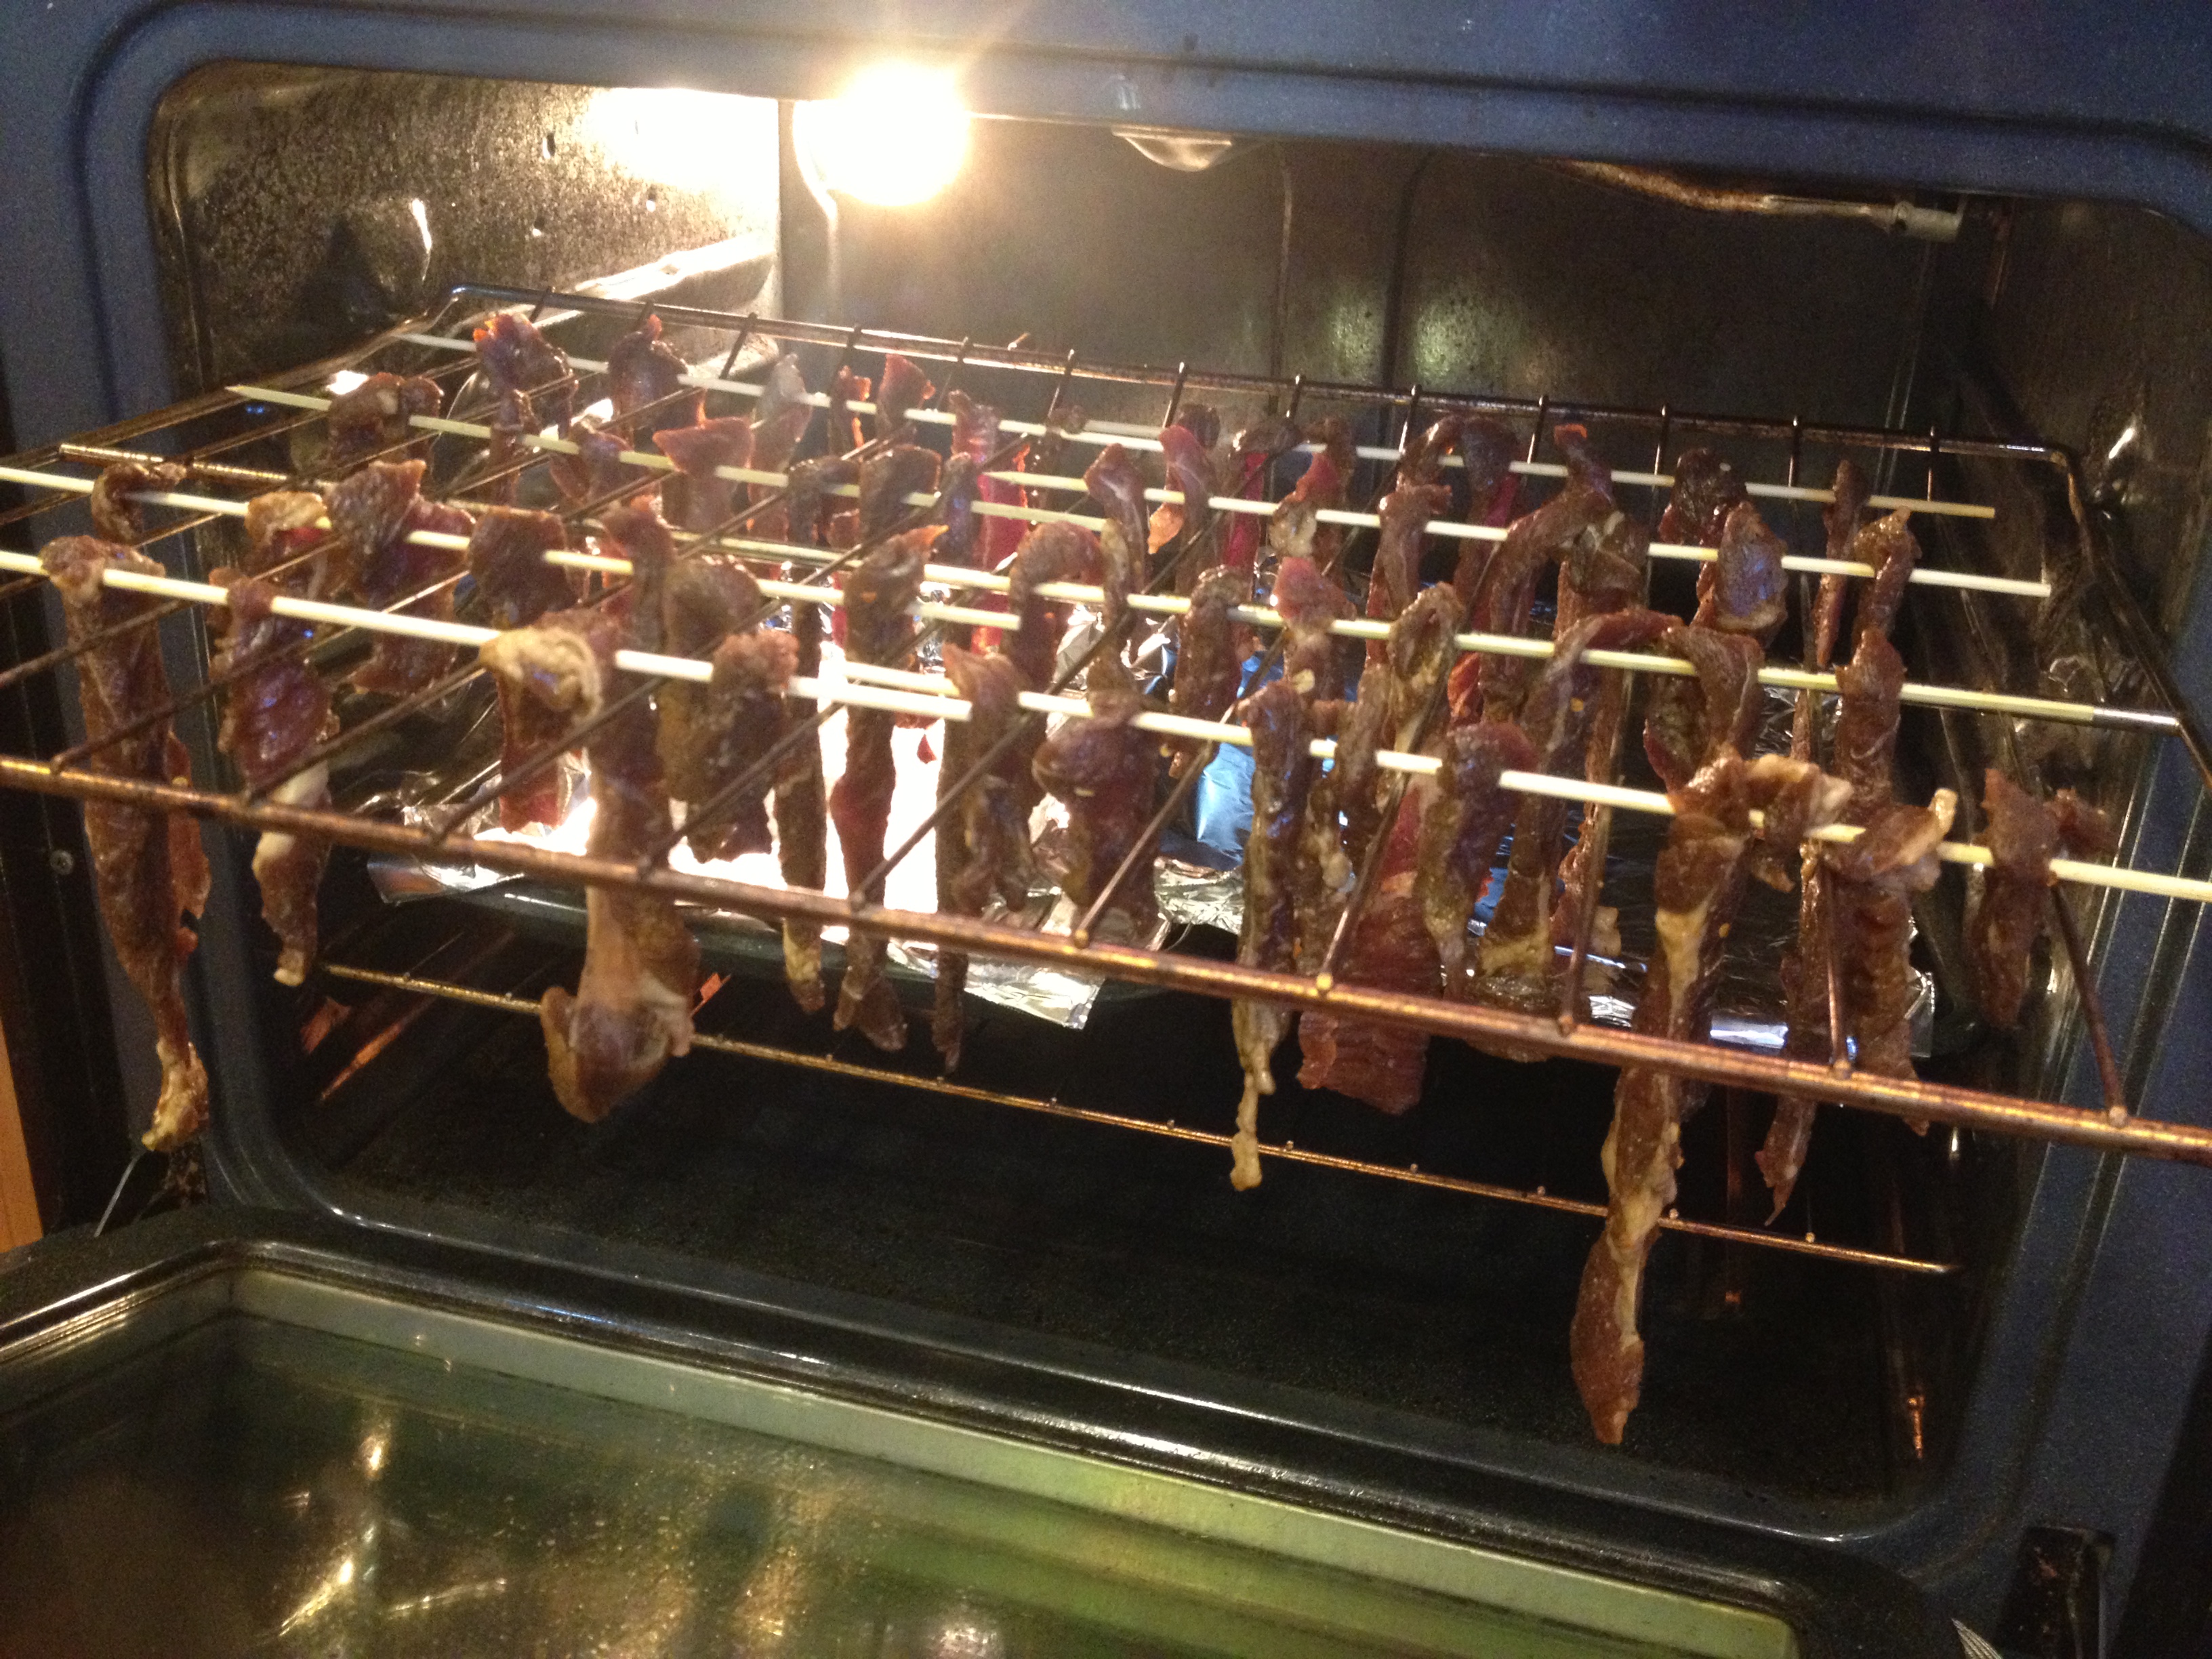
While the meat drained, I preheated my oven to 185F (it didn’t take long) and moved my oven racks to the highest and lowest placements. I put two baking sheets on the lower rack to make sure the entire bottom oven was blocked from drips coming down. I already have enough issues with my oven smoking due to browning meat inches from the broiler, I didn’t need burnt jerk stank adding to the potpourri.
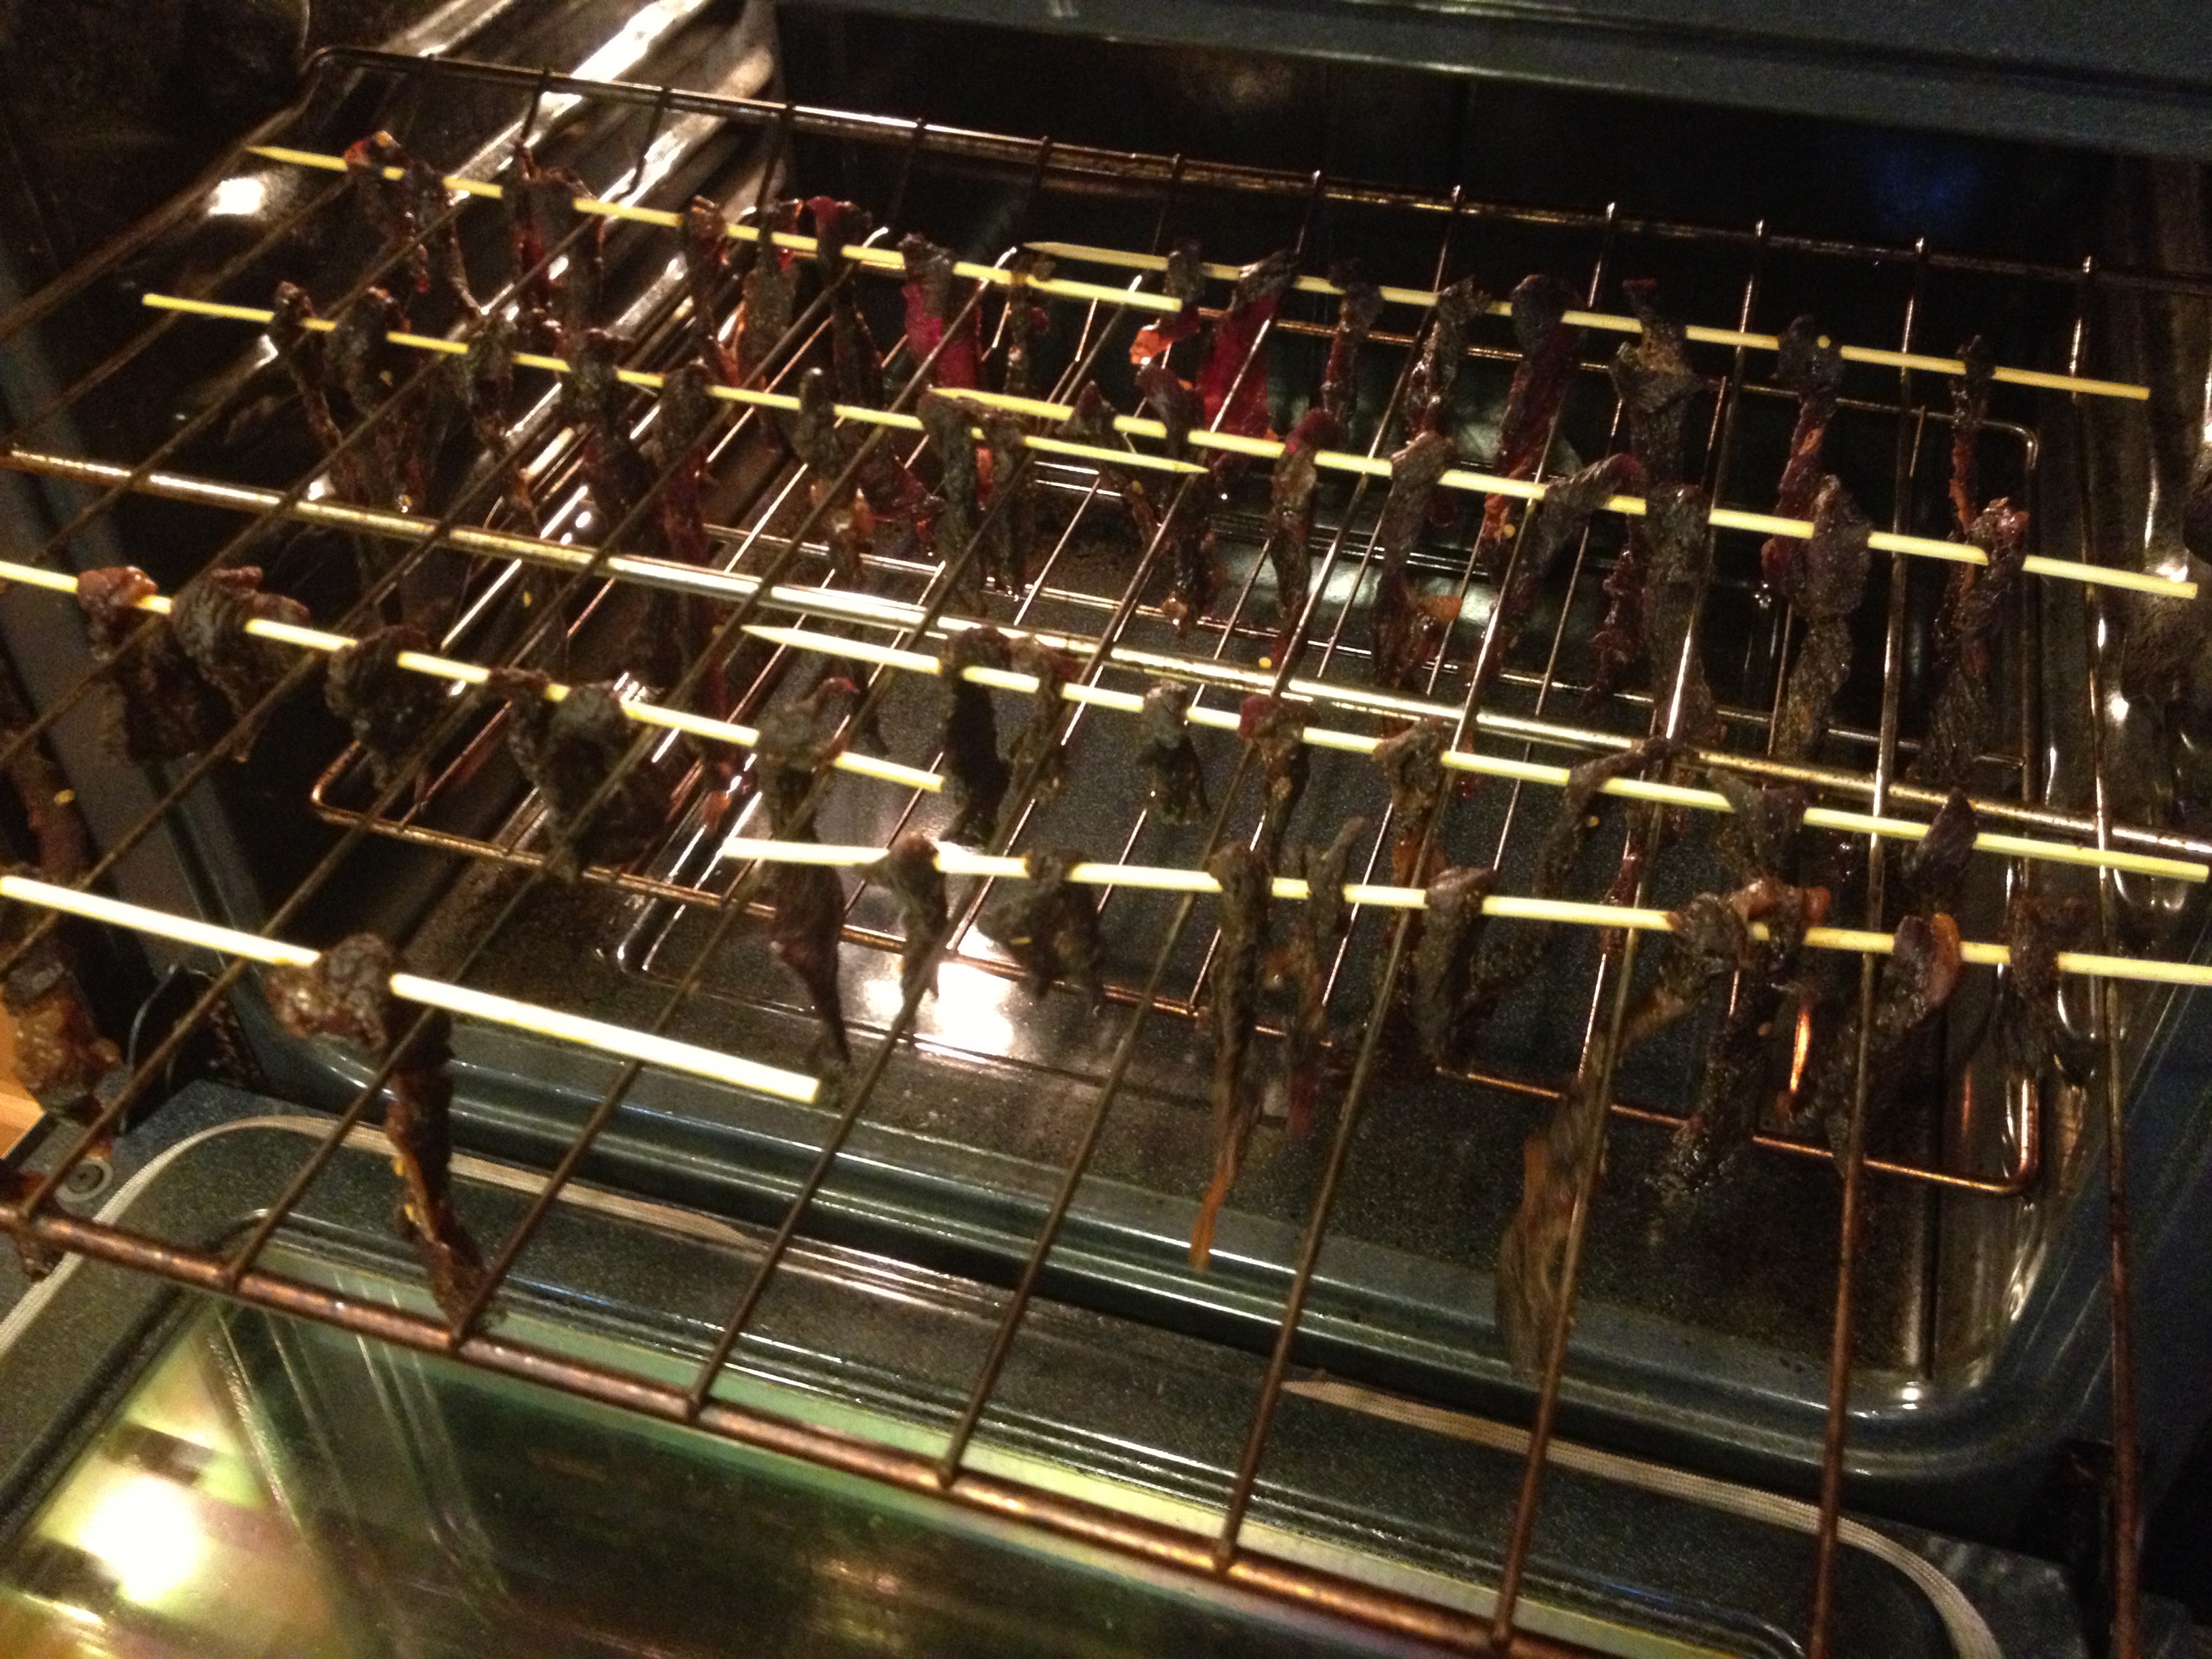
Once that was all set, I took a handful of bamboo skewers out and started hanging each piece of beef from one end, spaced about a half inch apart on the skewer. Each skewer could hold about 6-8 slices of beef. The idea is that the skewers would lie perpendicular to the wire racks in the oven with each slice of meat hanging down between the wire racks. Visuals help.
I never realized before trying to take pictures of this process that my oven light is actually a gigantic floodlight pointed directly at my eyes
The hanging beef went into the oven at 185F with an oven mitt wedged in the door so it would stay slightly ajar. I hadn’t thought of this before seeing a comment about it on the internets, but in order to make jerky you need to let the moisture vent out of the oven or the meat will never dry. The door being open allows air flow so that can happen. Look at me going all Bill Nye on y’all!!!
Aside from the oven mitt, there isn’t much you need to do while beef jerky cooks. Eventually, somewhere between 8 and 12 hours of drying you have this.
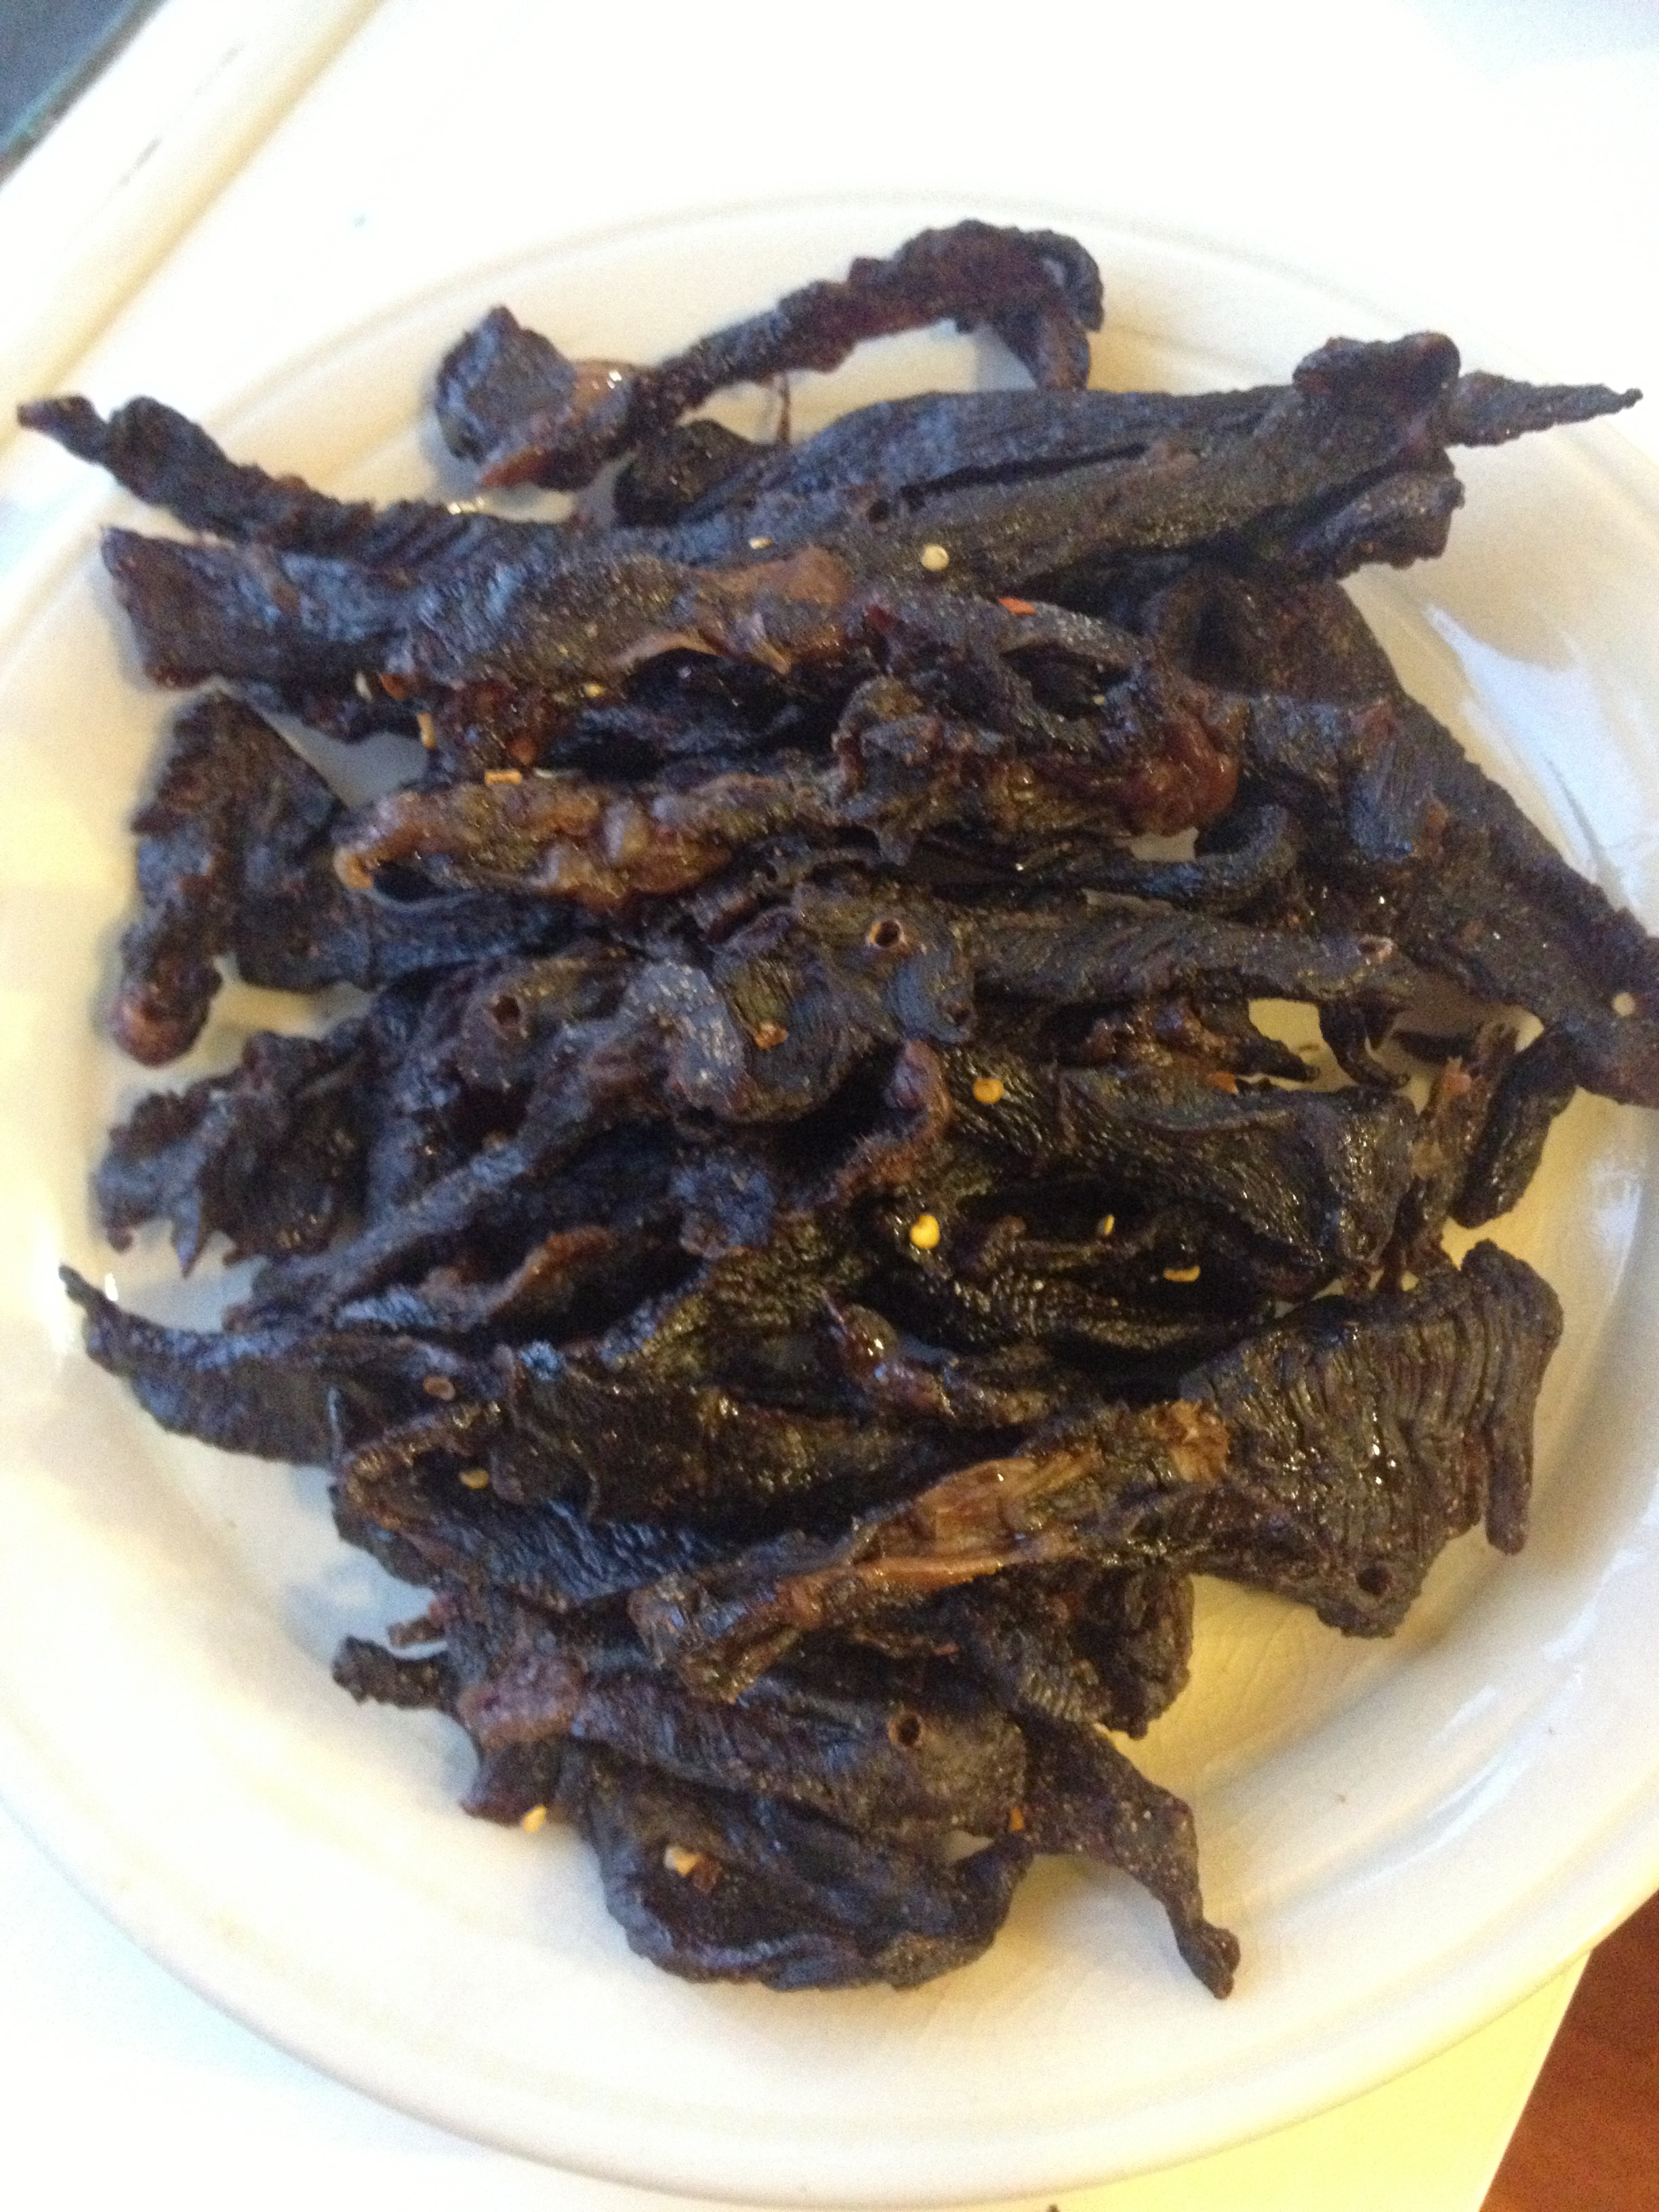
Everything shrivelled up far more than I expected. It looked like each piece was about 2/3s the size of when it went into the oven. It also smelled amazing
This is about the point that I pulled the meat out of the oven for good, I think it had been just under 10 hours. I knew the meat was ready because the exterior felt solid and had only the slightest amount of give when squeezed. I also tried a piece and it had reached the right point where there was still a little moisture to the meat, but drying it any further would make it leather. I removed the skewers and piled the meat up to cool.

Don’t get me started on warm jerky. If you were hoping to make jerky once and then move on forever, warm jerky will derail that plan. All the flavor and none of the jaw exhaustion of regular jerky
Before the jerky cools completely, you have to remove the skewers to make sure they don’t get stuck and leave behind wood slivers in the meat. Jerky splinters would be bad. For reference, skewer removal is the part of the process where you end up eating about half the jerky.
Once you’re done with that, the jerky needs to cool completely before it can be transferred to a storage container and the refrigerator.
Lots of window shots in this post, likely because it was the only meal I’ve made during the day in awhile
Making sure the jerky is completely cool before it goes in the fridge is important because it avoids condensation forming in the bag. Condensation would lead to your jerky rehydrating. As long as you avoid that, the jerky can keep in your fridge for 3-4 weeks supposedly, but I’ve never had the restraint to let mine last long enough to find out.
I won’t try to compare this to store-bought jerky because it is very different beast. The outside of the meat is hard and crunchy, almost like biting down on a stick, but the meat gives almost immediately in your mouth. It ends up being much easier to chew than your initial expectations. Also, there’s none of that weird greasy exterior that happens with bagged jerky, nor the paper thin pieces that feel like you are chewing on a latex glove. Lastly, the flavor is much better; it tastes like real beef and real ingredient. You can make it as sweet or spicy as you want (I recommend siracha in the marinade) and it is fun to experiment a bit.
Good way to spend a football Sunday. I’m just sayin’…


