Making sausage has been on the to do list for a few years now. I love sausage dearly in all varieties and the general idea behind sausage is how I like to cook: take the cheap cuts and make them into something tasty. The main reason I’ve never made it myself, aside from some ground sausage I never put into a casing, is because I was never able to easily find casings. Pretty stupid to actually put that in writing since anything I could possibly want can be delivered in two days via the internets, but it’s true. I’d seen them in the supermarket in Middlebury once but failed to pull the trigger, so a couple more years passed and now here we are.
A month or so ago I noticed that sausage casings magically appeared in the deli case of my local Stop & Shop. I pounced, thinking that there was a high likelihood I would miss my window again and spend years lamenting it. Pounced may actually be underplaying it, I may have walked rapidly to the register hiding the casings in my coat nervous that someone would take them from me.
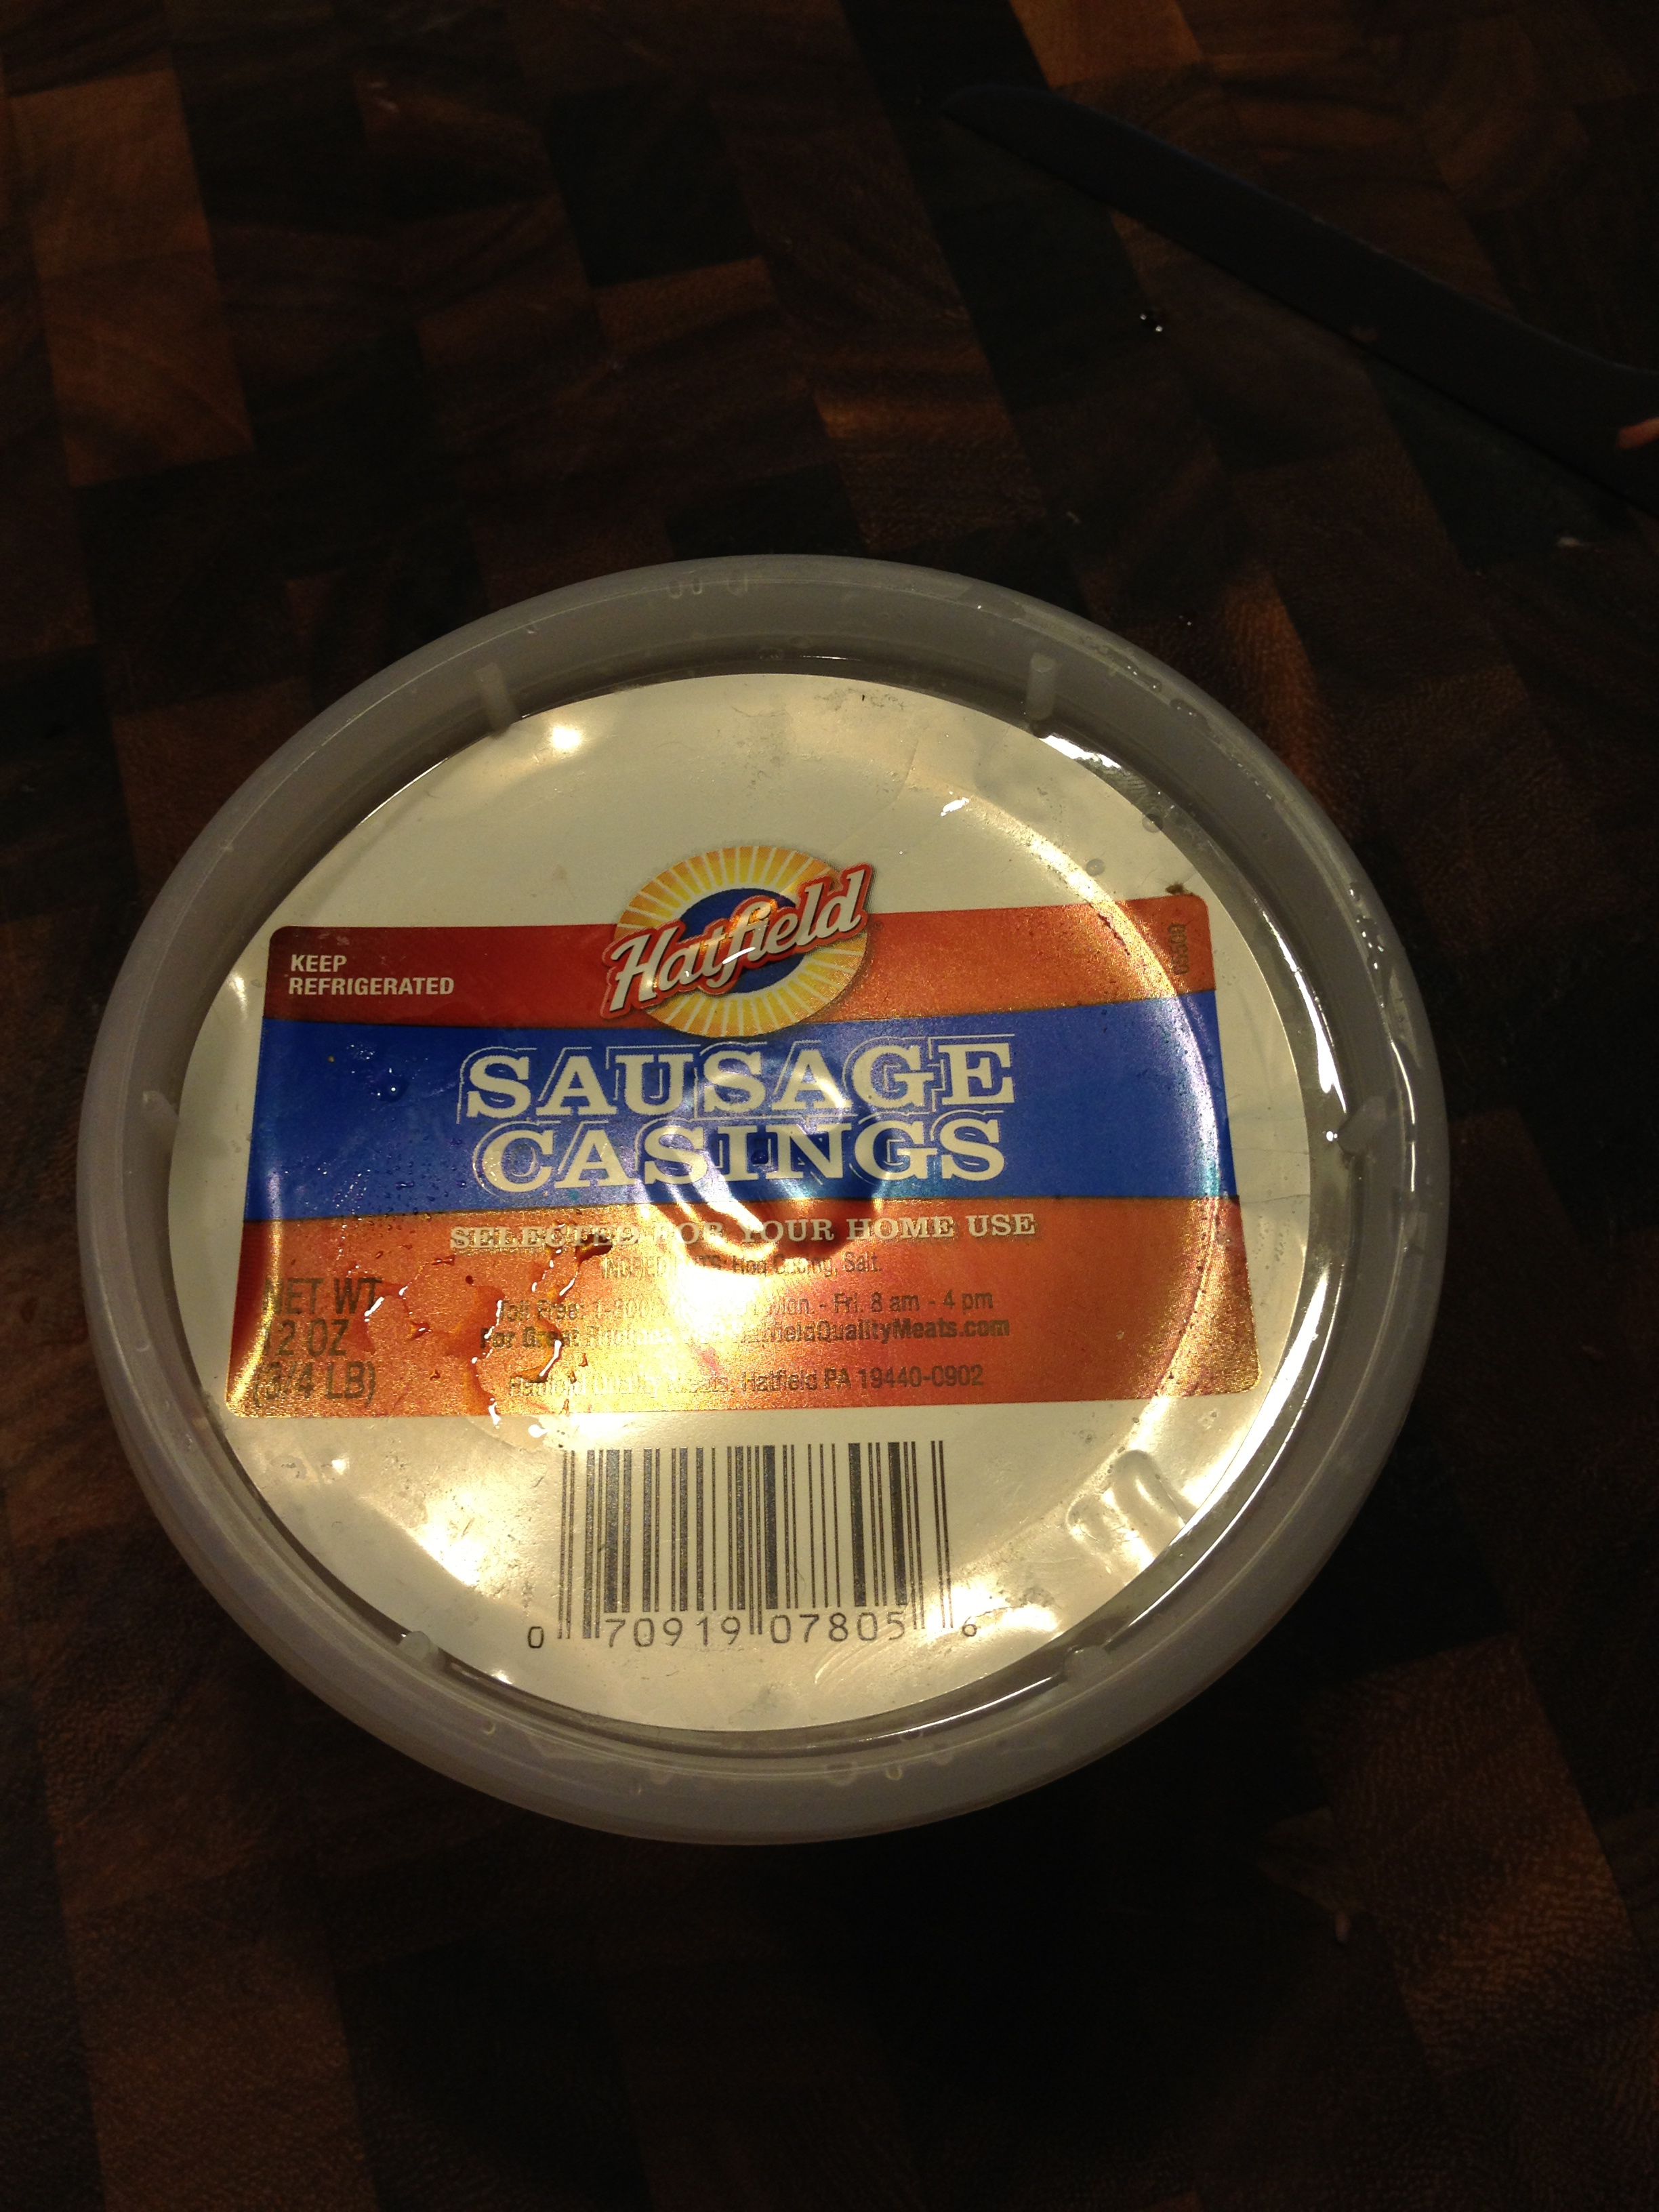
Nothing welcomes you back to Pete’s blog after a multi-month break better than a super sh*tty out of focus shot of a container. You’re welcome y’all!
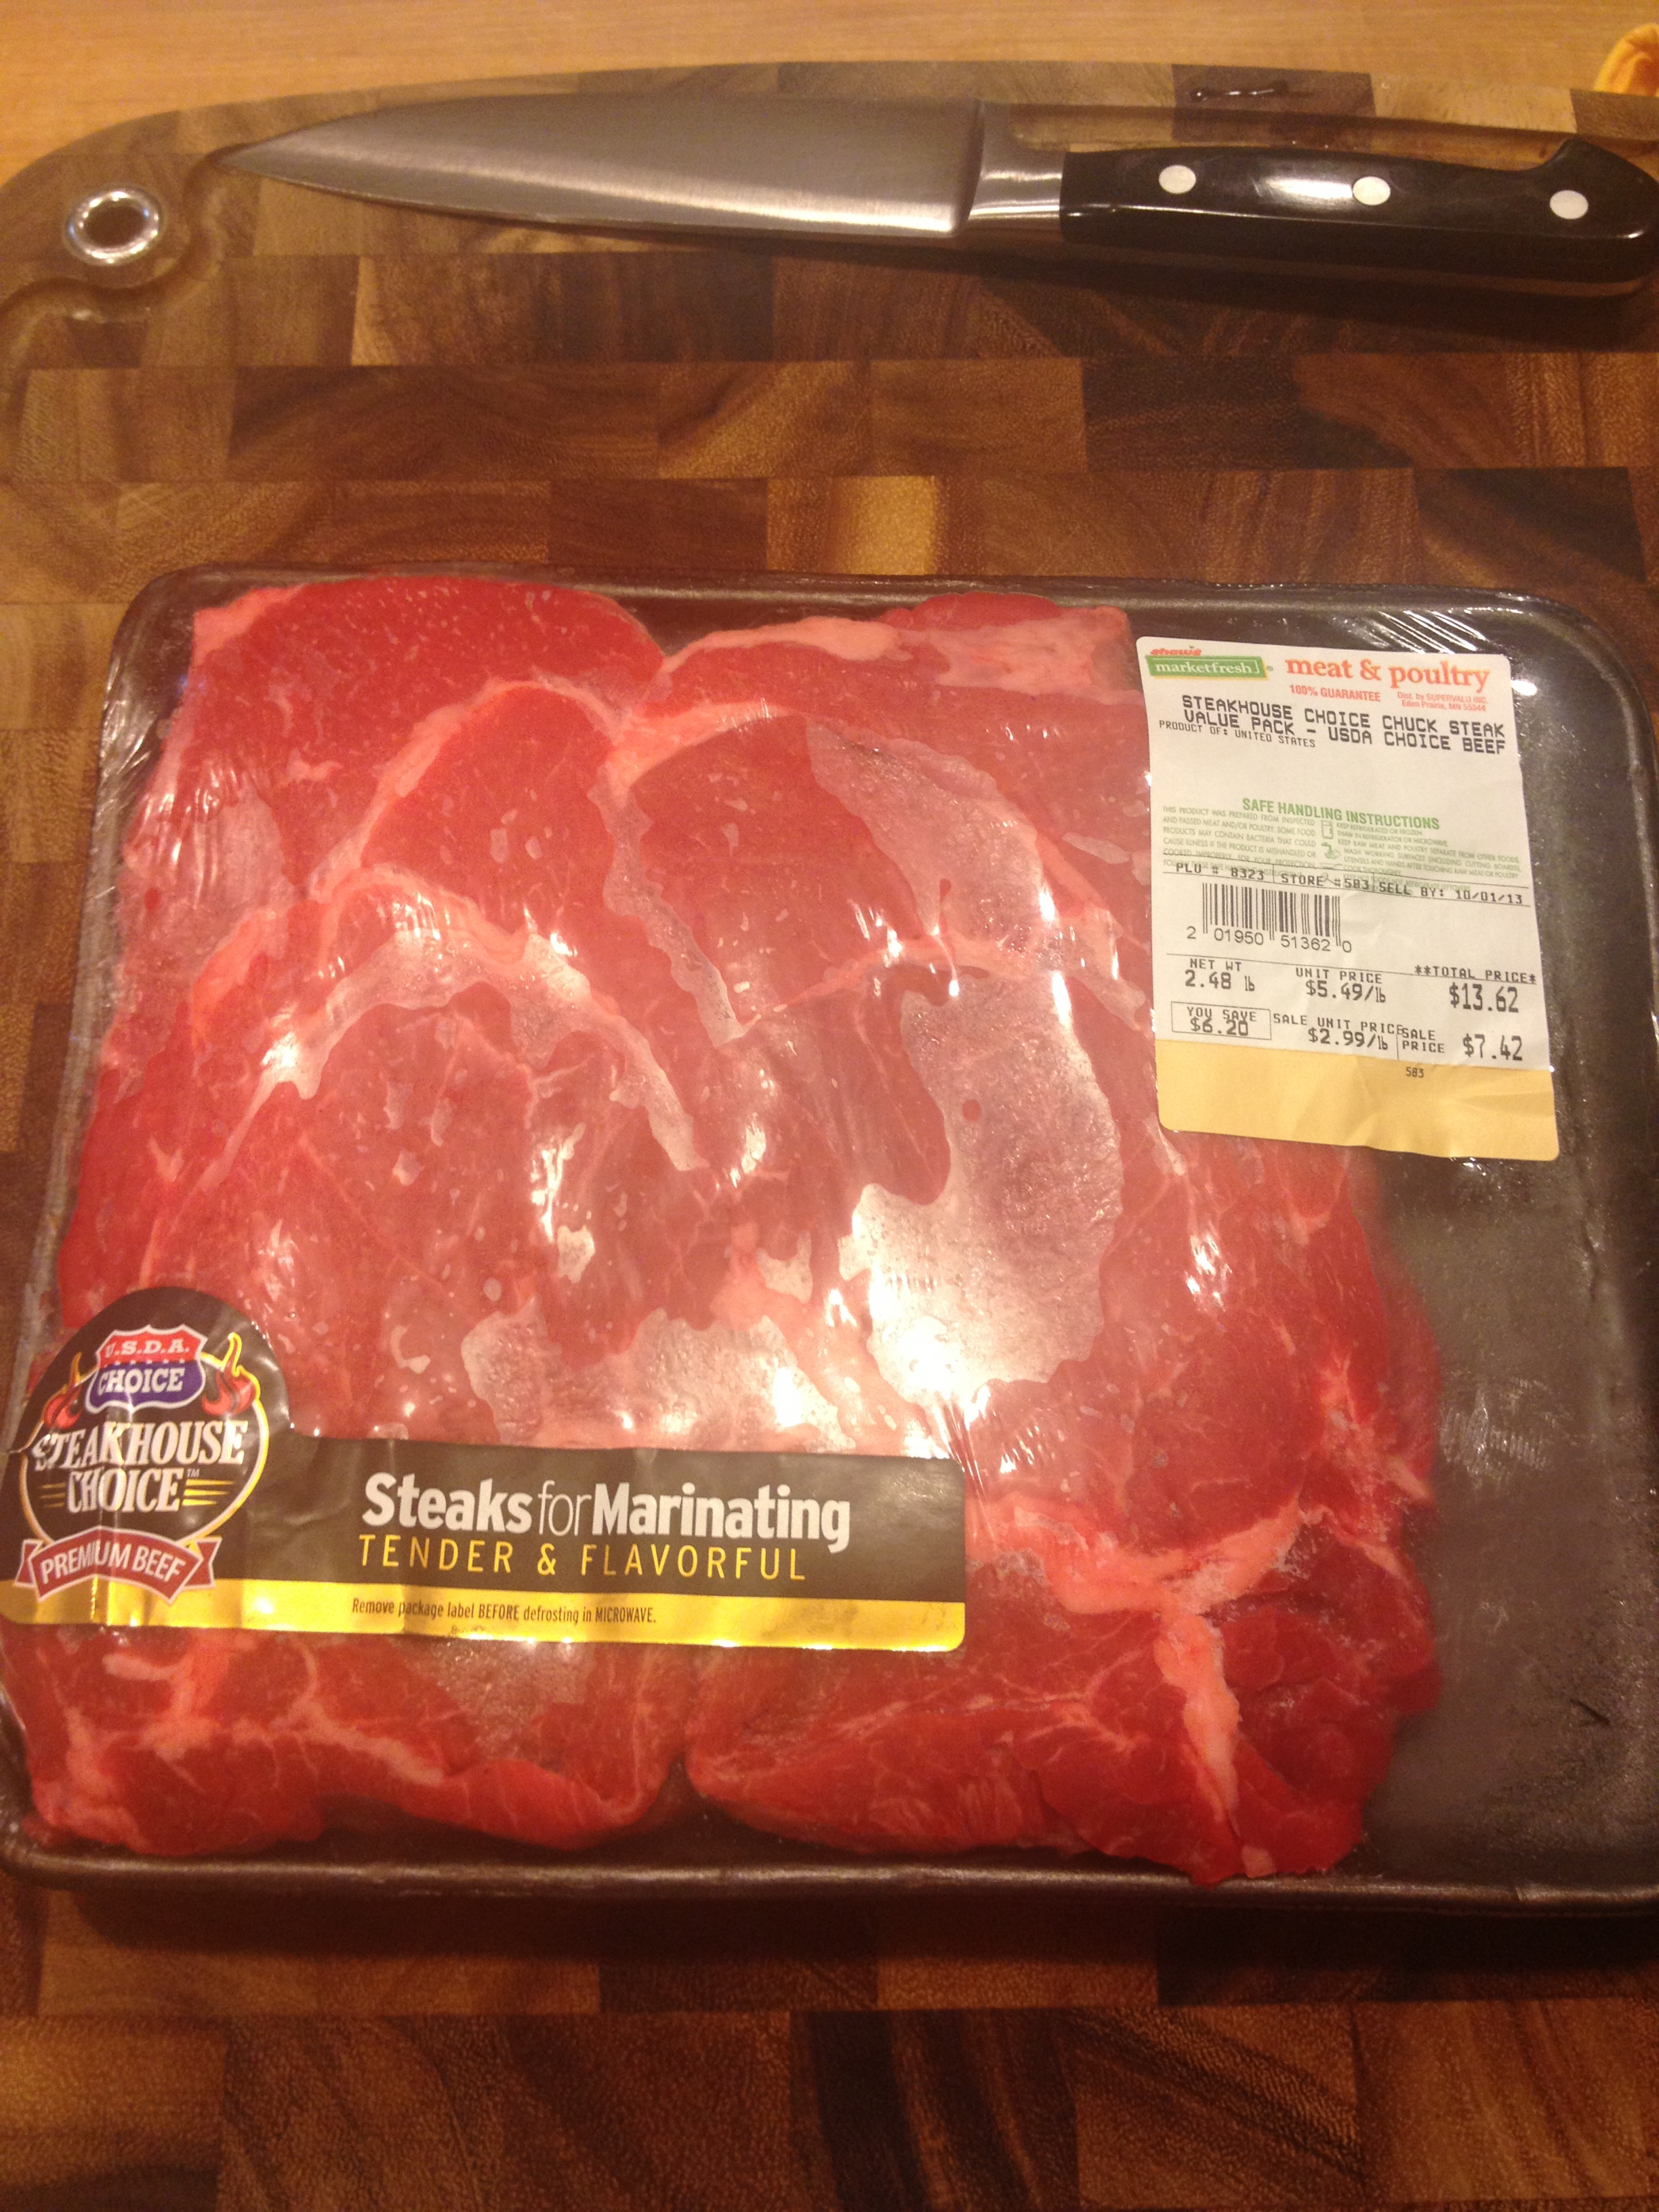
The above statement isn’t entirely accurate, since if I remember correctly that was the same grocery store visit where I discovered Stop & Shop had a bit of a pricing anomaly on their salted fatback.
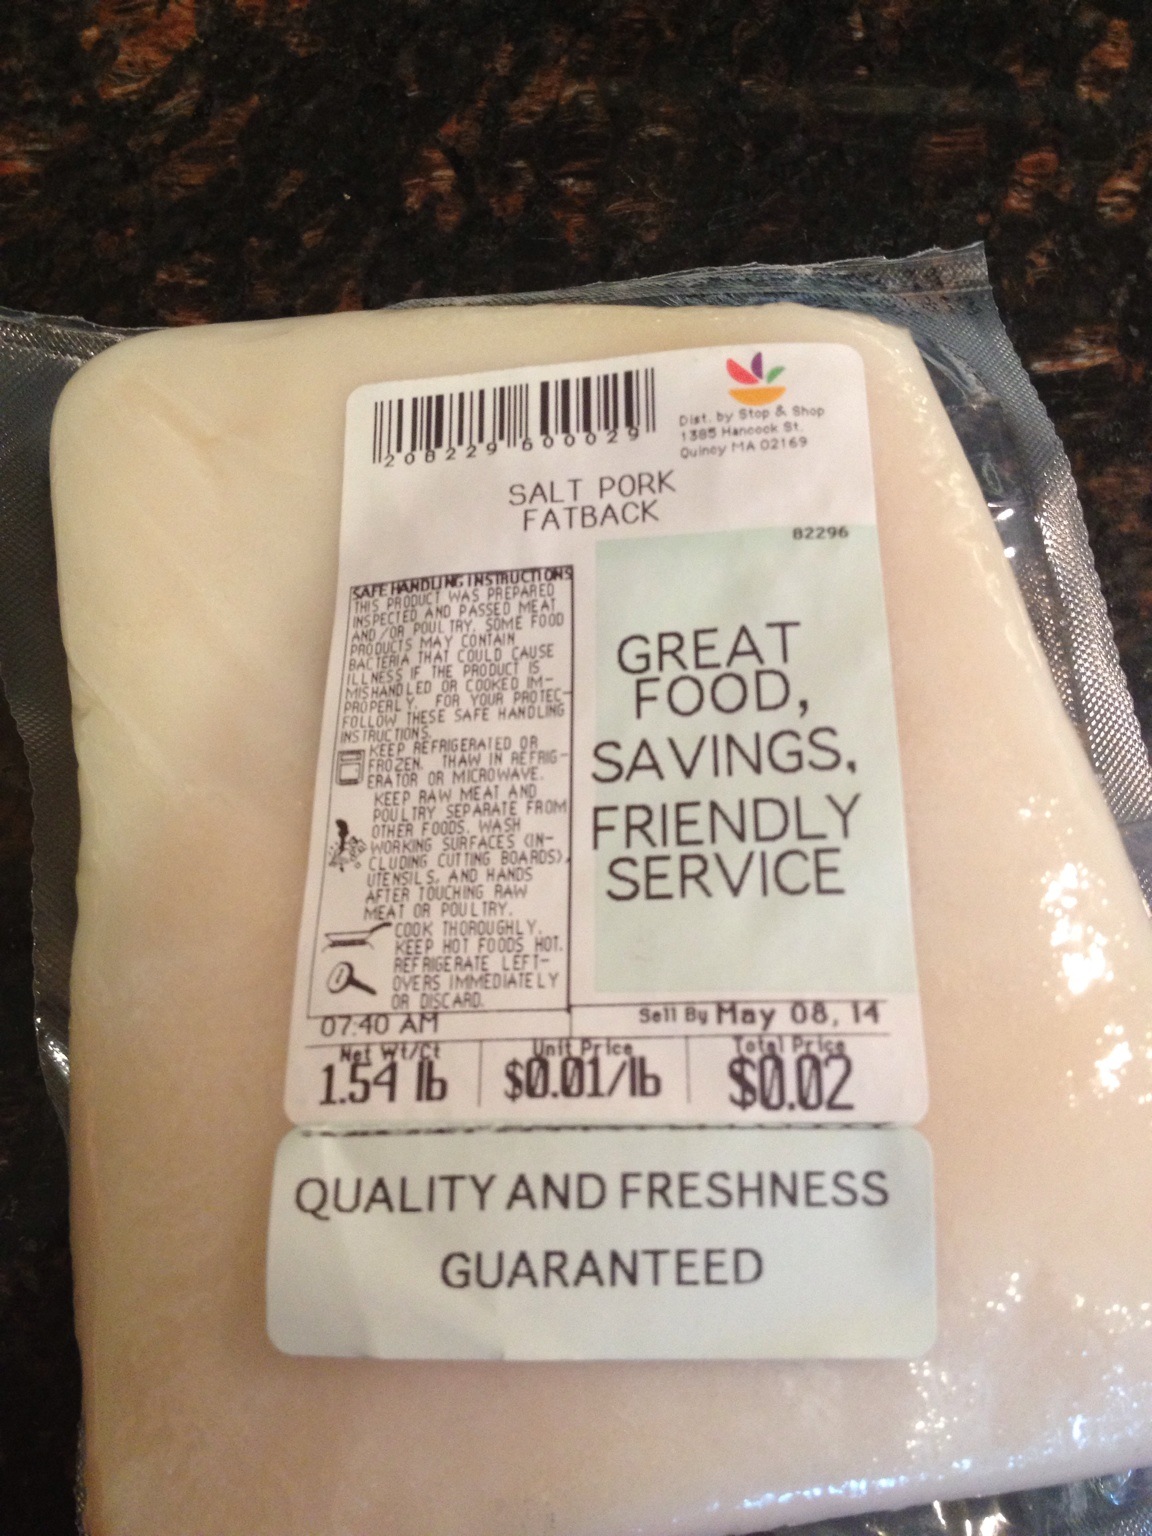
Another recent addition to the Stop & Shop shelves. Salt pork (belly) has always been available, but the salted fatback made something that is usually not easy to find very accessible. Plus, you know, it was two cents
If I could have bought every $0.02 package of salted fatback without risking my marriage, I would have. I knew I would never find a bargain like this again. Ever. A week later when I checked again the price had been raised to a nearly unfathomable $2.99 a pound and a I felt like a fool for not purchasing all ten packages previously.
Both the casings and the salted fatback would keep for months, so I left them in the fridge to occasionally stare at and daydream. A few weeks later, whole pork shoulders were on sale for $.89 a pound and my fridge/freezer was officially loaded with the basics for some sausage making. I got started by rinsing the excess salt off of the fatback and cubing it.
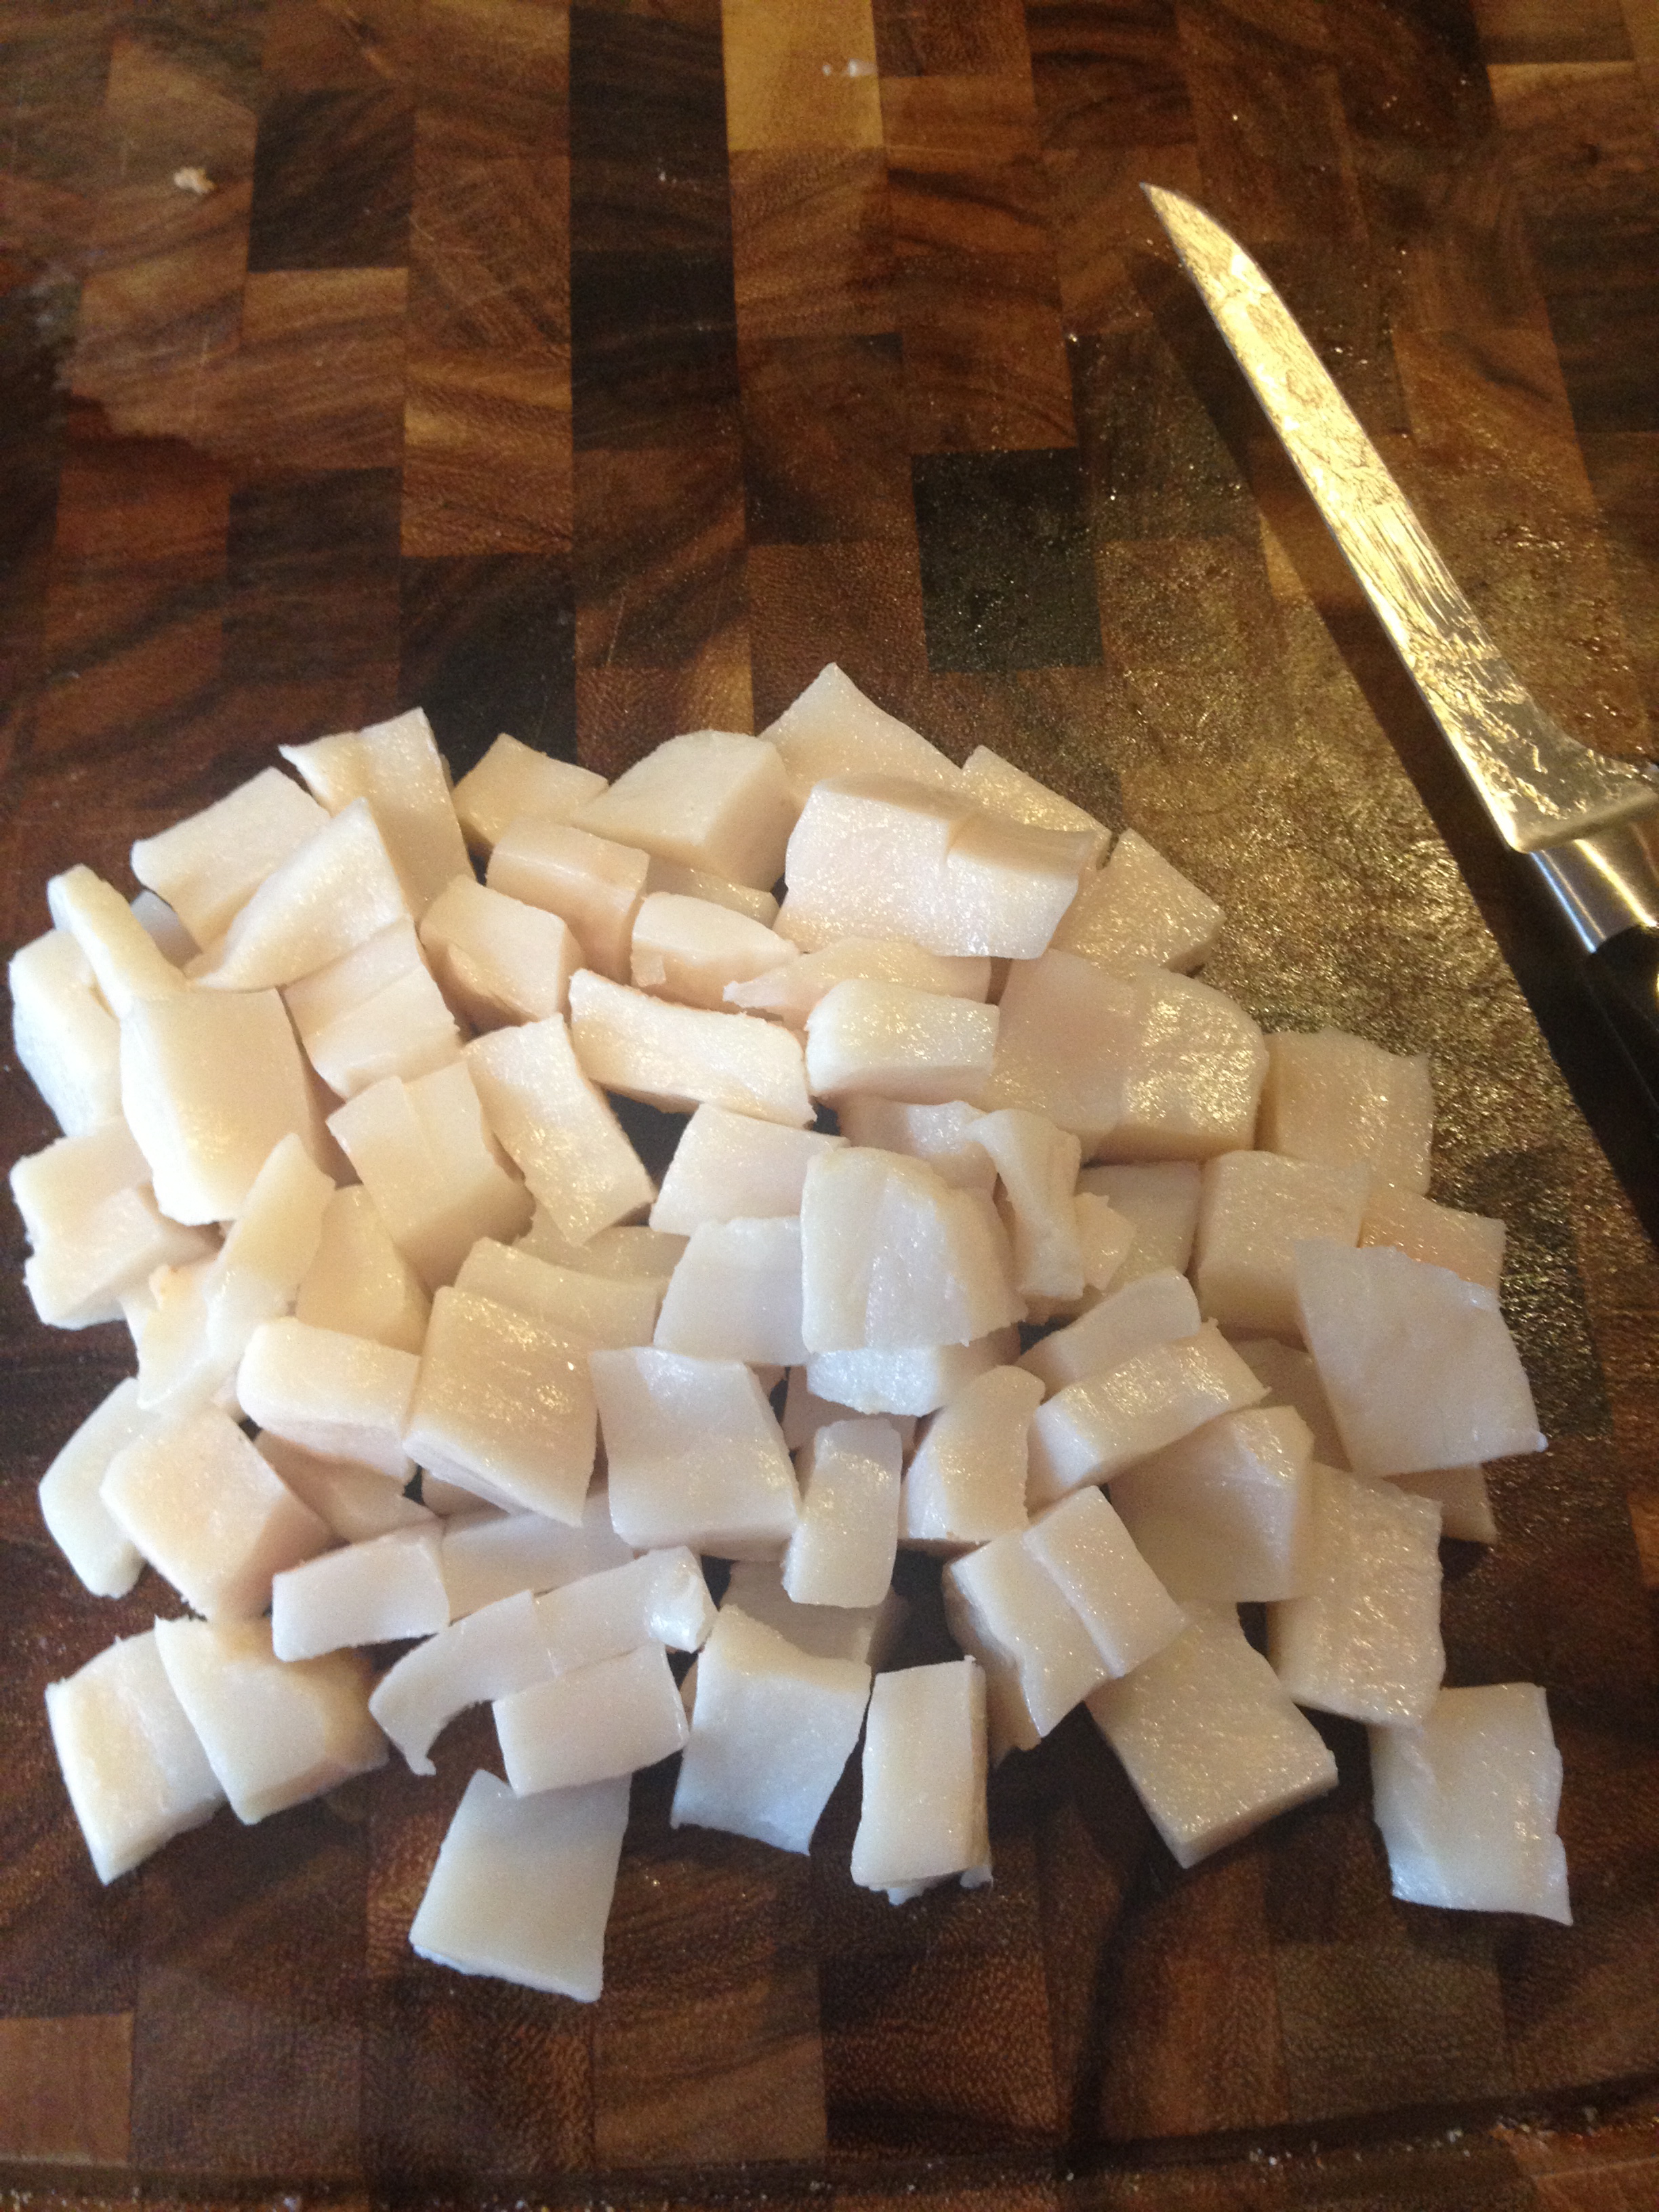
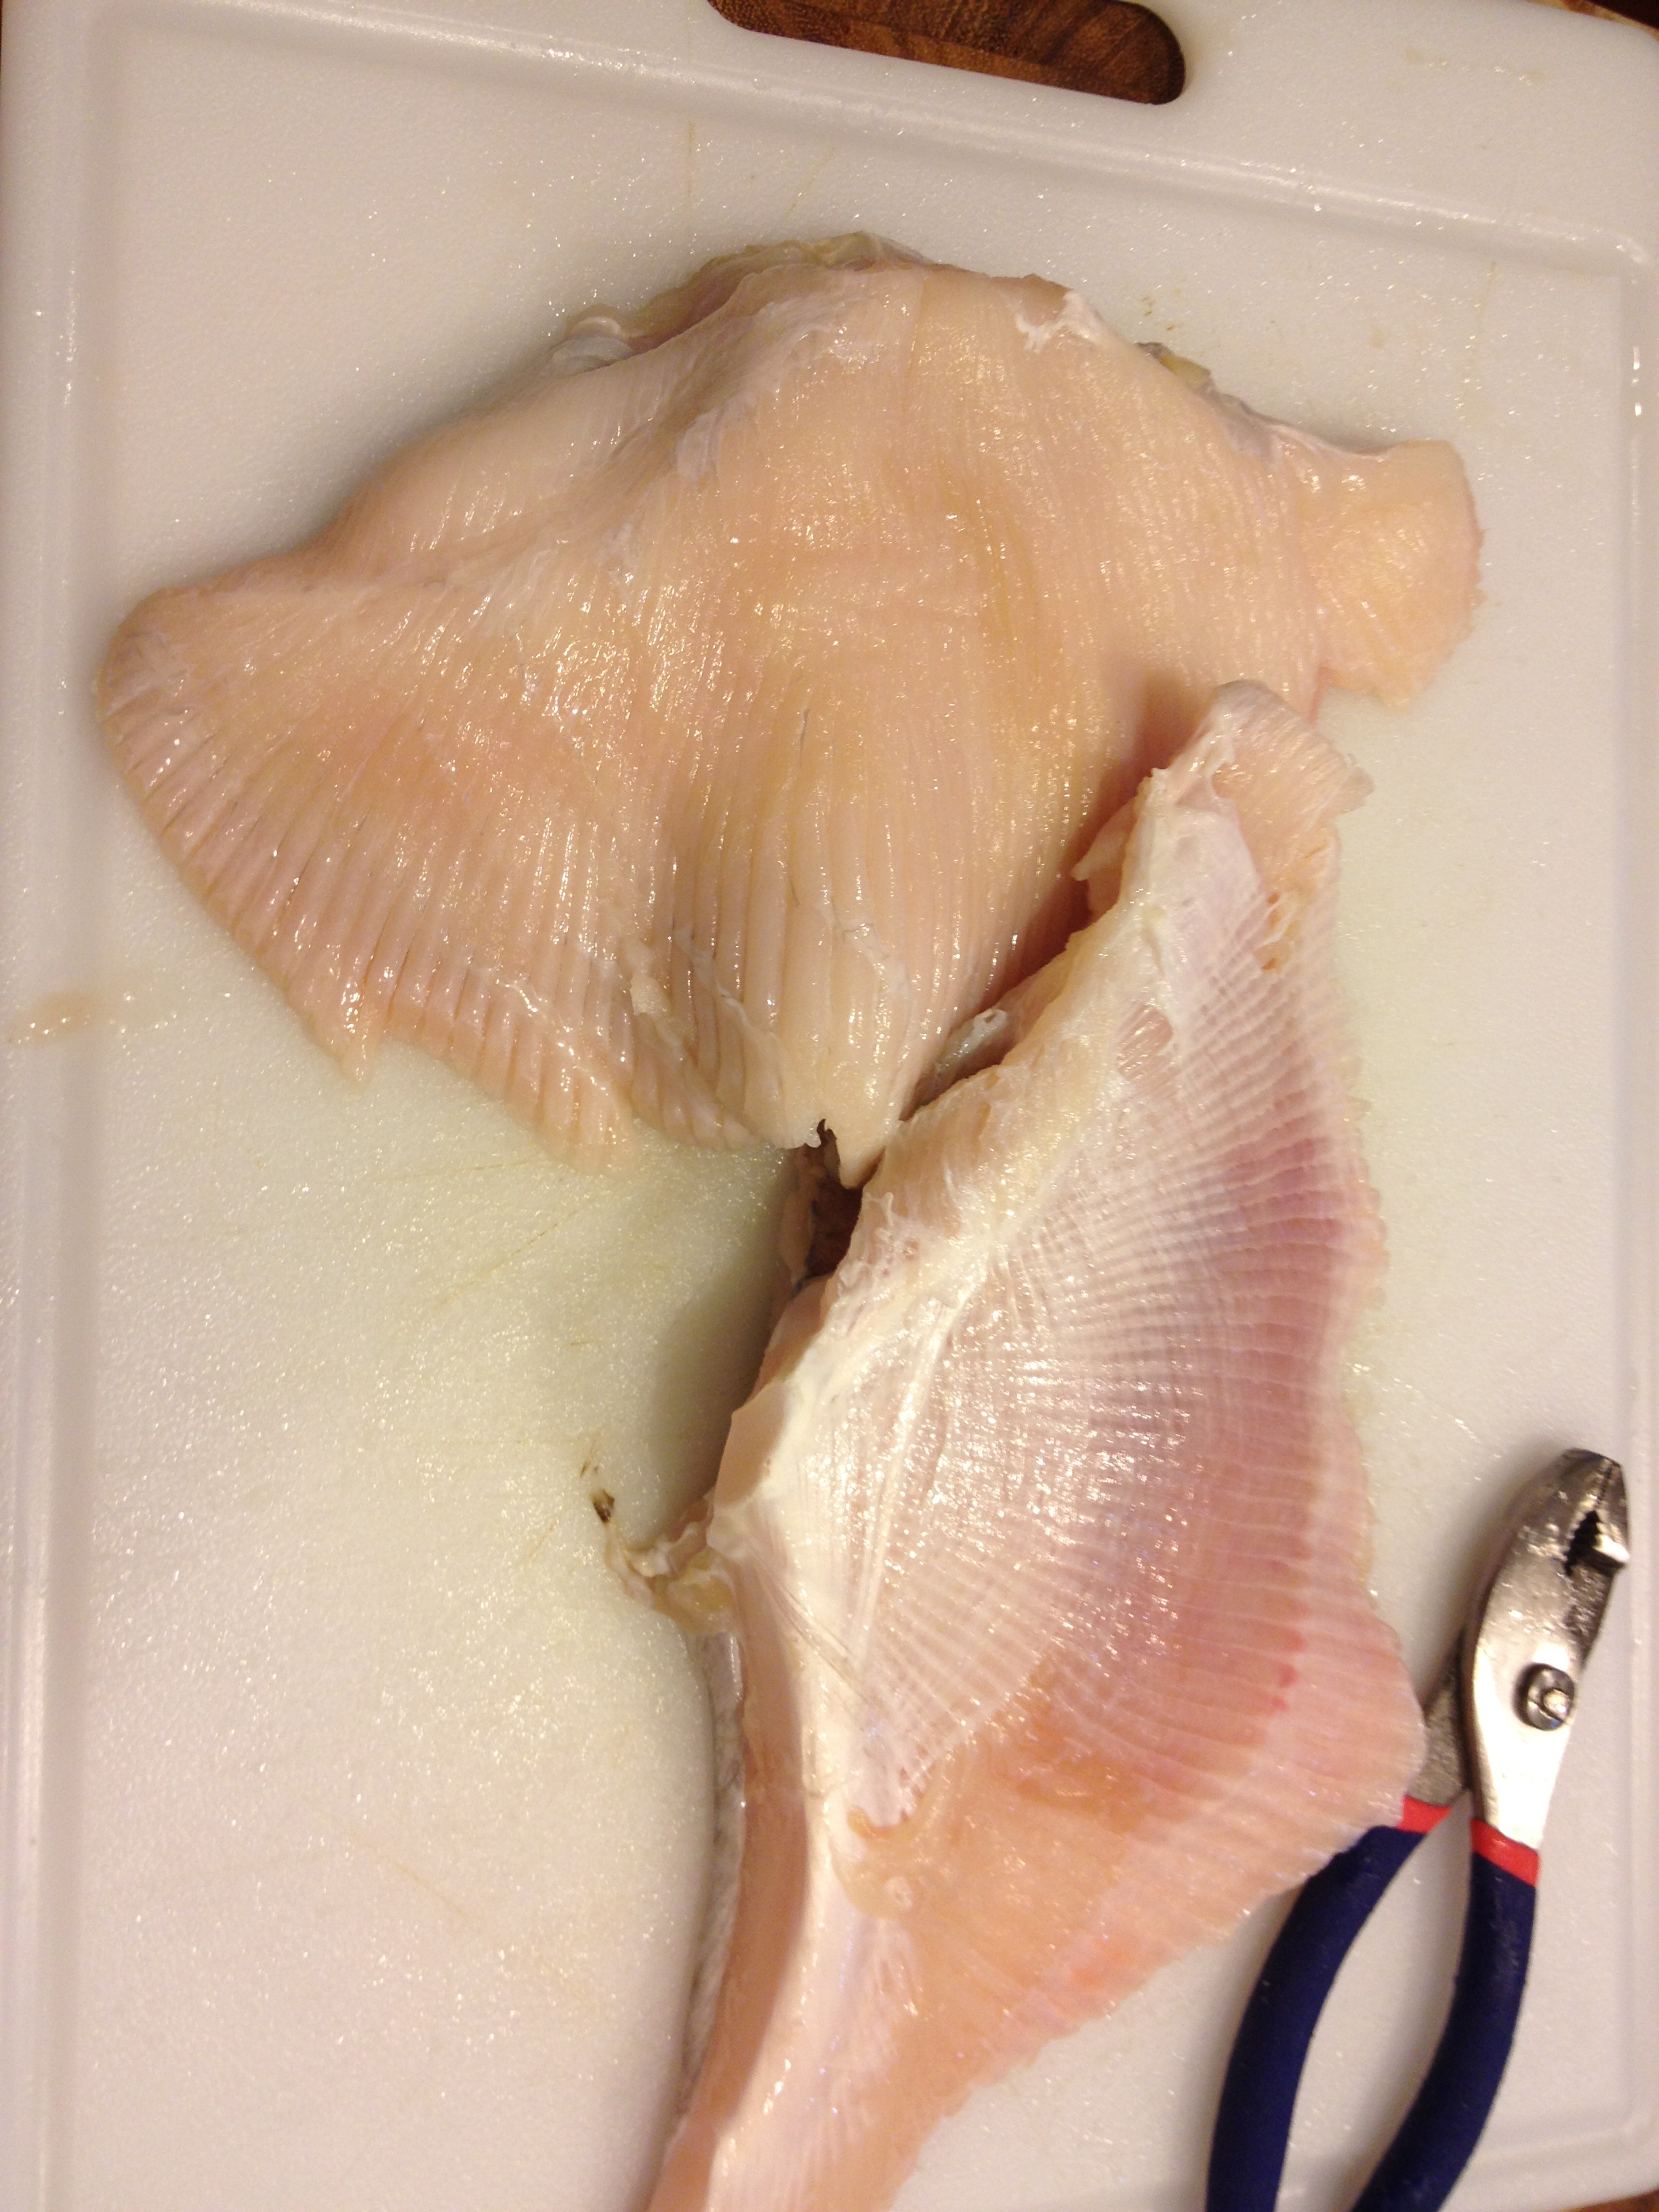
Pure snow white fat. Lovely. Like the ivory soap of fat. That analogy doesn’t work. How about, “the whitest fat not attached to the author.” That one stinks too, the humor in this post needs to improve and fast
Since most sausage recipes would call for normal fatback, you need to adjust your approach with salted fatback and remove the majority of additional salt you would add during prep. Other prep items that were done off camera: deboning the pork shoulder and cubing the meat. At that point, about 2 hours before the real business of sausage making would get started, the fat, meat, and the grinding plates for the Kitchenaid grinder all went into the freezer.
Quick note on the freezing of all items which was previously covered in (one hit wonder) Uncle Timmy’s Stupid Recipe’s For Jerks: keeping the fat and meat ice cold is essential for making good sausage. In the case of Italian sausage, you want the fat and meat to be visibly separate inside the casing, not all smeared together. Since grinders get very hot very fast, the freezing of the actual grinder in addition to the fat and meat helps keep everything as separate as possible.
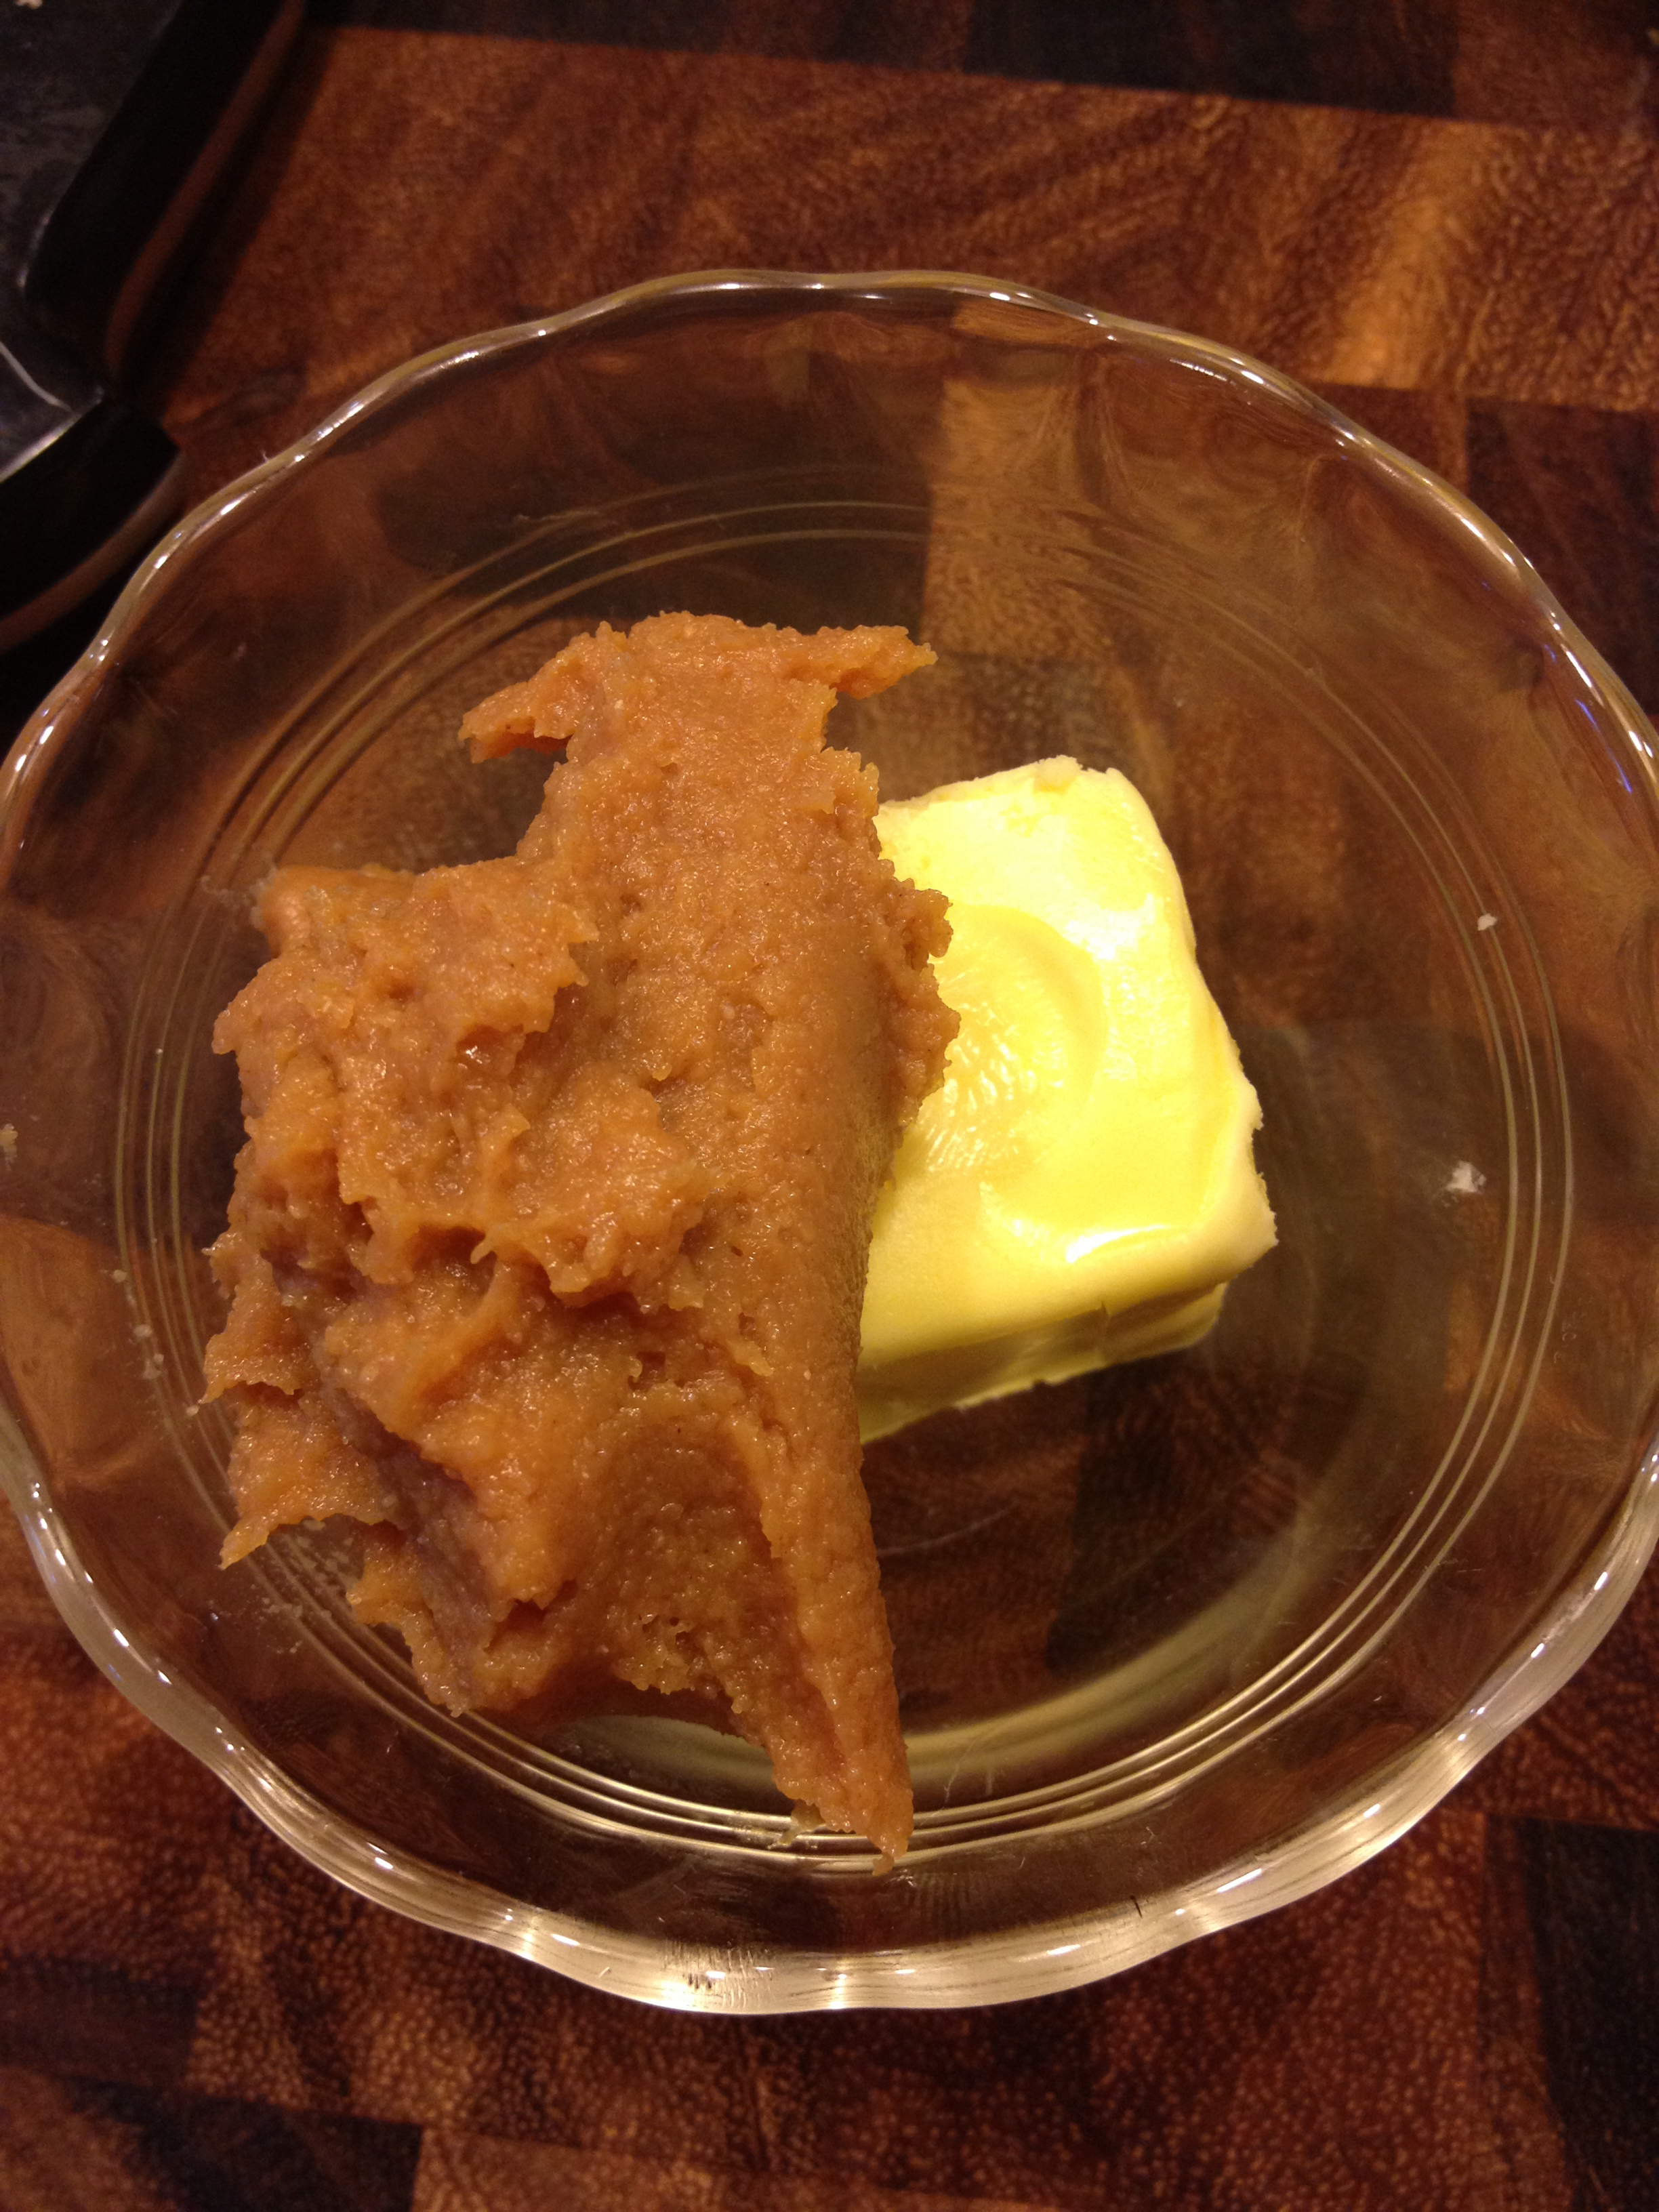
Back to the sausage, all told I had 7-8 pounds of shoulder meat and a little over a pound of salted fatback. That requires a lot of seasoning, so to start I lightly toasted a 1 ounce container of fennel seeds in a pan and poured them into a mortar with a few peppercorns.
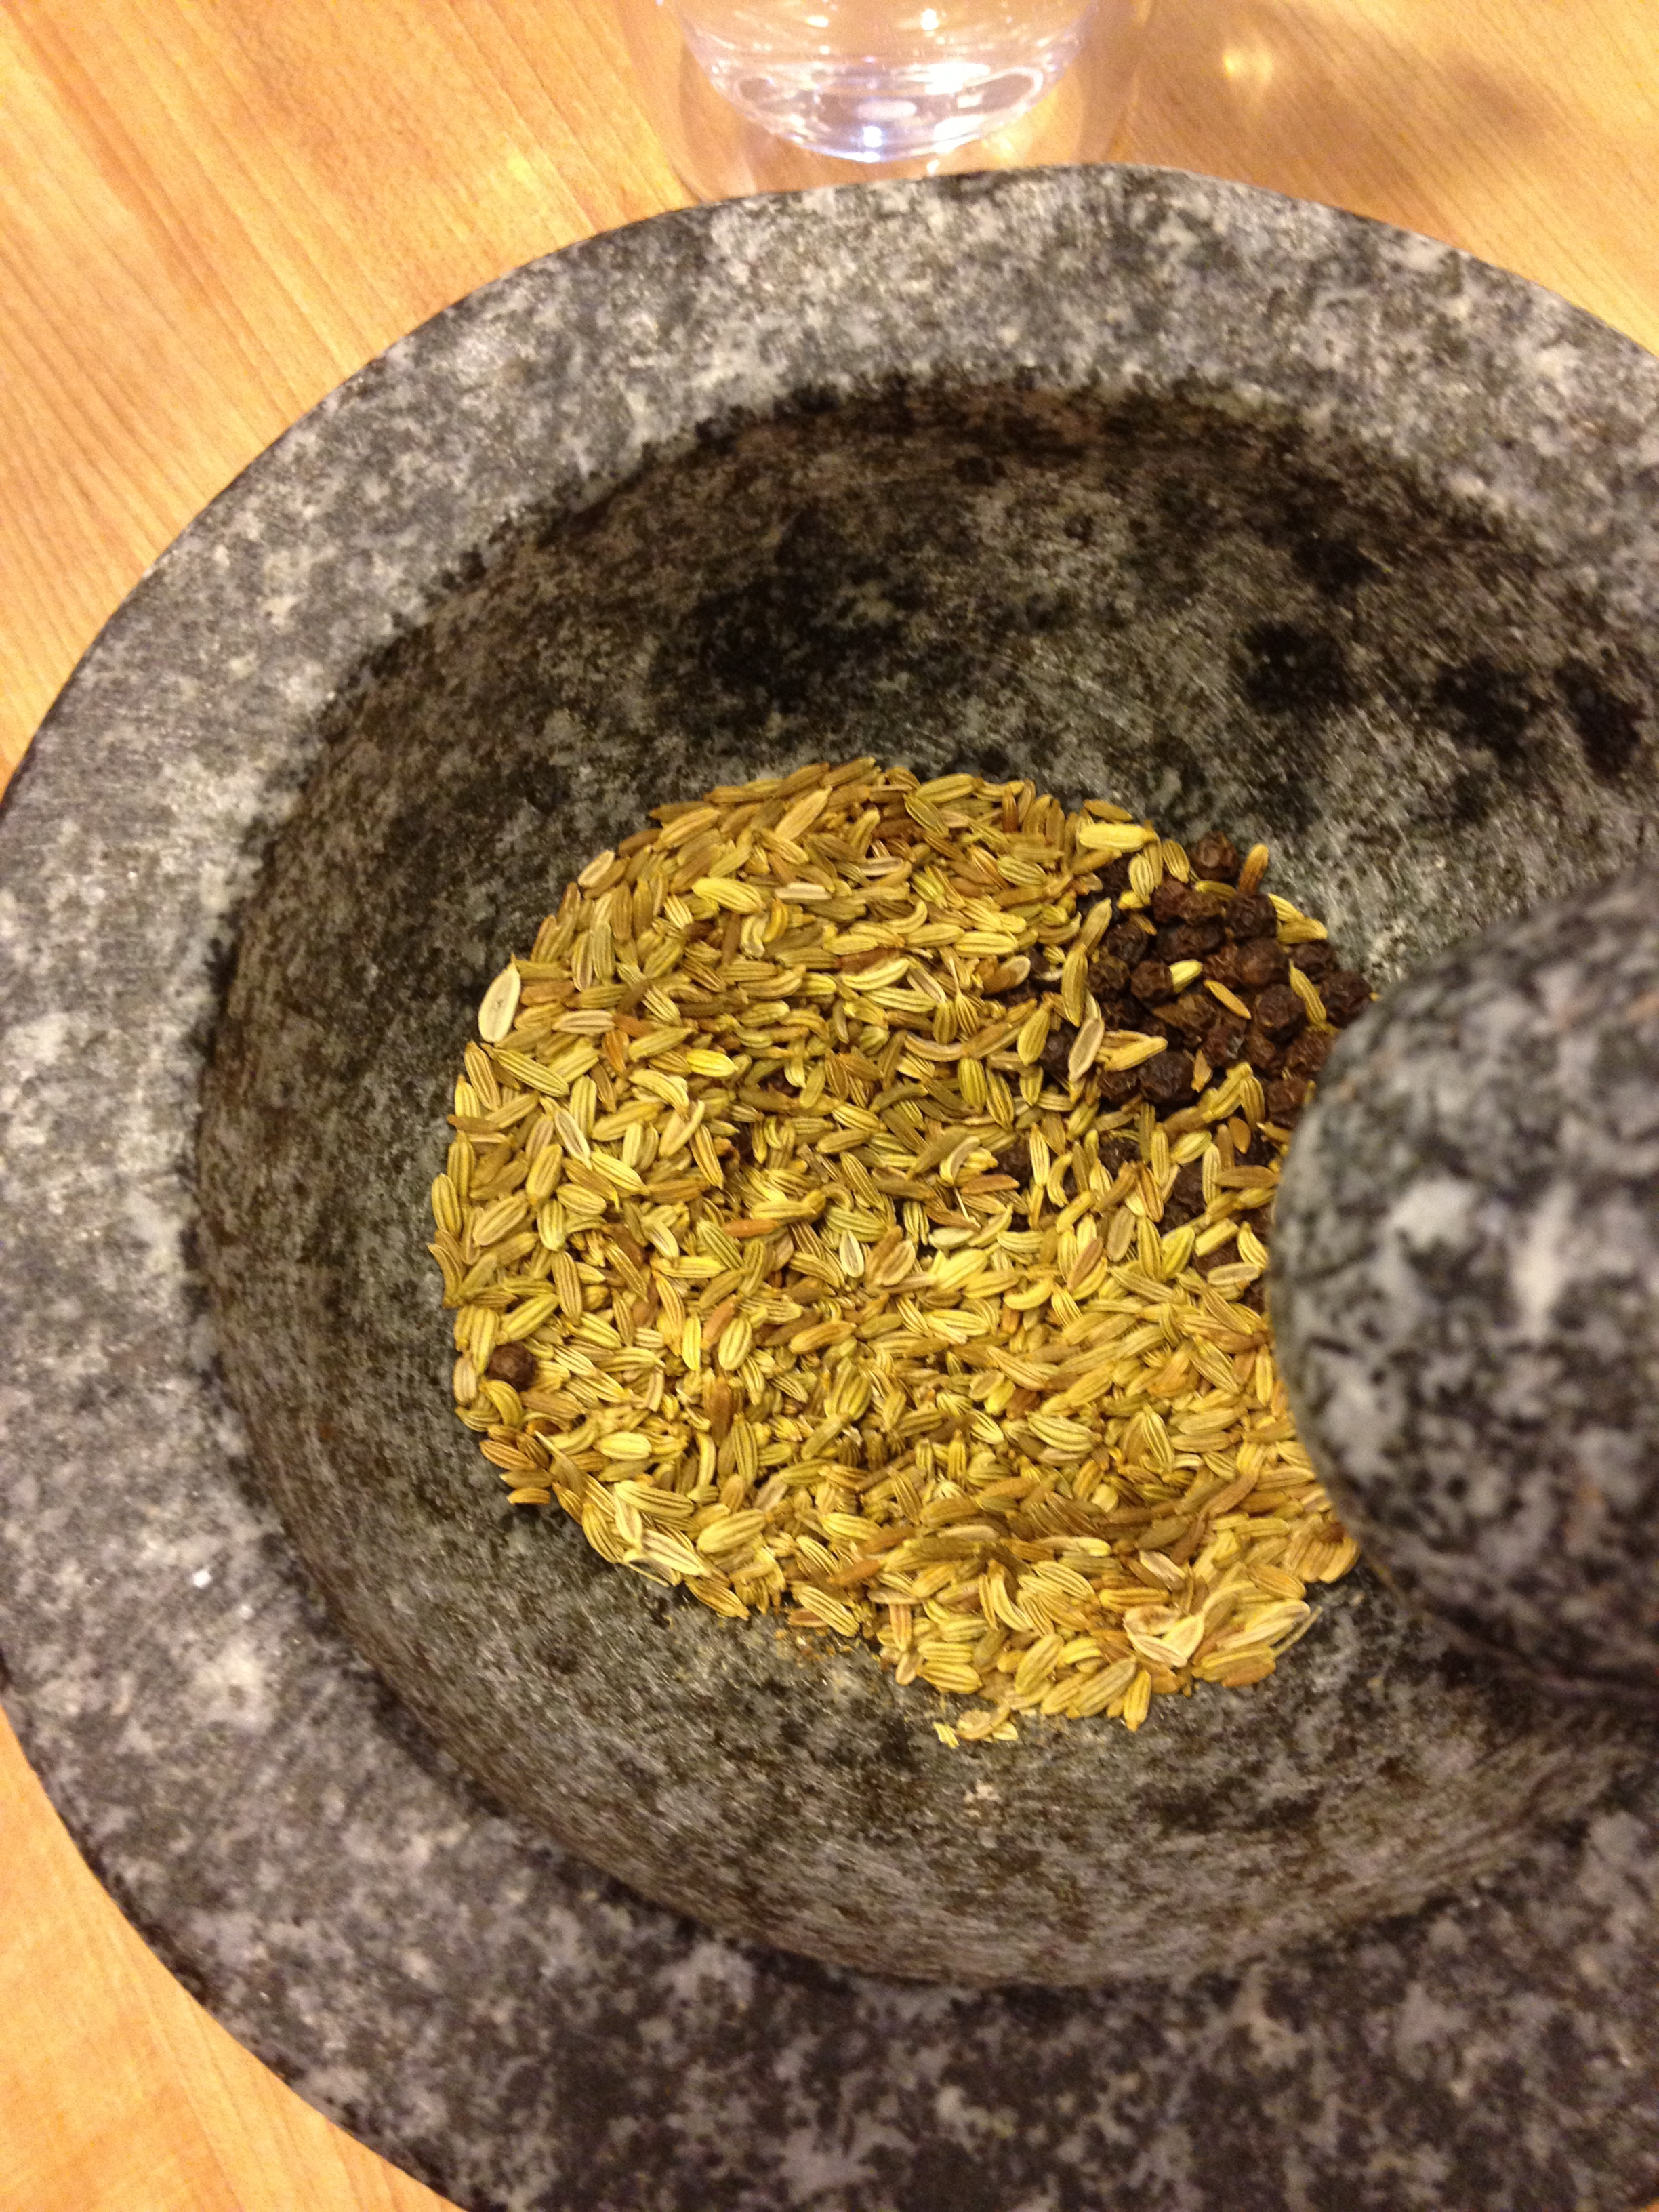
I wish I used my mortar and pestle more but I don’t. Most of the time it’s where I rest my vegetable brush on the countertop
After a quick few rounds of pestle rotation in the mortar, the pepper and fennel seed were ground to a fine powder that would be easier to distribute throughout the meat.
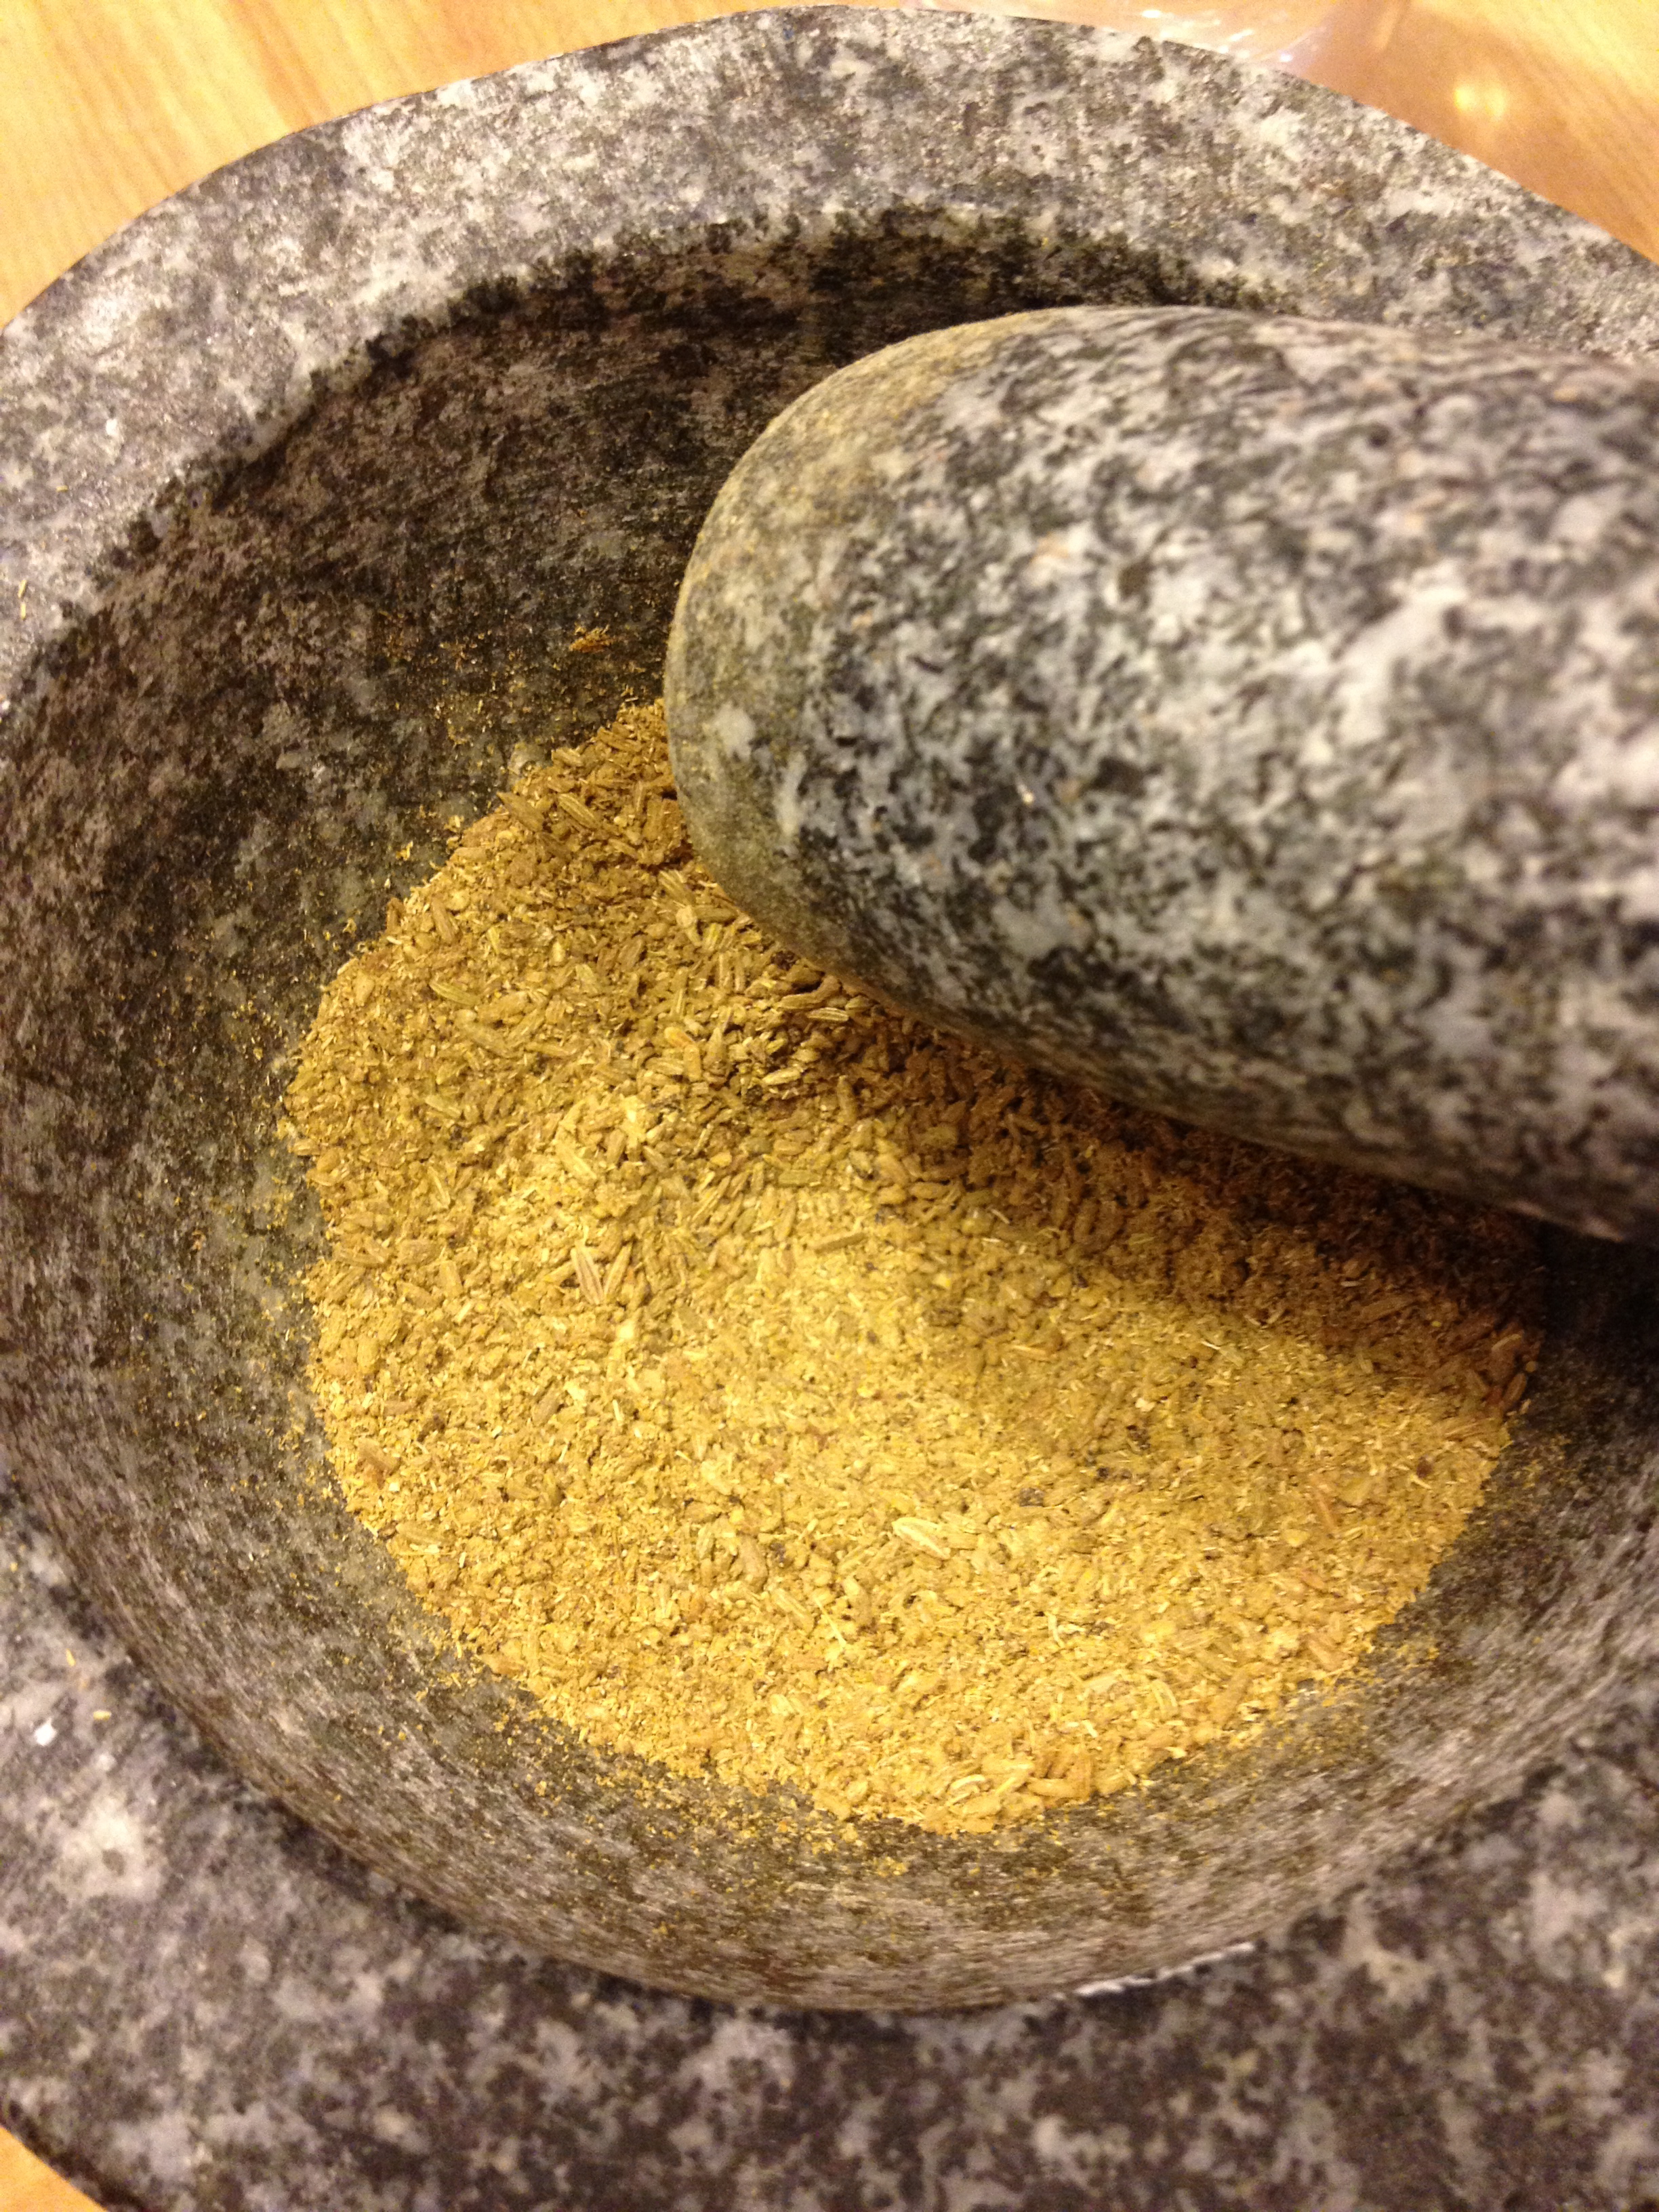
Smelled pretty strong, but, again, I was seasoning a lot of meat with this stuff
The seasoning went into a bowl with the frozen cubes of pork and fat, a little salt, a few tablespoons of sugar, a couple chopped cloves of garlic, and a whole bunch worth of torn parsley. Once everything was tossed and well combined, the bowl went back into the freezer for another hour. And this was a very full and very large bowl.
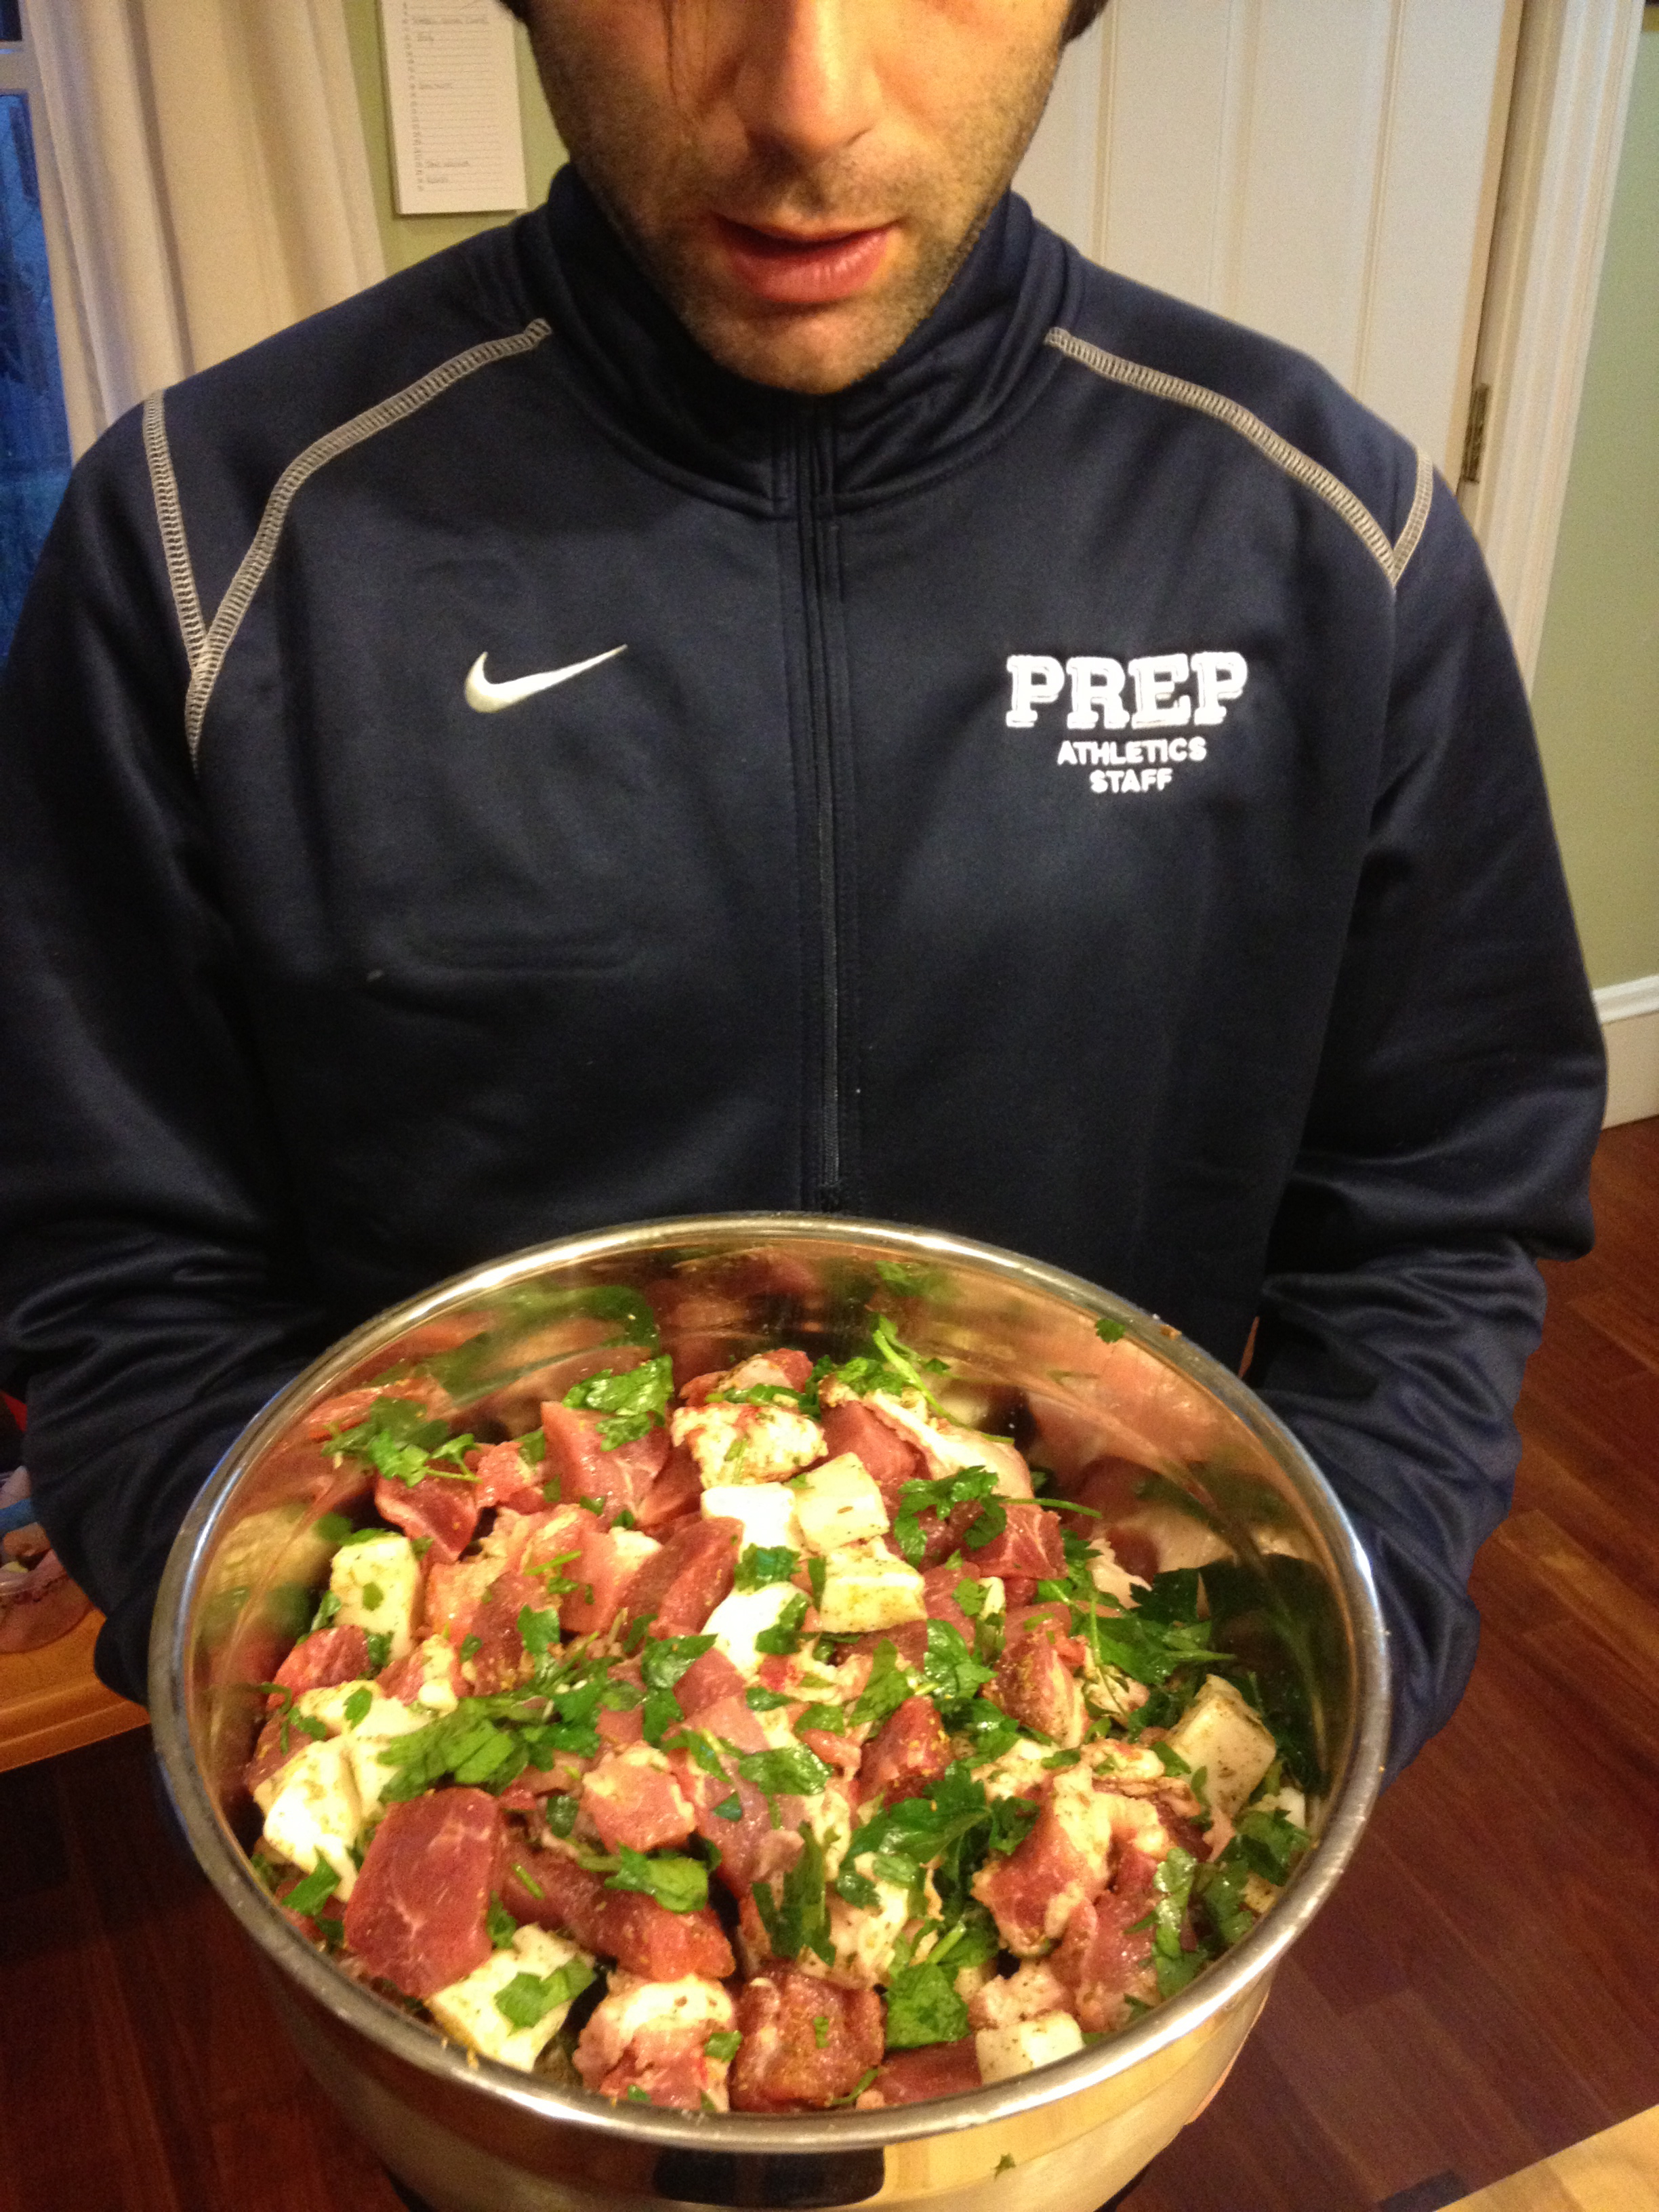
Thought a human being would give a little perspective on the size of the bowl. Sort of worked. Thats a normal sized high school soccer coach if that helps
With the meat and fat nearly frozen again, I started assembling the extremely cold pieces of the Kitchenaid grinder as quickly as possible to avoid them warming up too much. Then, working fast, the frozen meat went through the grinder on a coarse grind setting since I wanted the finish product to be sausage and not a puree. We’ve all seen me grind meat on this blog before, so no picture needed for that piece of the process.
Once the meat/fat/parsley mixture was completely ground, it went back into the freezer for a half hour, then into the mixing bowl portion of the Kitchenaid along with a cup of a dry red wine and red wine vinegar mixture. I used the paddle attachment on the mixer to combine the liquid with the meat and make sure that all fat, meat, and parsley were evenly distributed in the sausage.
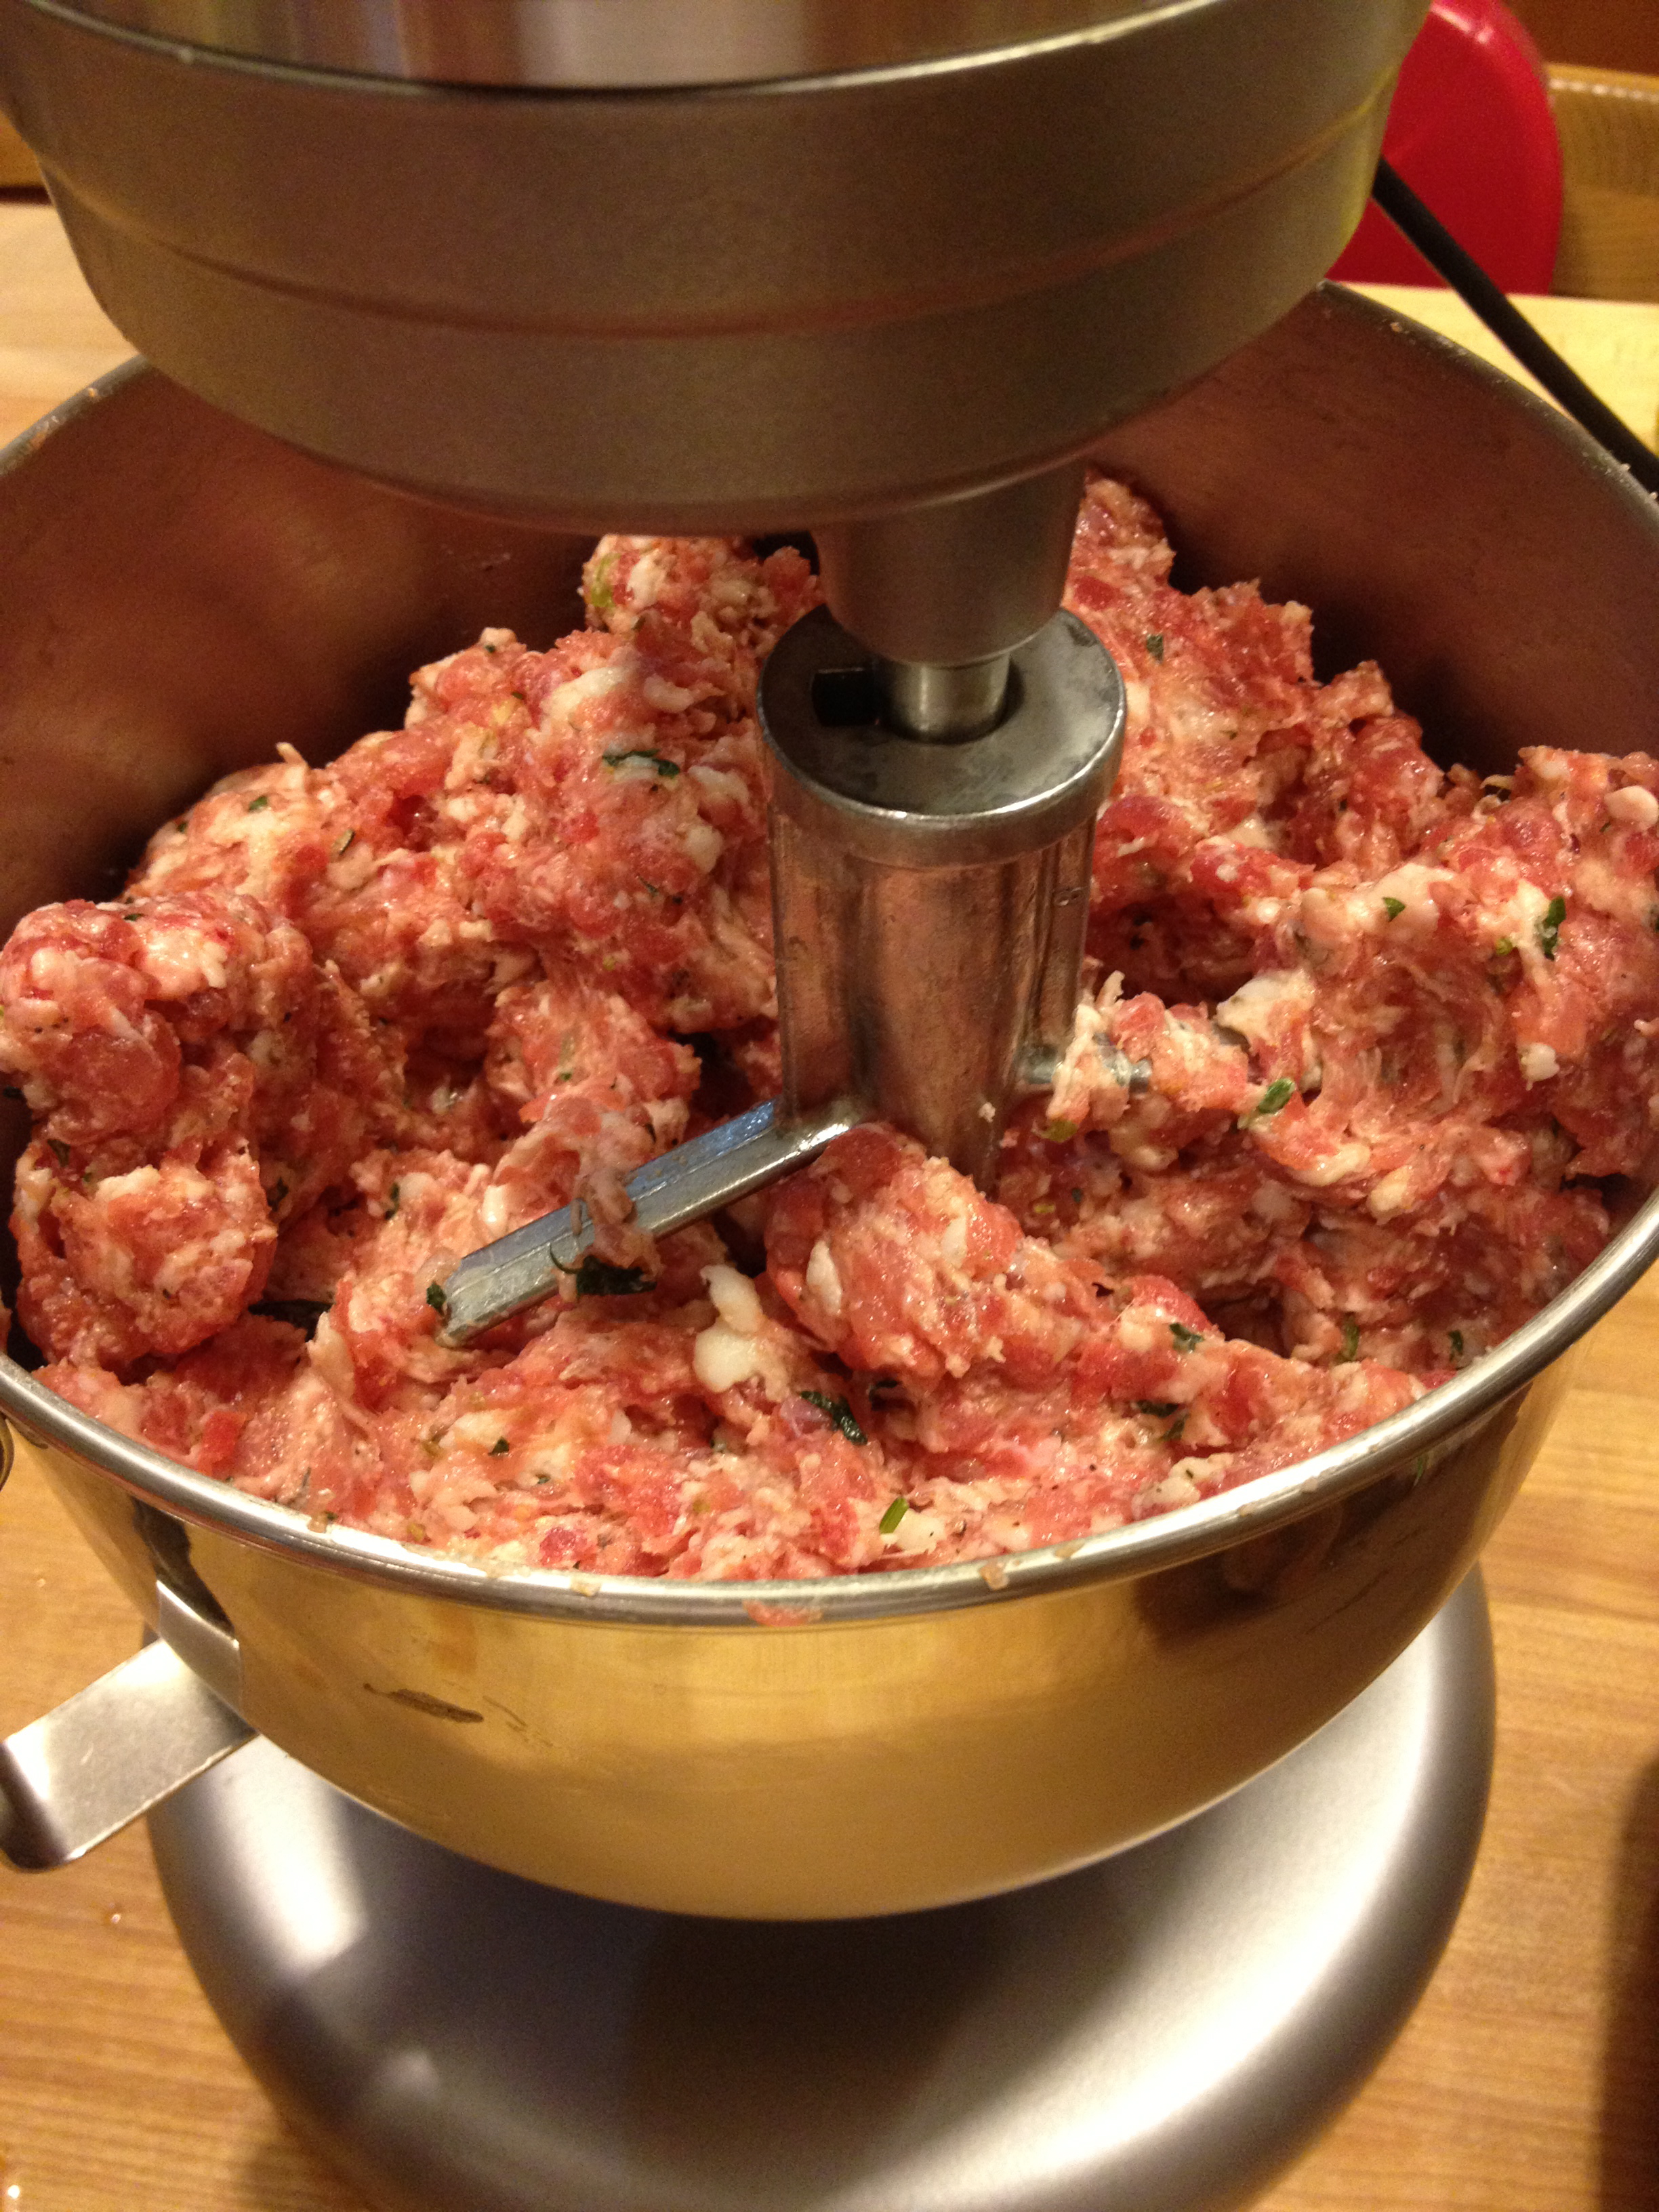
This was relatively unappetizing to watch for some reason. It looked like the meat was trying to escape with every rotation before it was foiled and fell back into the bowl
Once it was well combined, I separated the ground mixture into two approximately even portions; one which would go directly into casings (for sweet Italian sausage) and the other which would get added seasonings (for hot Italian sausage). The hot Italian portion went back into the freezer.
With the grinding complete, I switched out the grinder plate with the sausage stuffing attachment on the Kitchenaid. There are some people who go bonkers on the internets about not using these attachments because they can make the sausage too hot which will cause it to nearly emulsify instead of staying in sausage form. This includes people I trust as sound food advisors. But, it was what I had and I had to make do.
First step was removing one of the casings from the cold water it had been soaking in for a couple hours, finding an end, figuring out how to open it, and bunching it up on the stuffing nozzle.
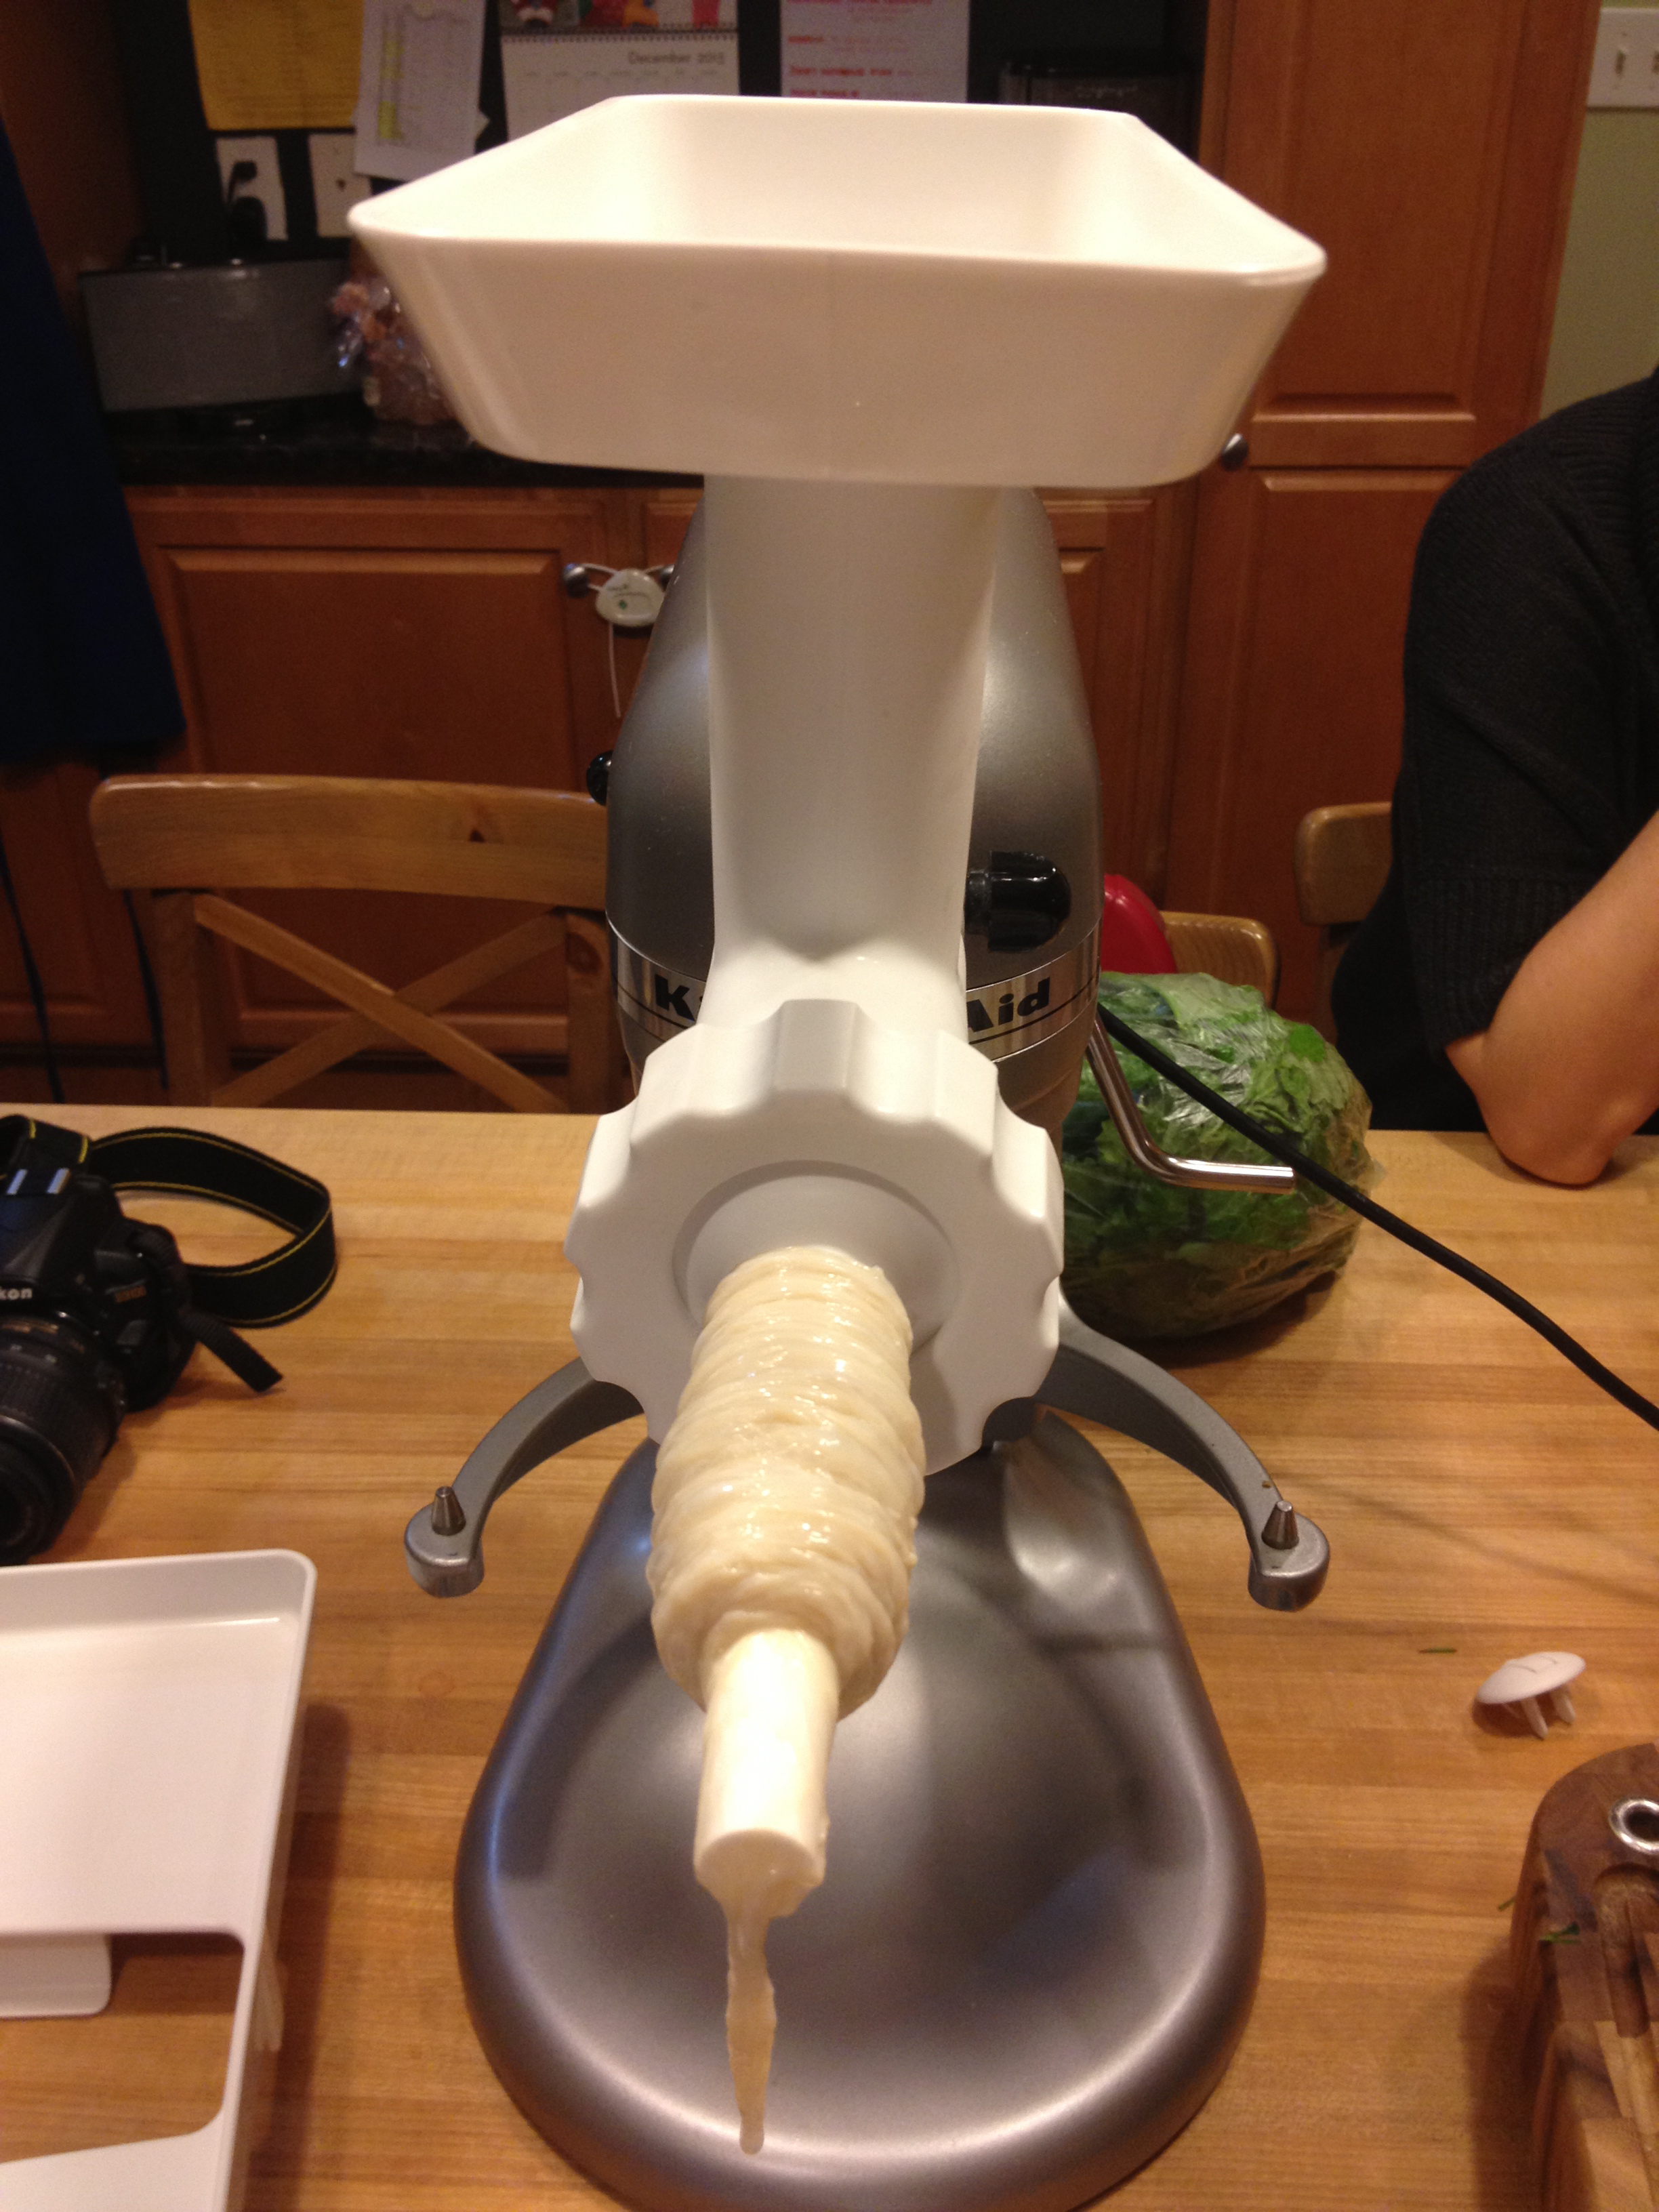
You might feel like your mind is in the gutter for some of the associations this imagery conjures, but then you remember that you are looking at 15′ of hog intestine bunched up on a plastic nozzle. I expected no aroma/flavor on the casing , but it was actually kind of nice, like griddle seared hog fat. And yes that smells nice to me
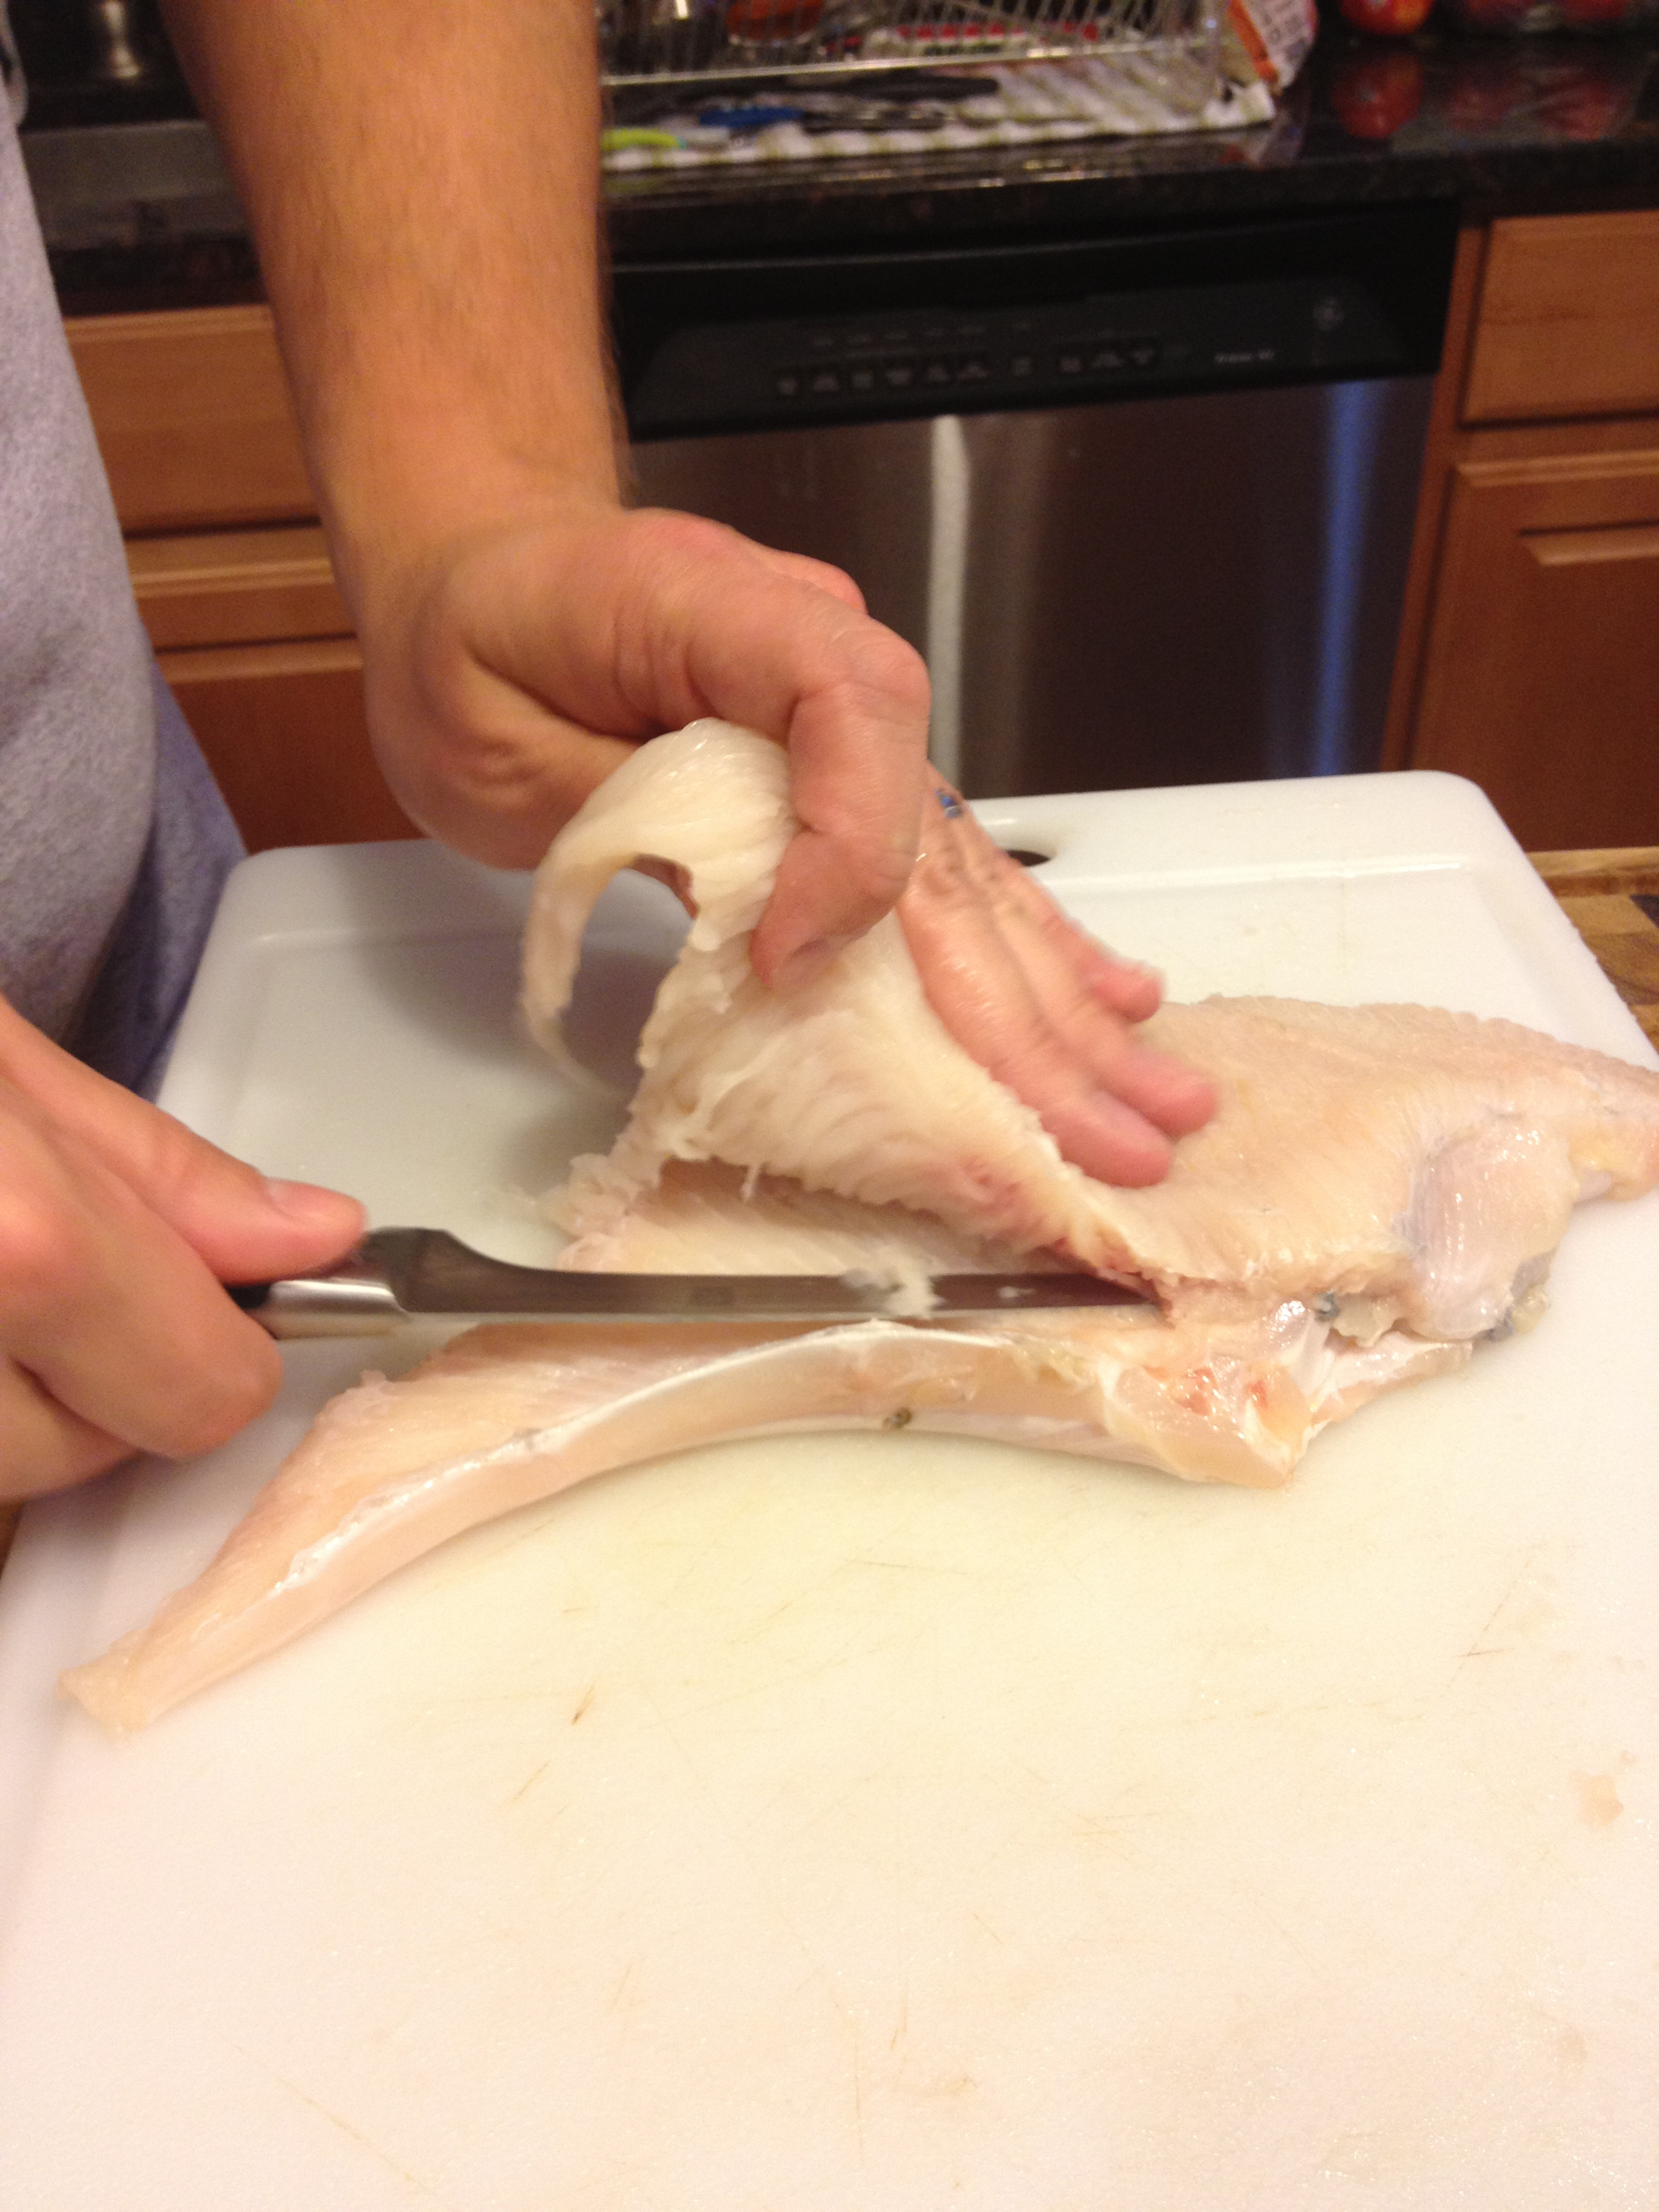
We loaded the meat into the tray and slowly started pushing it down into the stuffer where I would carefully feed it into the casing. Keeping the pipeline full of meat was a pain, as was trying to keep the thickness and density consistent. At least for round 1, it was a two man job.

That’s some clenched face effort right there. I really wanted this to be the light hearted, polka soundtrack sausage making that Kramer and Newman did together, but it ended up being serious work
The casings have a natural curve to them, which made it easy to coil the sausage as it filled the casing. This was key since otherwise I have no idea where I would have laid down a 15′ stretch of forcemeat.
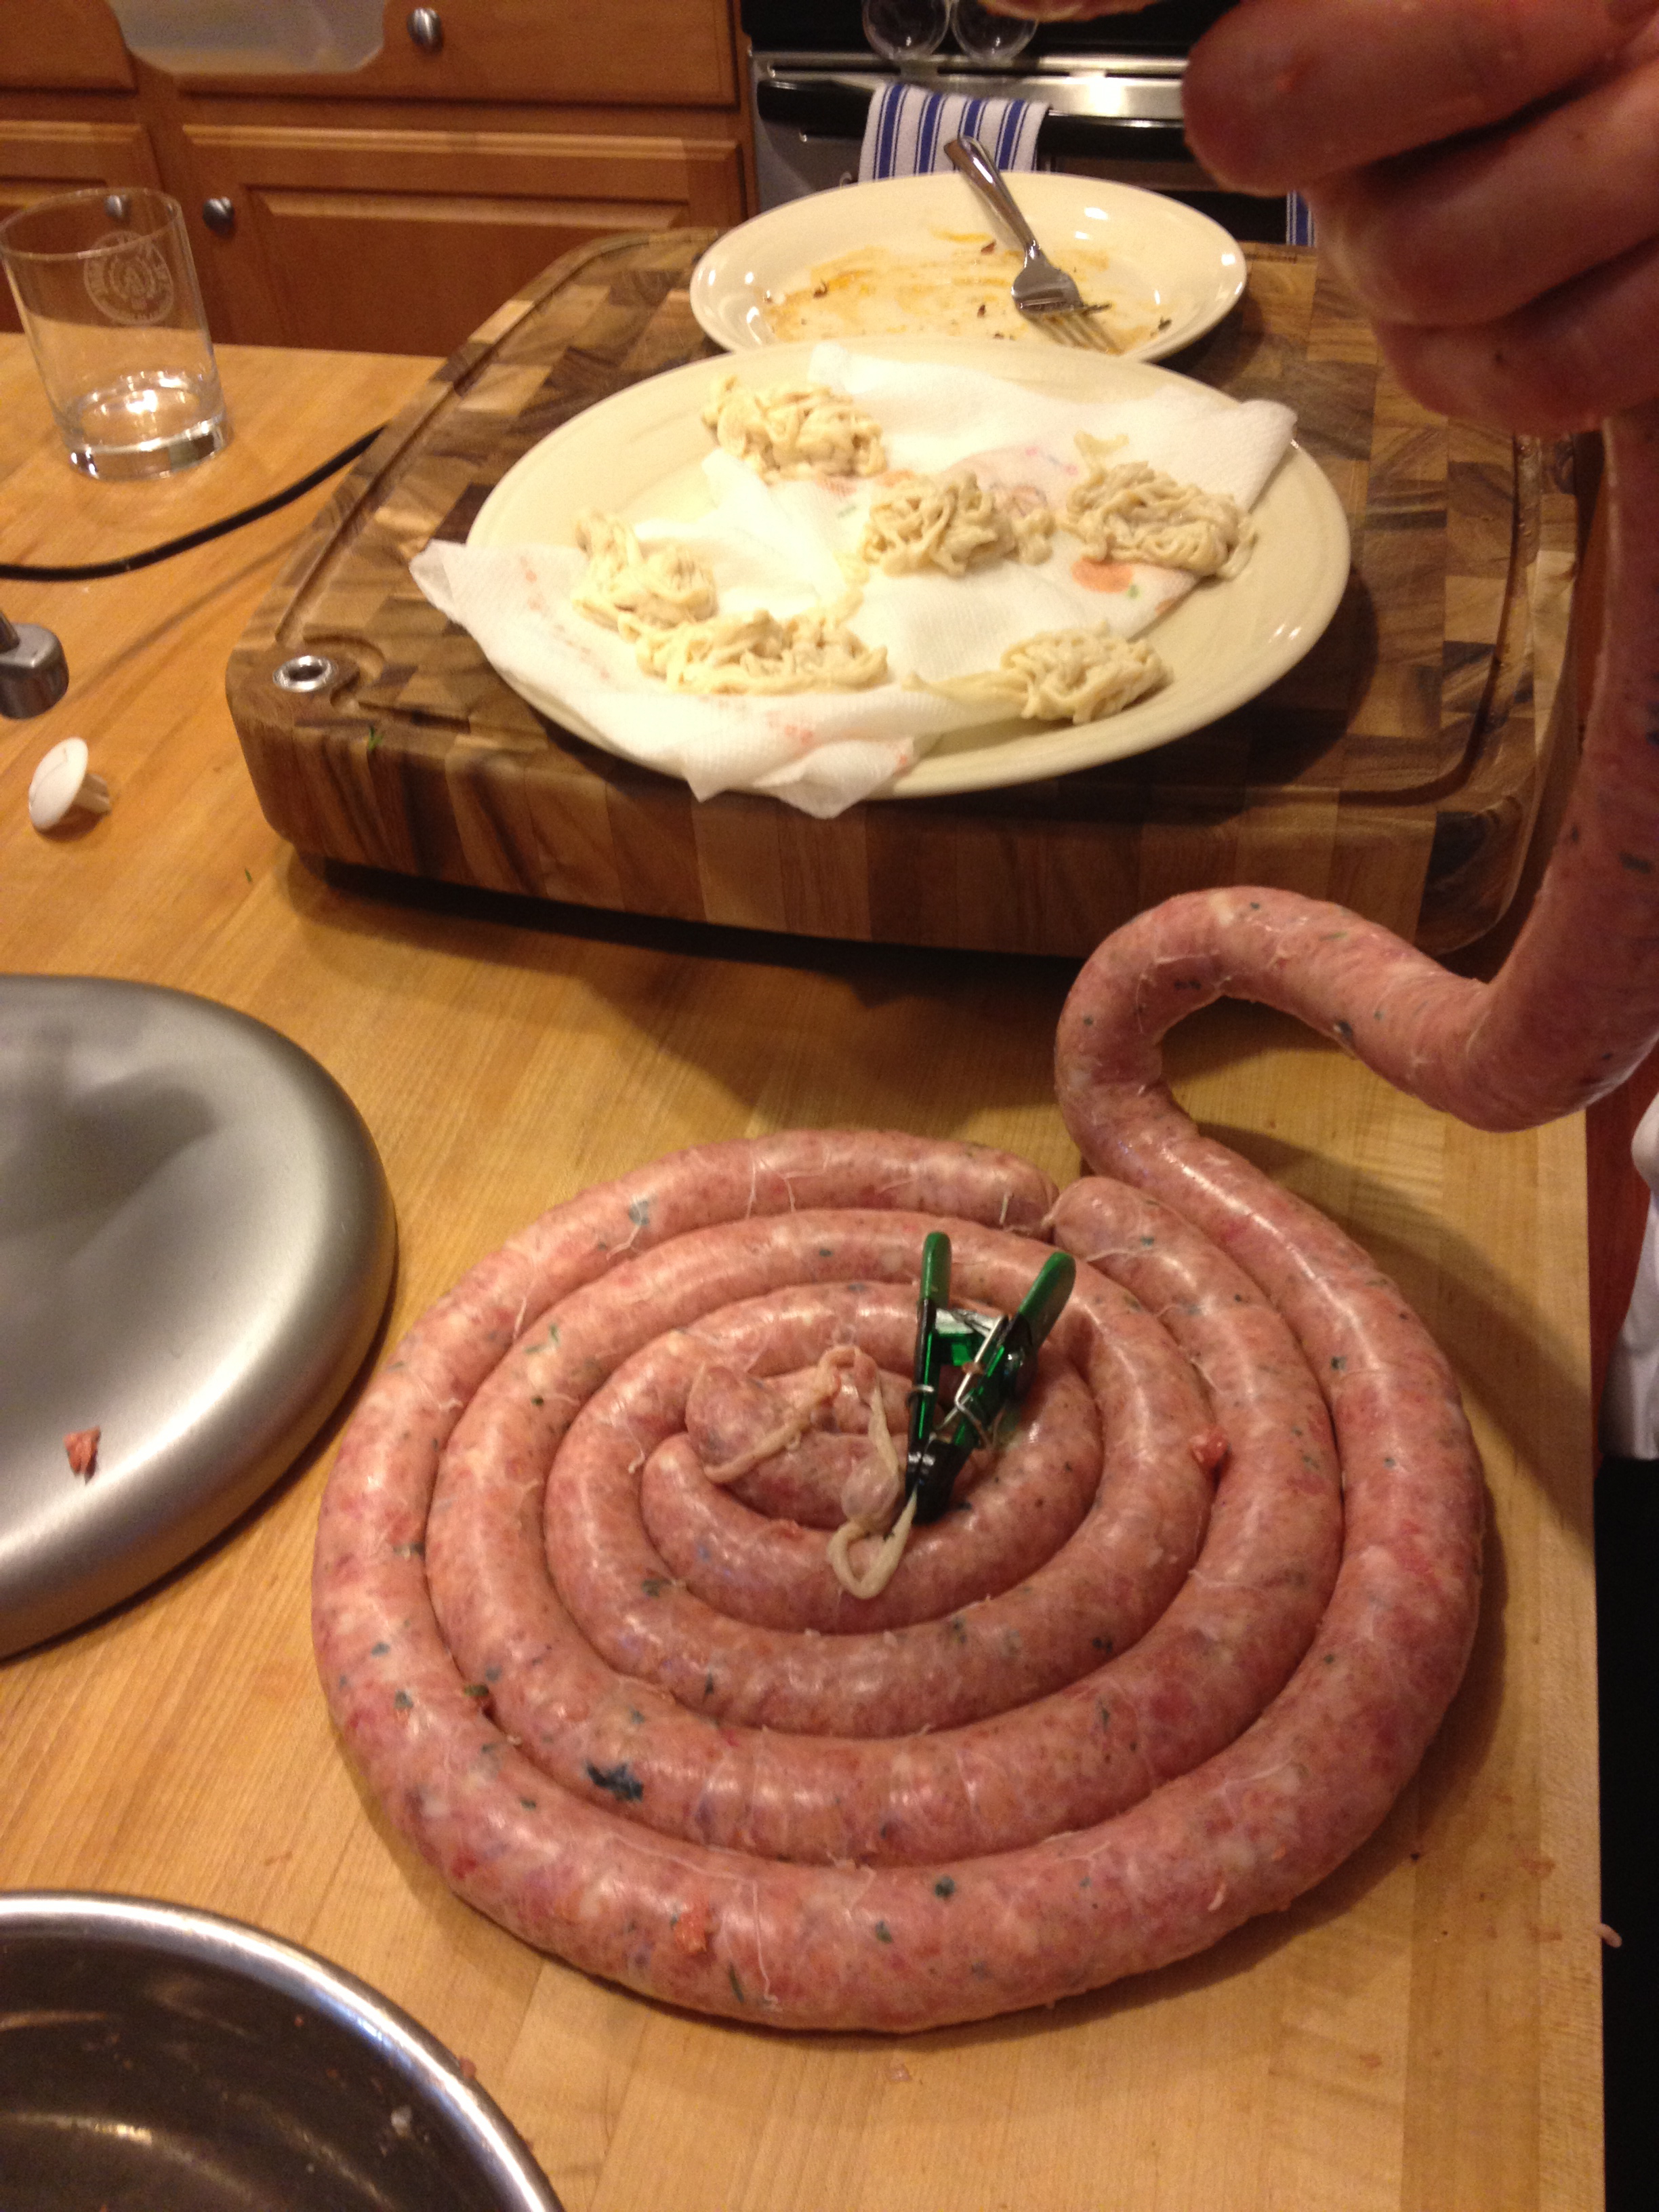
I think this isn’t even the full coil, we had a couple more feet to go. That chip bag clip in the middle was soooo unnecessary. Also unnecessary, the four extra casings in the background that I had no need to soak and went unused
Once the sausage was fully in the casings, we carefully went through and twisted the sausage every 4 to 5 inches to make the individual links. Then went through and tied a knot between each link with kitchen twine to make it easier to hang.
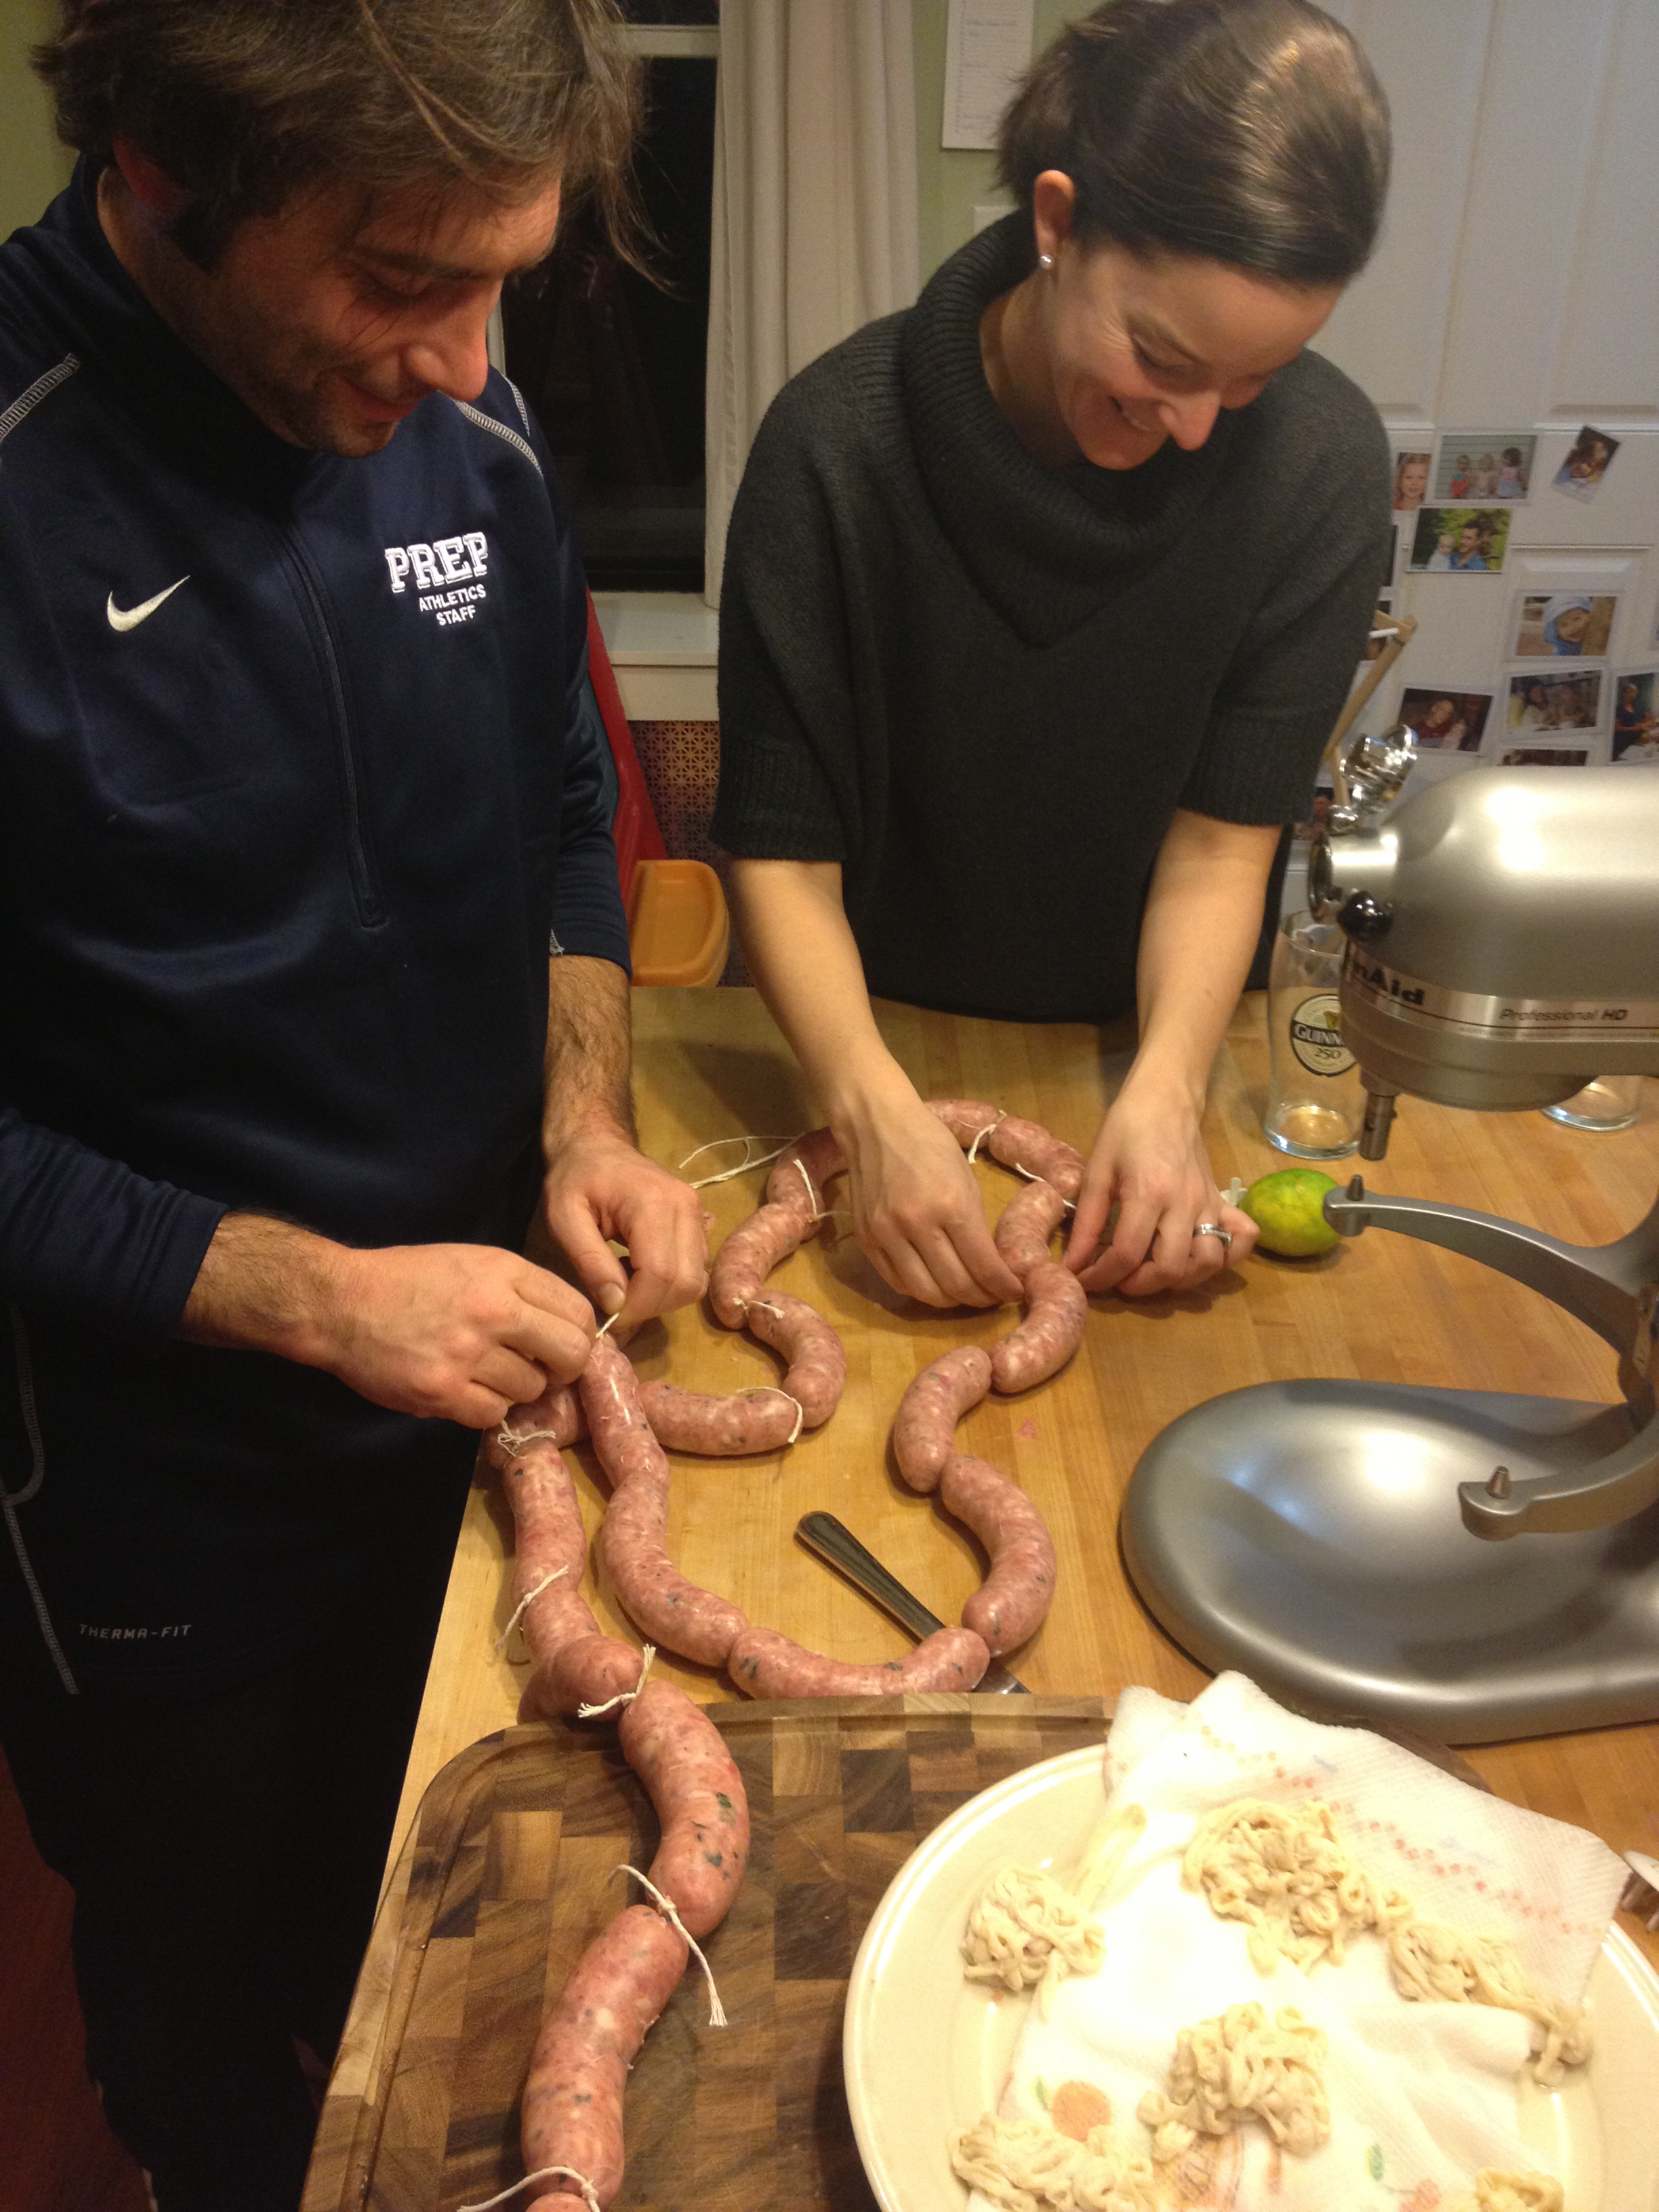
Kristi found Conman’s posing for the foto hilarious. He does know the secret to good action shots (hint, no action). Also, I guess the random items strewn all over the butcher block is telling of the number of hours we’d been hanging out and imbibing
With the sweet Italians fully prepped, they went onto a laundry drying rack to hang and dry for a few hours. While the rest of the crew watched the NFC championship (yes, this all happened awhile ago), I ground up oregano and red pepper flake in the mortar and mixed it into the remaining near-frozen sausage meat along with paprika to make the hot Italians.
I then went about loading into the casings solo, which wasn’t as hard as I expected, but only in hindsight did I realize that I packed the casings much more dense and fat when working alone. I’m guessing I just got distracted and wasn’t feeding out enough casing. This meant that when twisting the sausage into links a couple links burst which gave me some extra sausage meat to eat. But first, the drying rack.

Thing of beauty. You can see how fat and stubby the hots are. Kristi went into the basement and found me this rack to dry the sausage on. We are unclear if it was left by our previous neighbors, or if our current neighbors hang dry their sweaters on it and stuff. Not a good neighbor, folks. Not a good neighbor
The extra hot Italian sausage meat was fried up in patties and served on potato rolls with sauteed broccoli rabe and melted provolone.
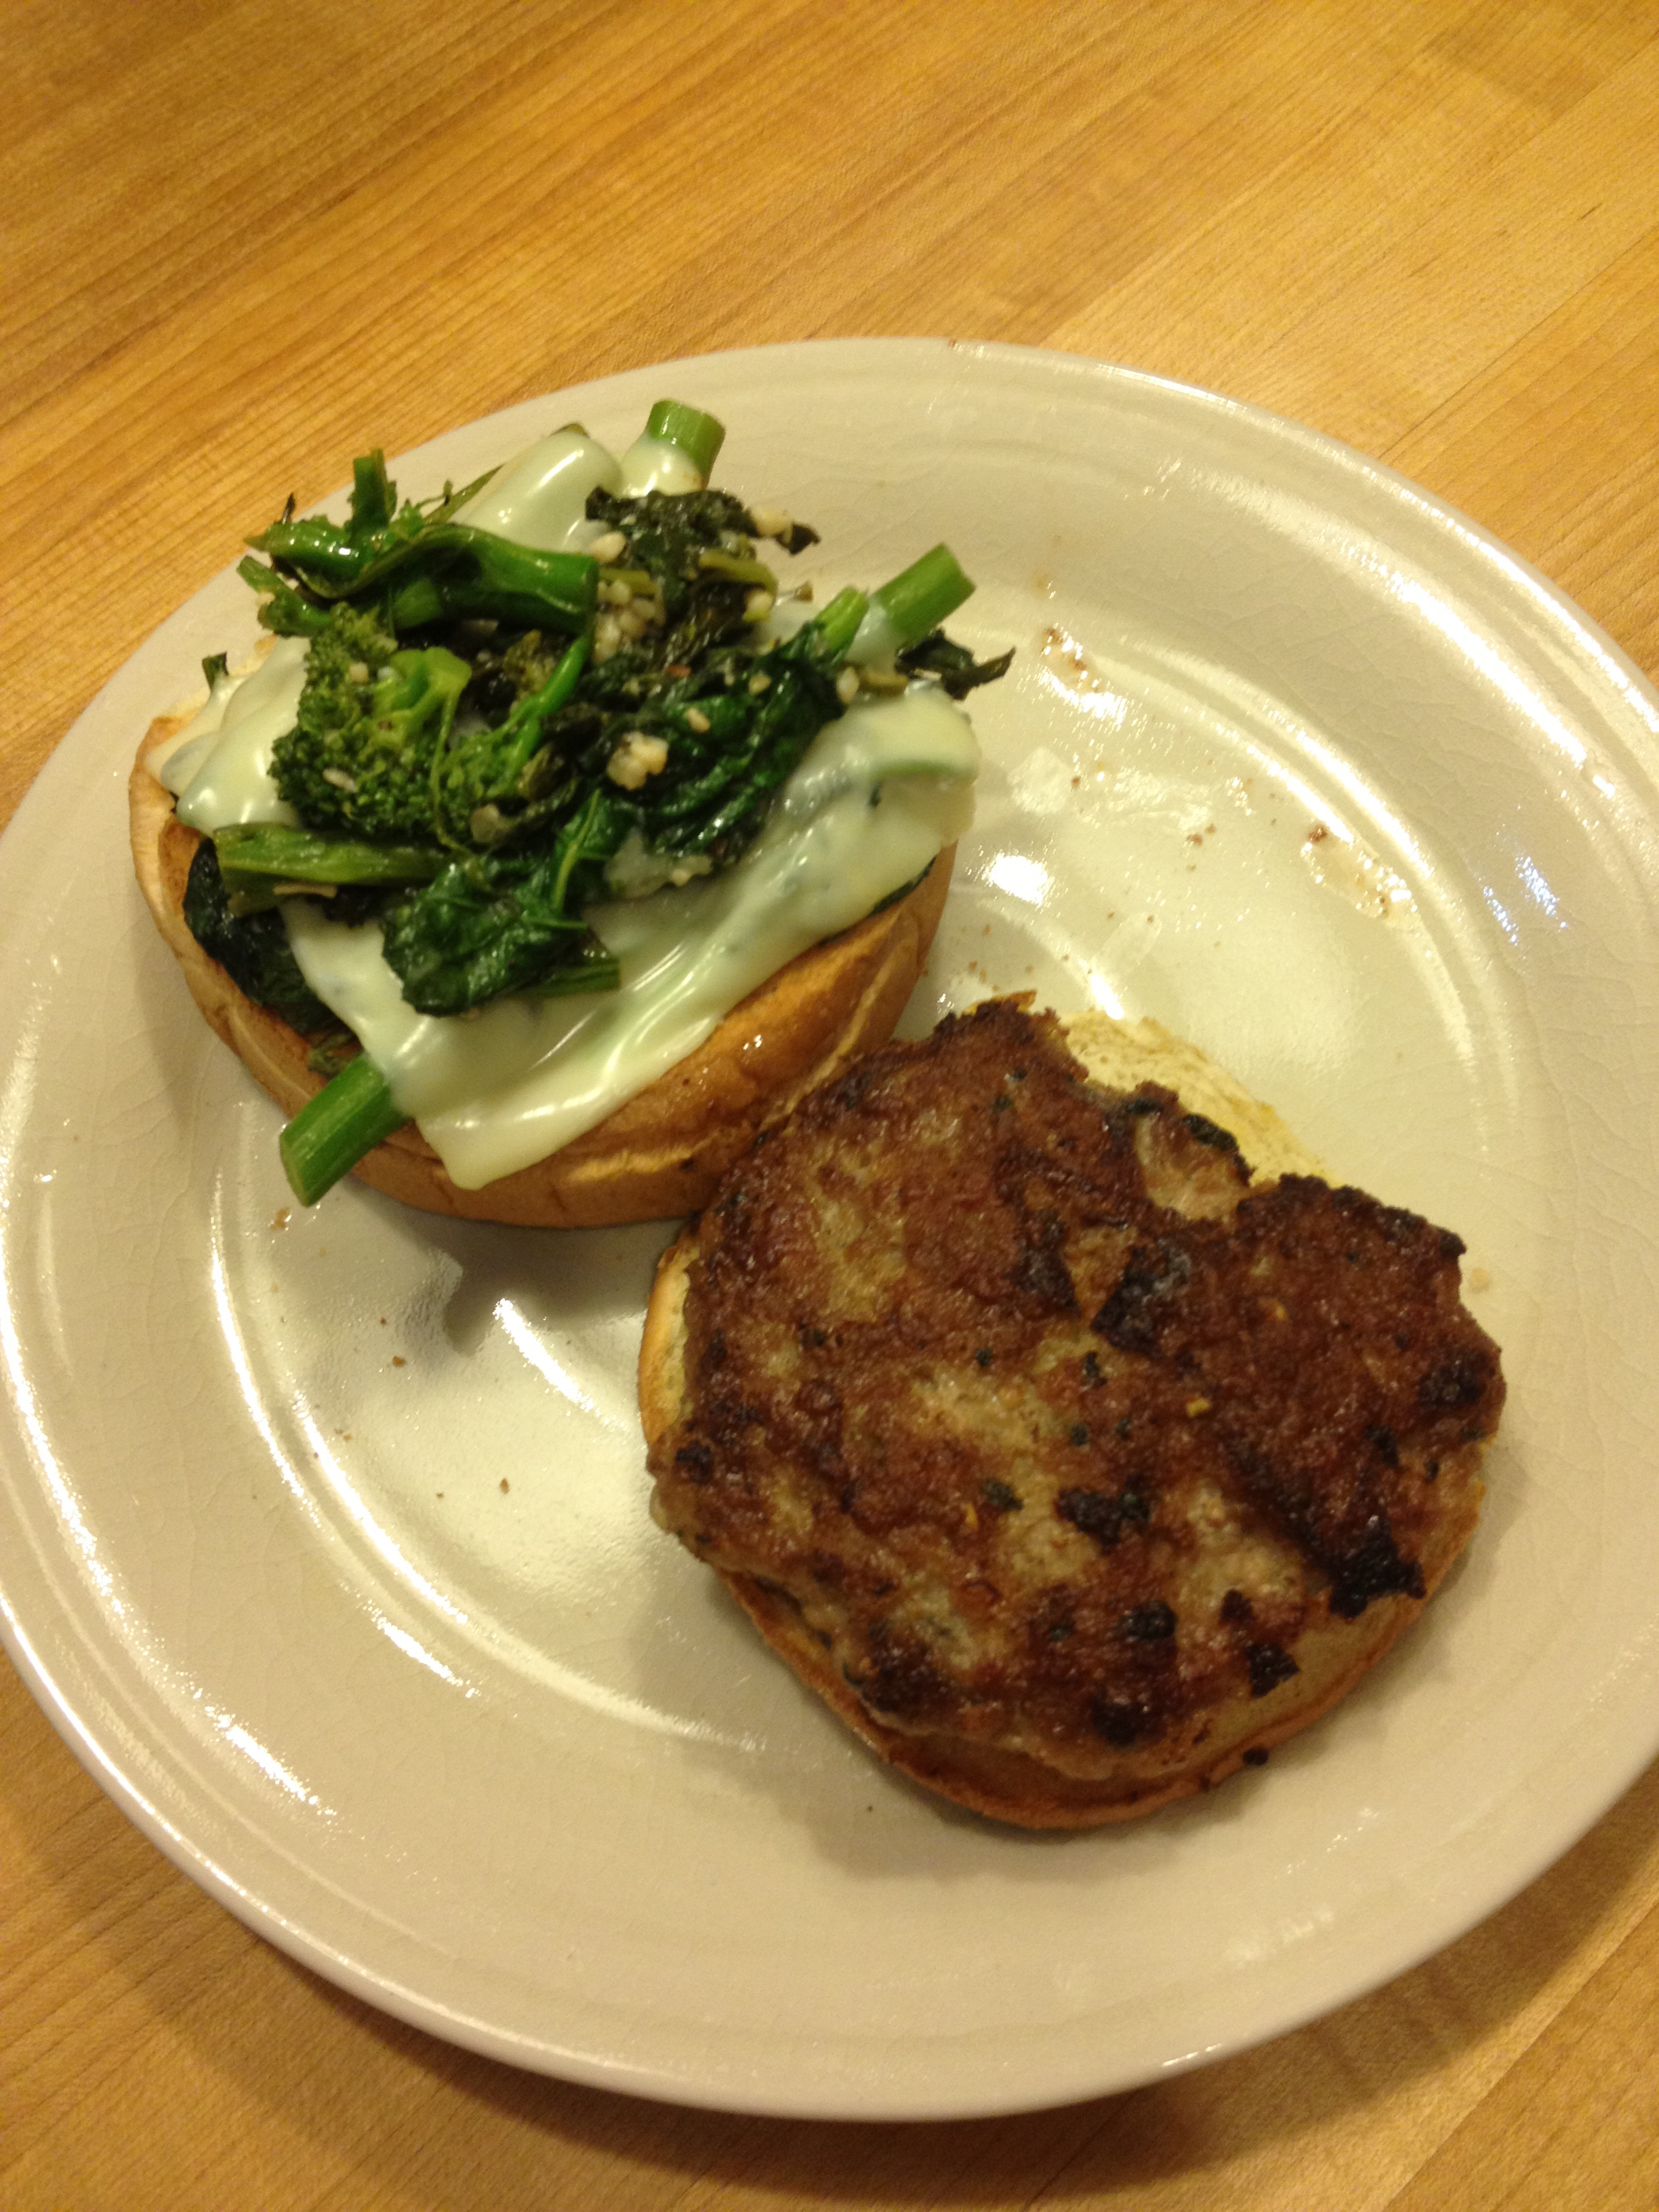
The regular sausage was tasty and had a starring role in a couple of Sunday Gravies, but the hots were so effing good. Really flavorful and went so nicely with a little cheese and rabe
The sausage sandwich was delicious, as I’m sure you’d guessed I would say. The hot sausage had a lot of heat and strong flavor which played well with the cheese and rabe. Not a sausage you’d want to eat before riding in an elevator with coworkers or having a conversation with a close talker, but very tasty.
The cased sweet Italians and hot Italians went into a tupperware in the fridge for a couple days until I decided to freeze them all.
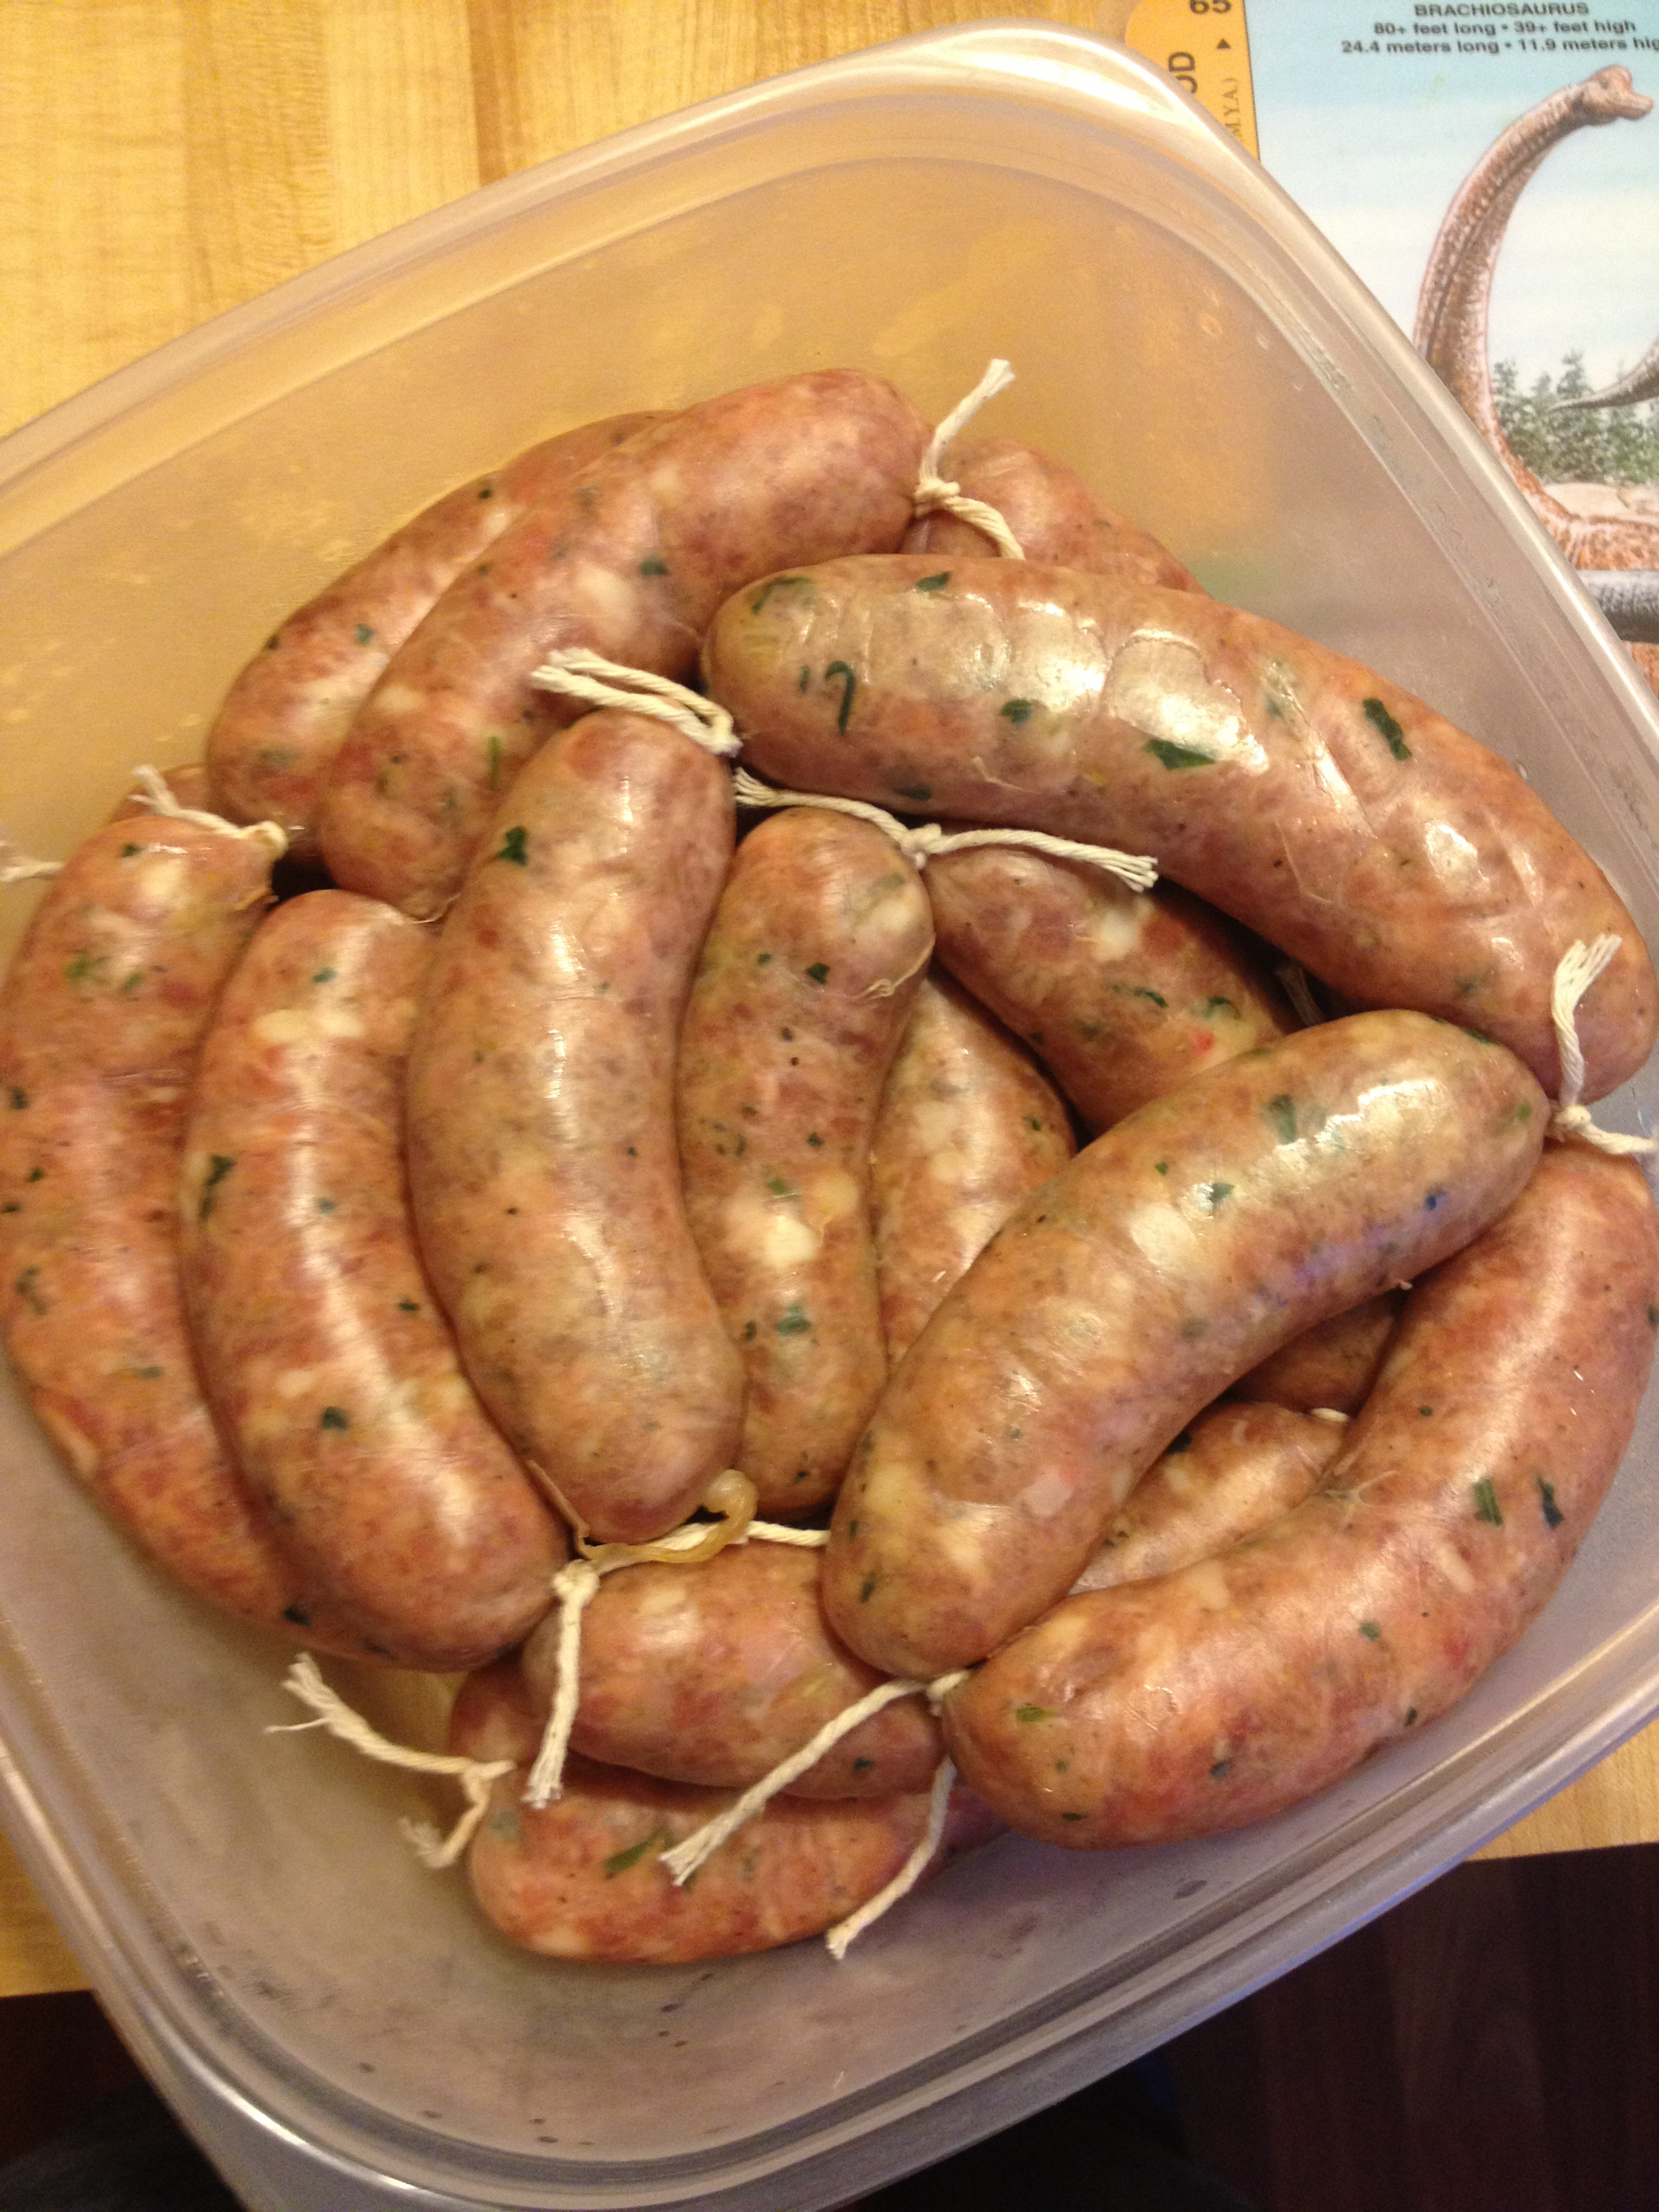
That’s about 5 pounds worth, and the hots were in a different container. I made a lot of sausage
The regular Italian sausage was solid and worked well as an ingredient in a couple rounds of Sunday Gravy. Nothing too notable about the flavor, just tasted like a good sausage. Though, this whole sasuage making experience made me realize how much more fat is in the regular Italian sausages I buy and eat than what I made. Not a bad thing, but it really does make those versions more enjoyable when grilled on their own.
Since then I’ve made more sausage, which I will likely document soon. I wouldnt grade it as highly succesful as this round, but a good experience regardless. Till then.